How to Record a Video Clip and Your Screen in Microsoft Teams
Microsoft Teams video clips now record your screen and run up to five minutes. Here's where the feature lives, how to set up the camera bubble, and how to trim, send, and download the clip.


Record video clip is one of those Microsoft Teams features people see in the menu and almost never use. Two recent changes make it worth a second look. You can now record your screen, not just your webcam. And a clip can run five minutes instead of the old one-minute ceiling.
That combination turns a small chat feature into a quick way to show someone exactly what you mean, without scheduling a meeting or opening a separate screen recorder.
Two good reasons to use a video clip
The first is onboarding. Say a new hire starts on Monday and you are out of town that whole week. Record a short clip welcoming them to the team so they hear from you on day one instead of day eight.
The second is support. When someone asks how to do something, a 30-second screen recording answers it better than three paragraphs of instructions. They can rewatch it as many times as they need.
Where to find Record video clip
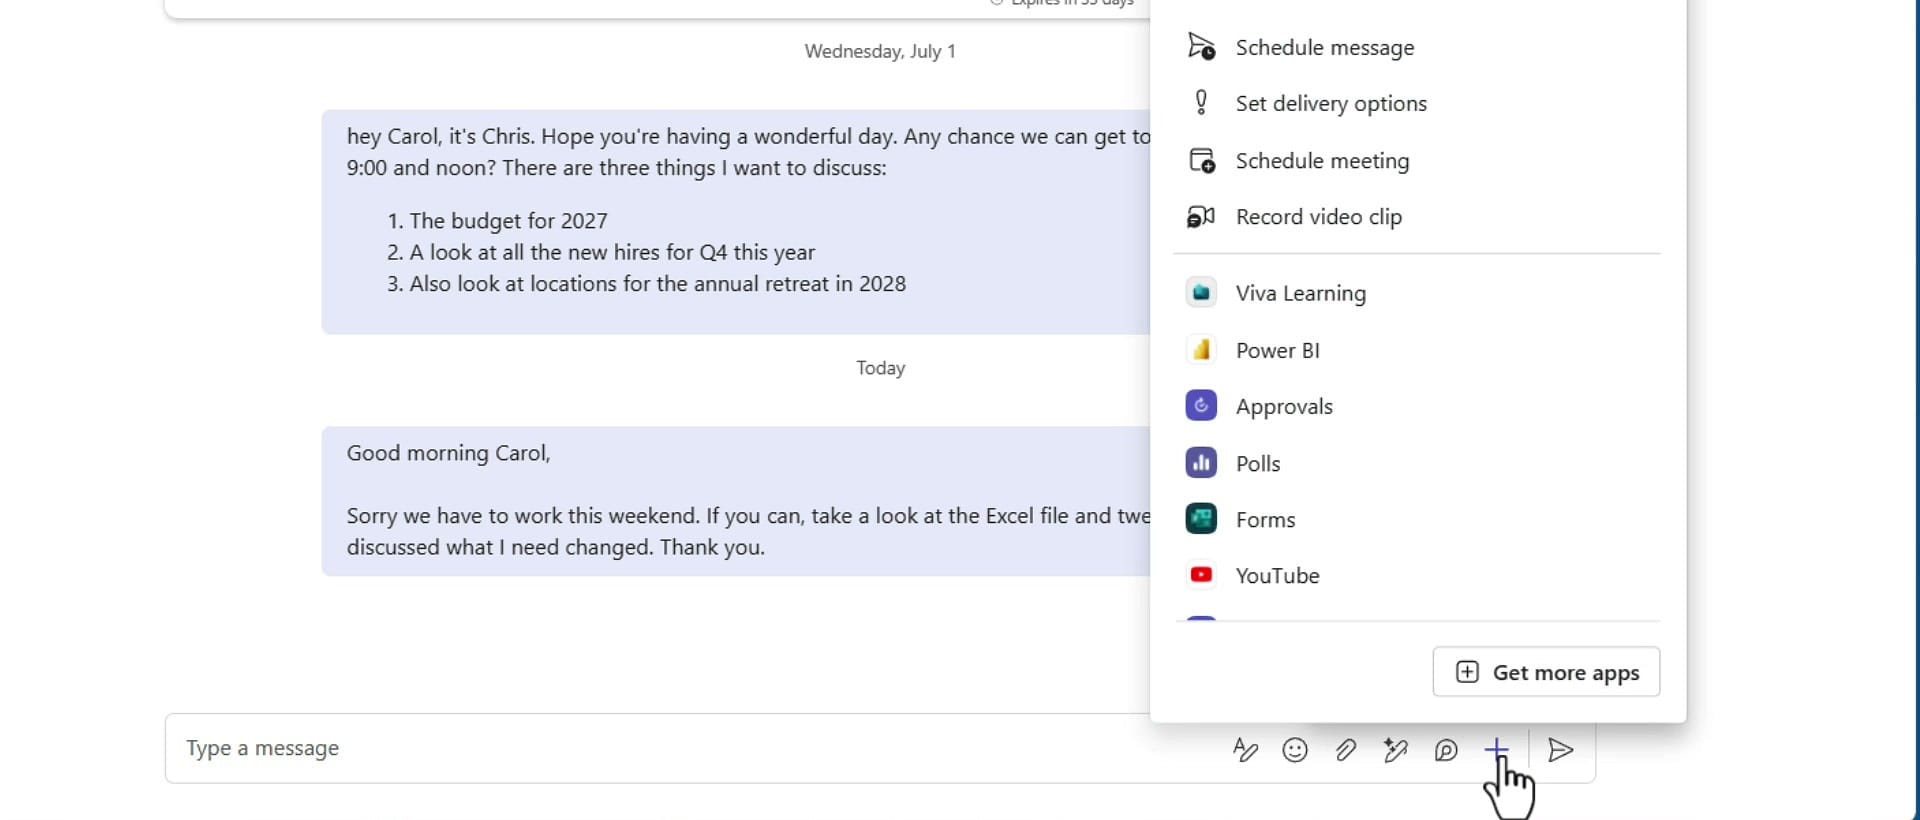
This works the same way in a one-on-one chat, a group chat, and a channel, and it lives in the same place in all three. Open the conversation, click Actions and apps — the plus symbol next to the Send button — and choose Record video clip.
What the recording window gives you
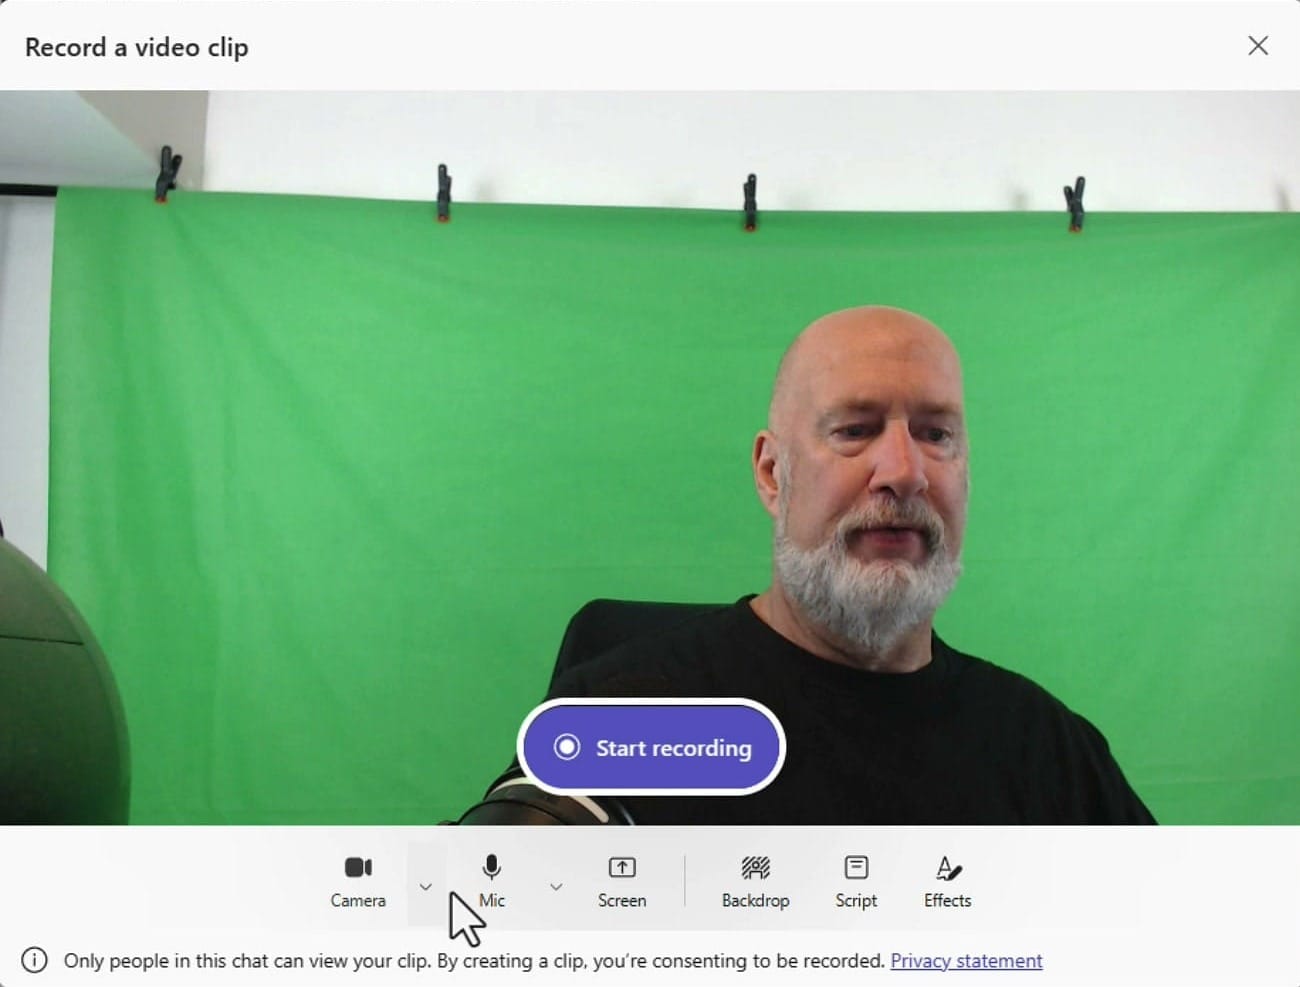
The recorder opens with your camera live and a row of controls along the bottom: Camera, Mic, Screen, Backdrop, Script, and Effects. Camera and Mic each have a dropdown arrow so you can switch devices before you start — worth checking if you have more than one headset or webcam plugged in, the same way you would test your mic and speaker before a meeting.
Script is the one people miss. It puts a teleprompter directly over the video preview, so you can read your talking points while looking at the camera. Backdrop blurs or replaces your background, and Effects adds filters.
Notice the line at the bottom of the window: only people in that chat can view the clip.
Switch to a screen recording
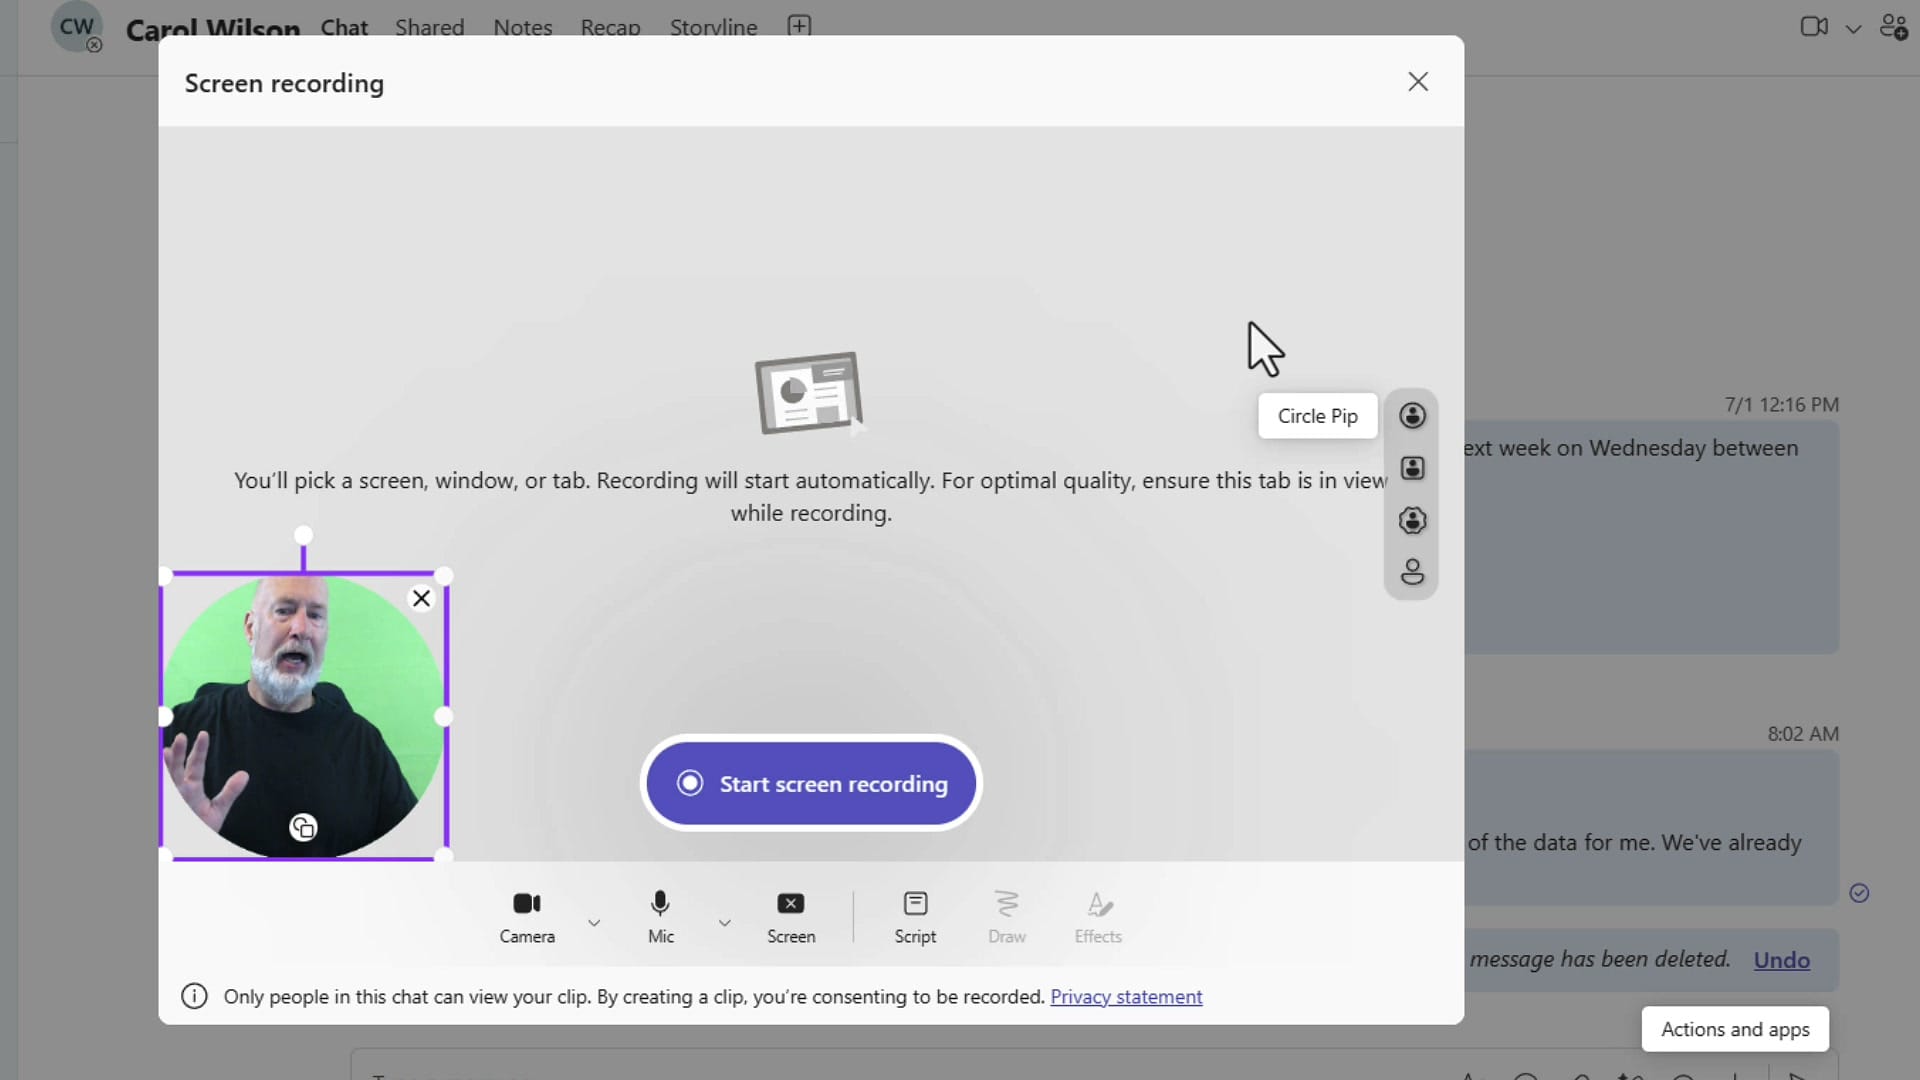
Click Screen and the window changes. Your camera shrinks into a small bubble in the bottom-left corner, and the button becomes Start screen recording. Drag the bubble anywhere you like — put it where it will not cover the part of the screen you are demonstrating.
The vertical strip of icons on the right controls the shape of that camera bubble. You get Circle Pip, a square, a star, and a cutout picture-in-picture that removes your background entirely. A Draw tool also appears in the bottom row once you are in screen mode, so you can annotate while you record.
Have your app open before you start
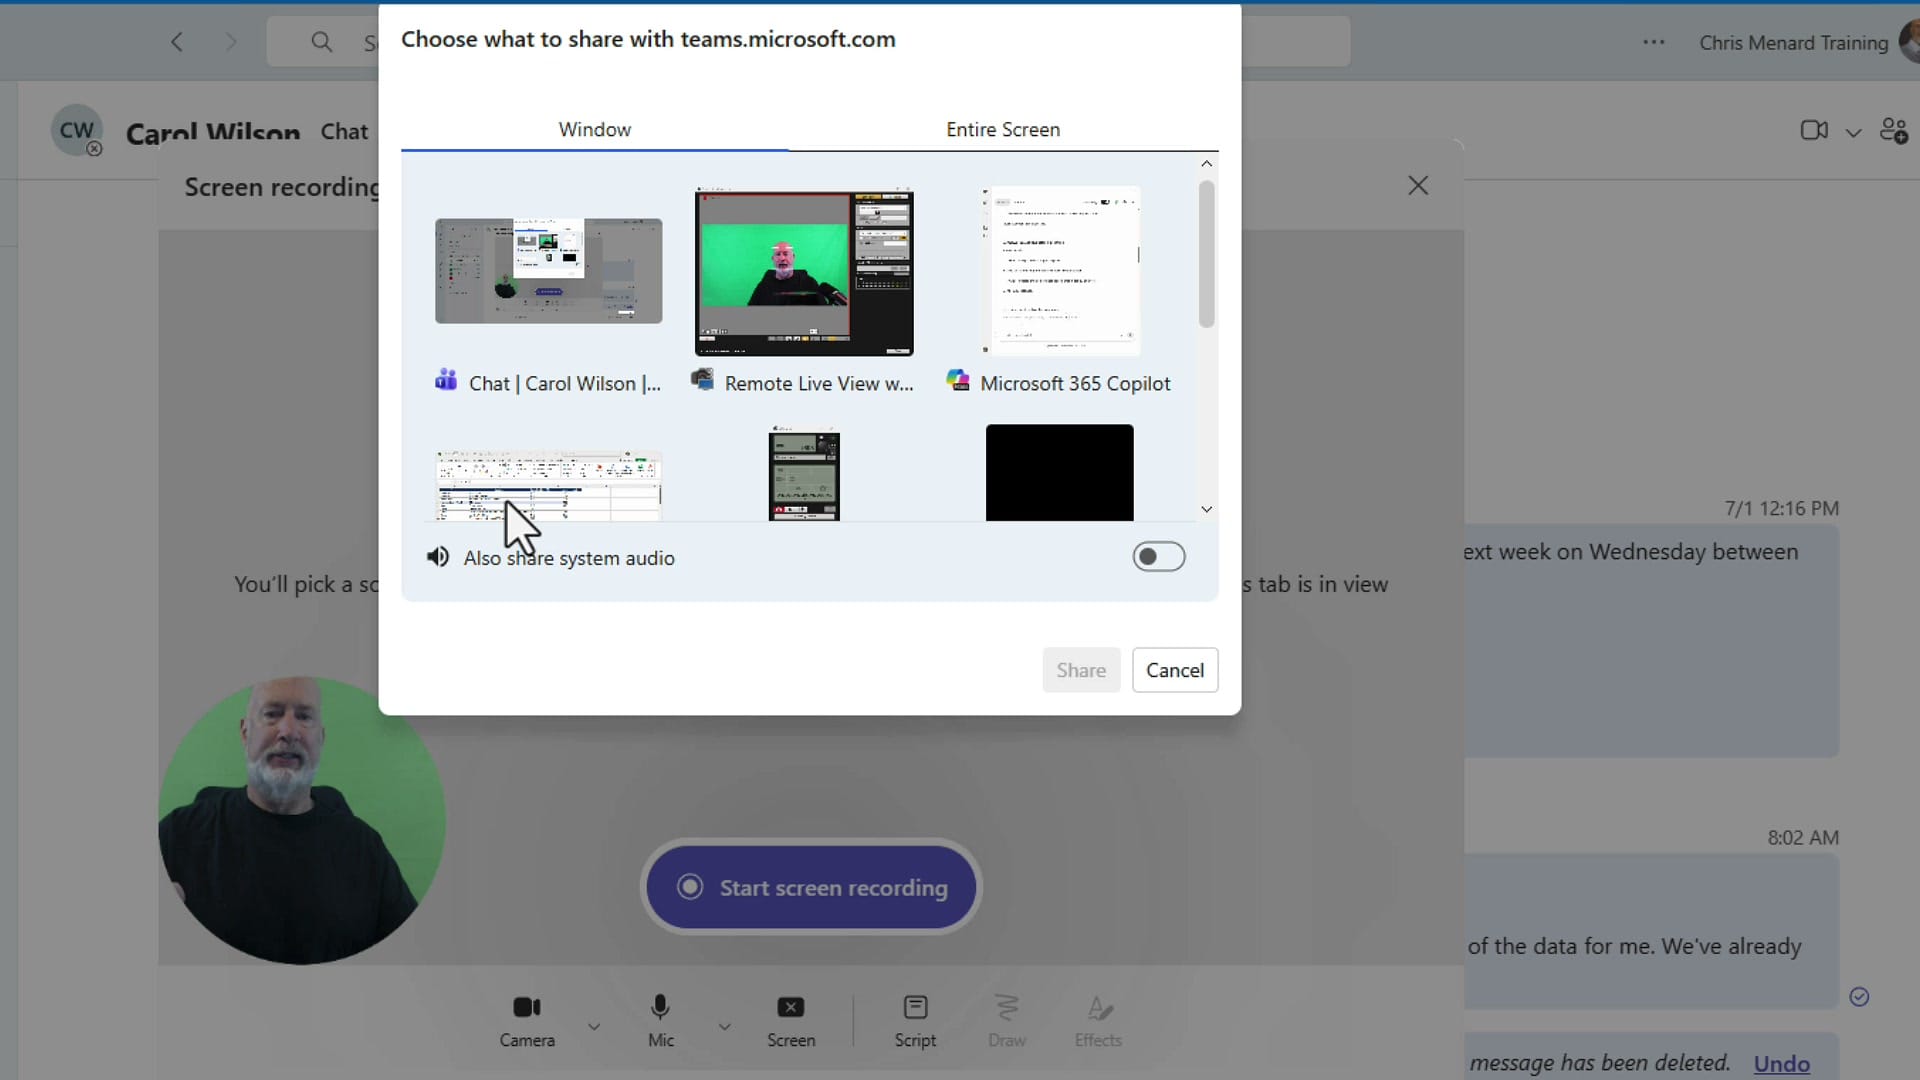
This is the step that trips people up. Open whatever you plan to demonstrate before you click Start screen recording, because recording begins the moment you pick a window.
Teams then asks what you want to record. The Window tab lists every open application, and the Entire Screen tab shares your whole desktop. There is also an Also share system audio toggle if you need the sound coming out of your computer captured too. Select your window and click Share.
Record, then stop sharing
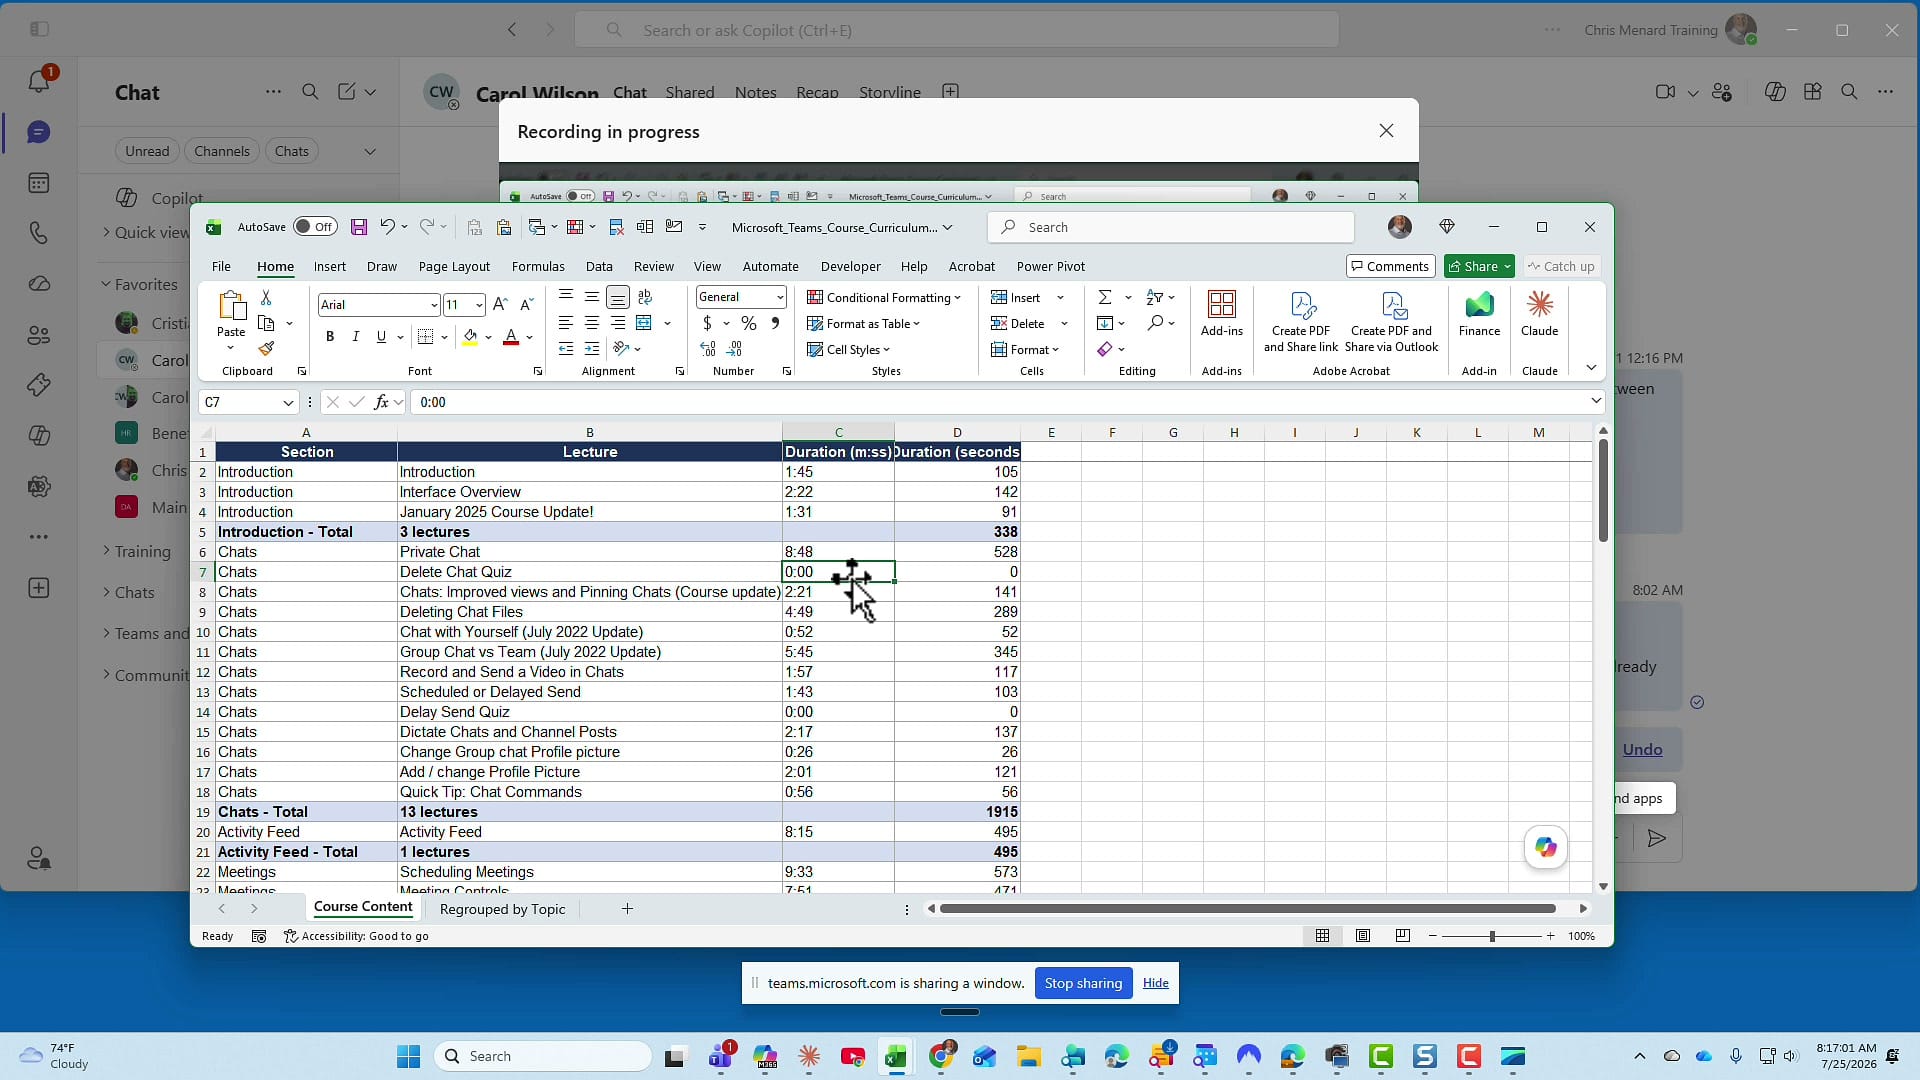
Your chosen window comes to the front and recording starts. Talk through whatever you need — deleting a column, reformatting a value, walking someone through a report. A small bar at the bottom of the screen shows that Teams is sharing a window, with a Stop sharing button. Click it when you are done.
Review the clip before it goes anywhere
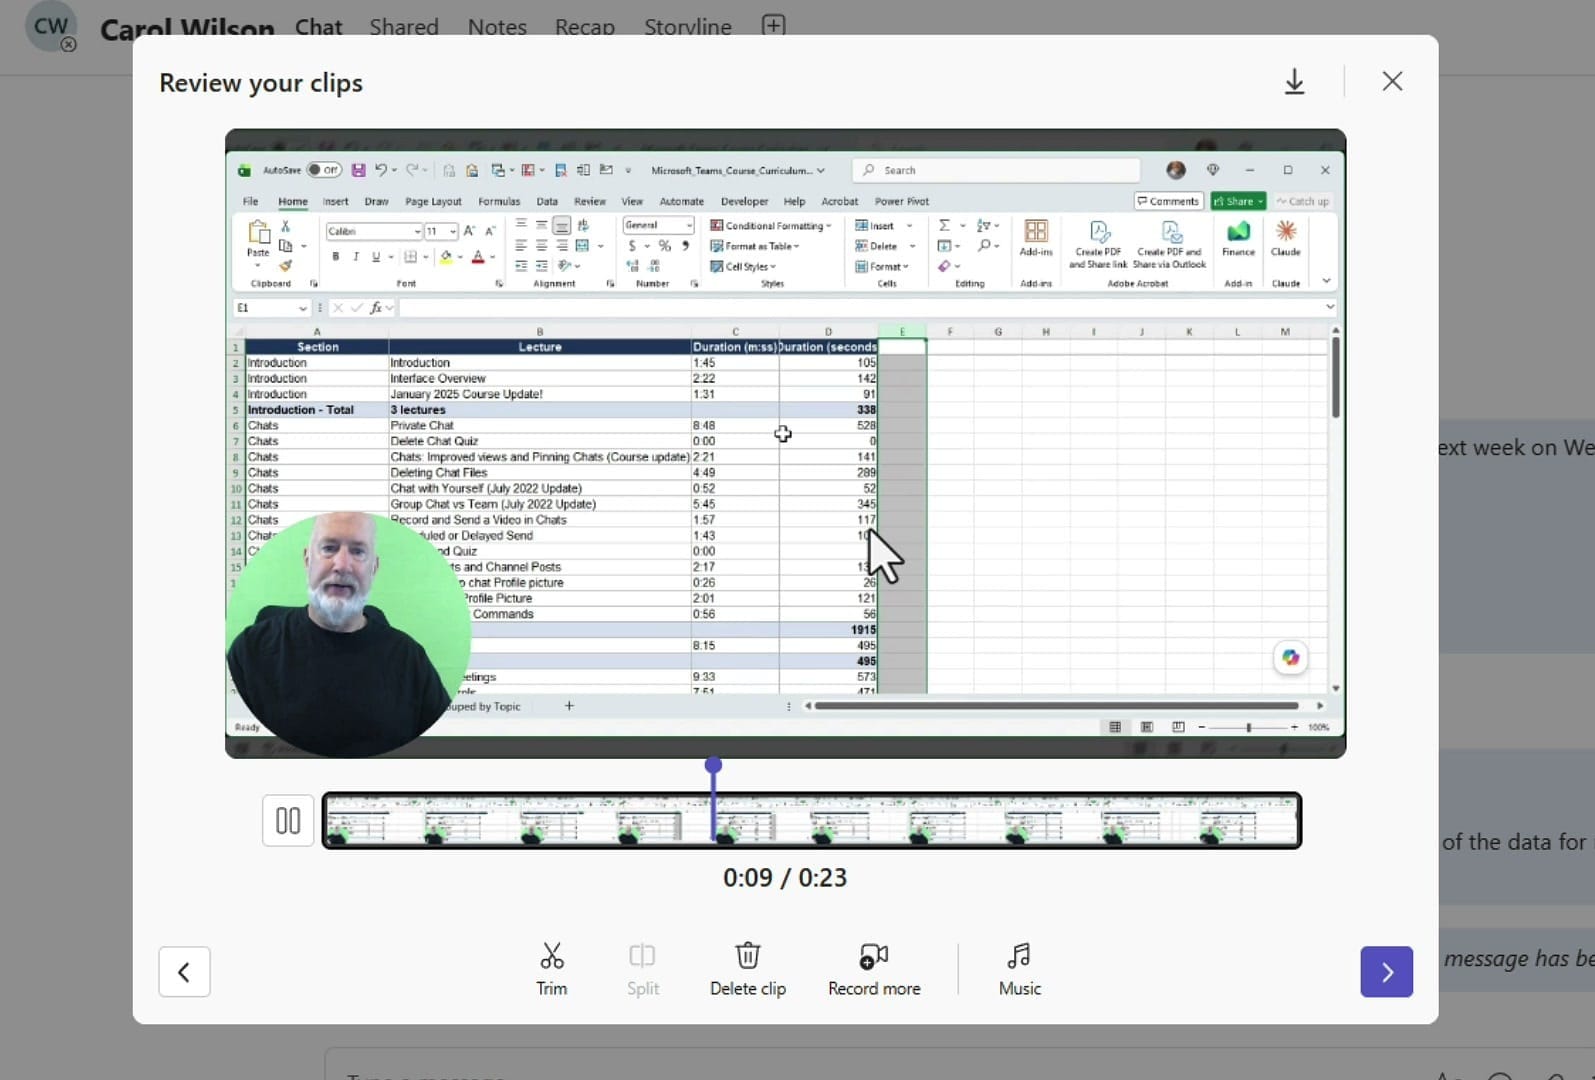
Teams drops you straight into a preview window called Review your clips, already playing your recording back. Along the bottom you get Trim, Split, Delete clip, Record more, and Music.
Record more is the useful one for longer explanations: record a section, stop, then add another take onto the end without starting over. Music adds a background track.
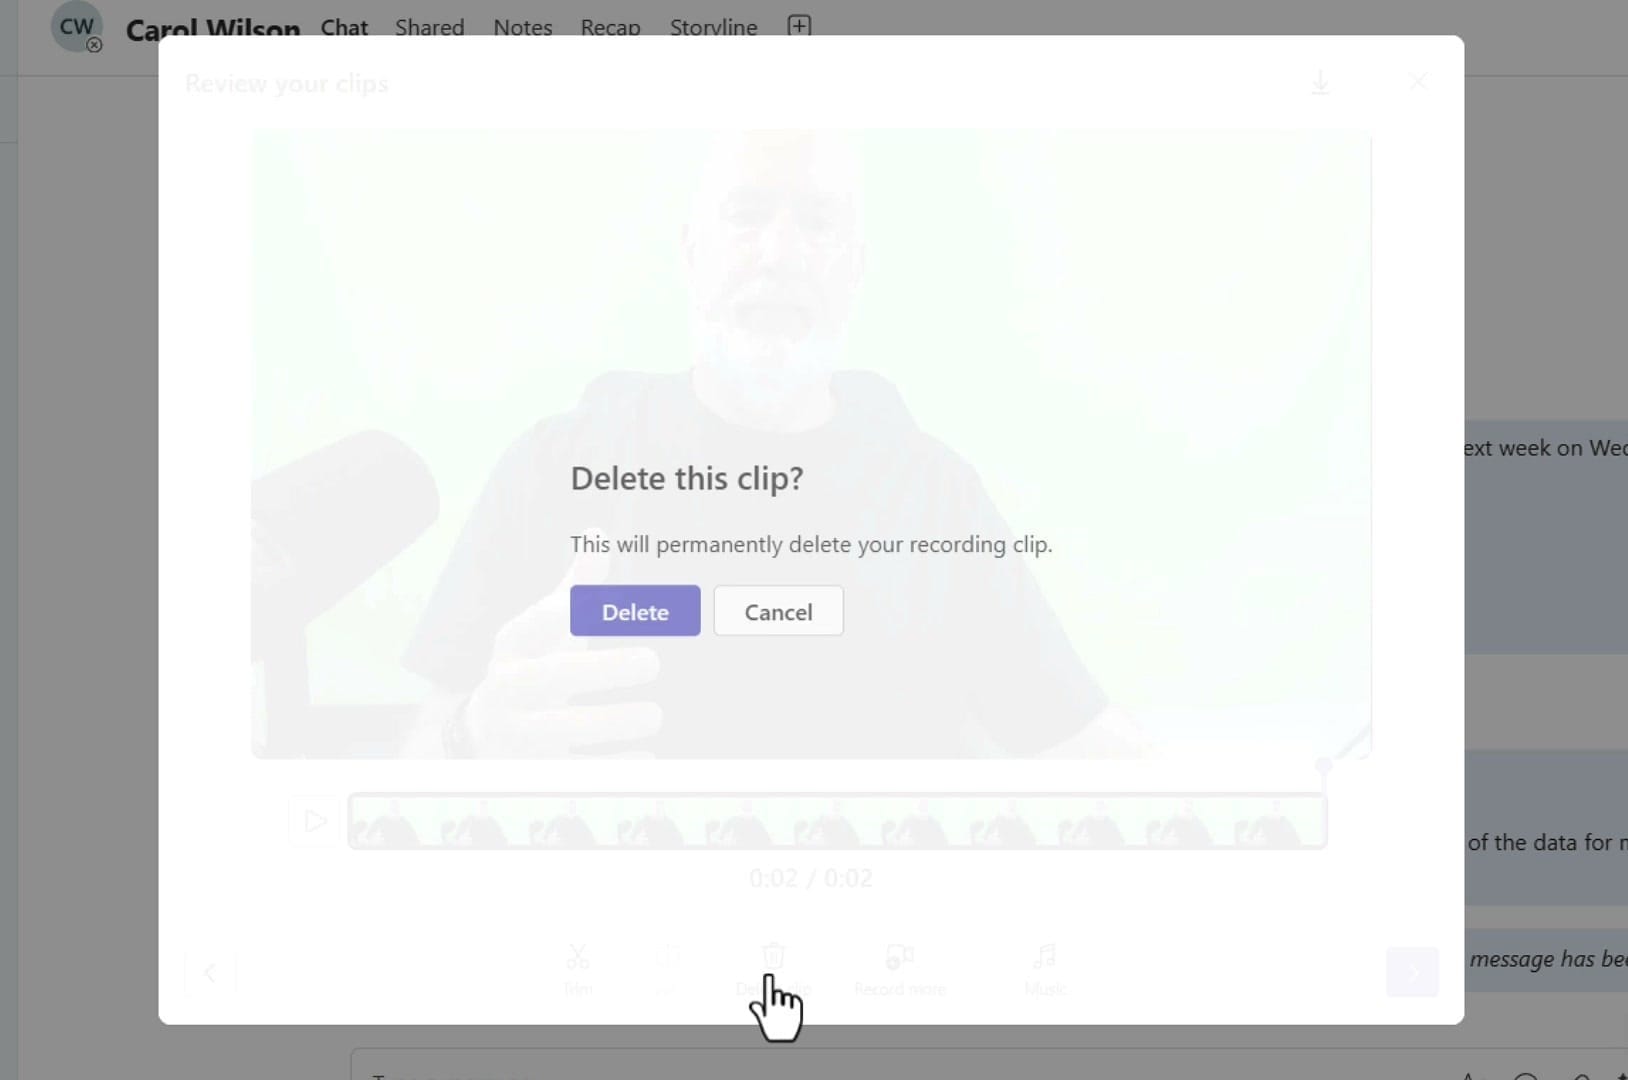
If the take did not go well, Delete clip throws it out and lets you start again. Teams asks you to confirm first, and the deletion is permanent — there is no undo.
Download it, or continue
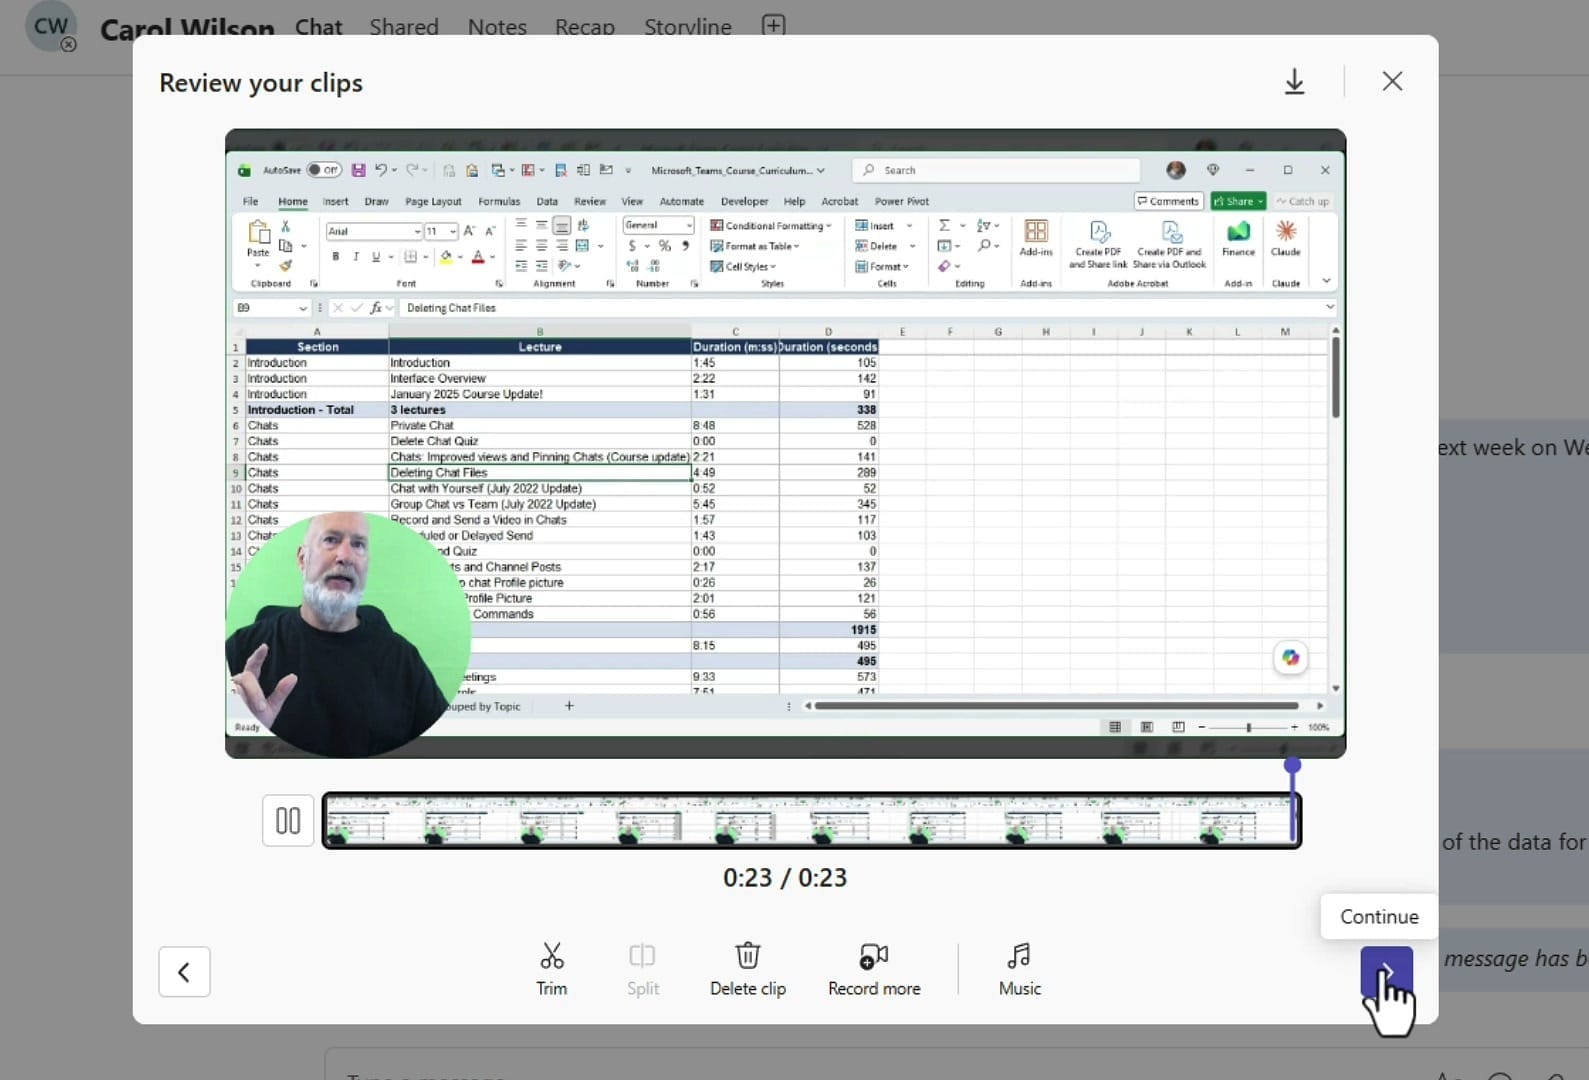
Two arrows matter on this screen. The down arrow in the top right saves a copy of the clip to your computer before you send it — handy if you want to reuse the recording somewhere else. The arrow on the right side is Continue, which takes you to the message.
Add a message and send
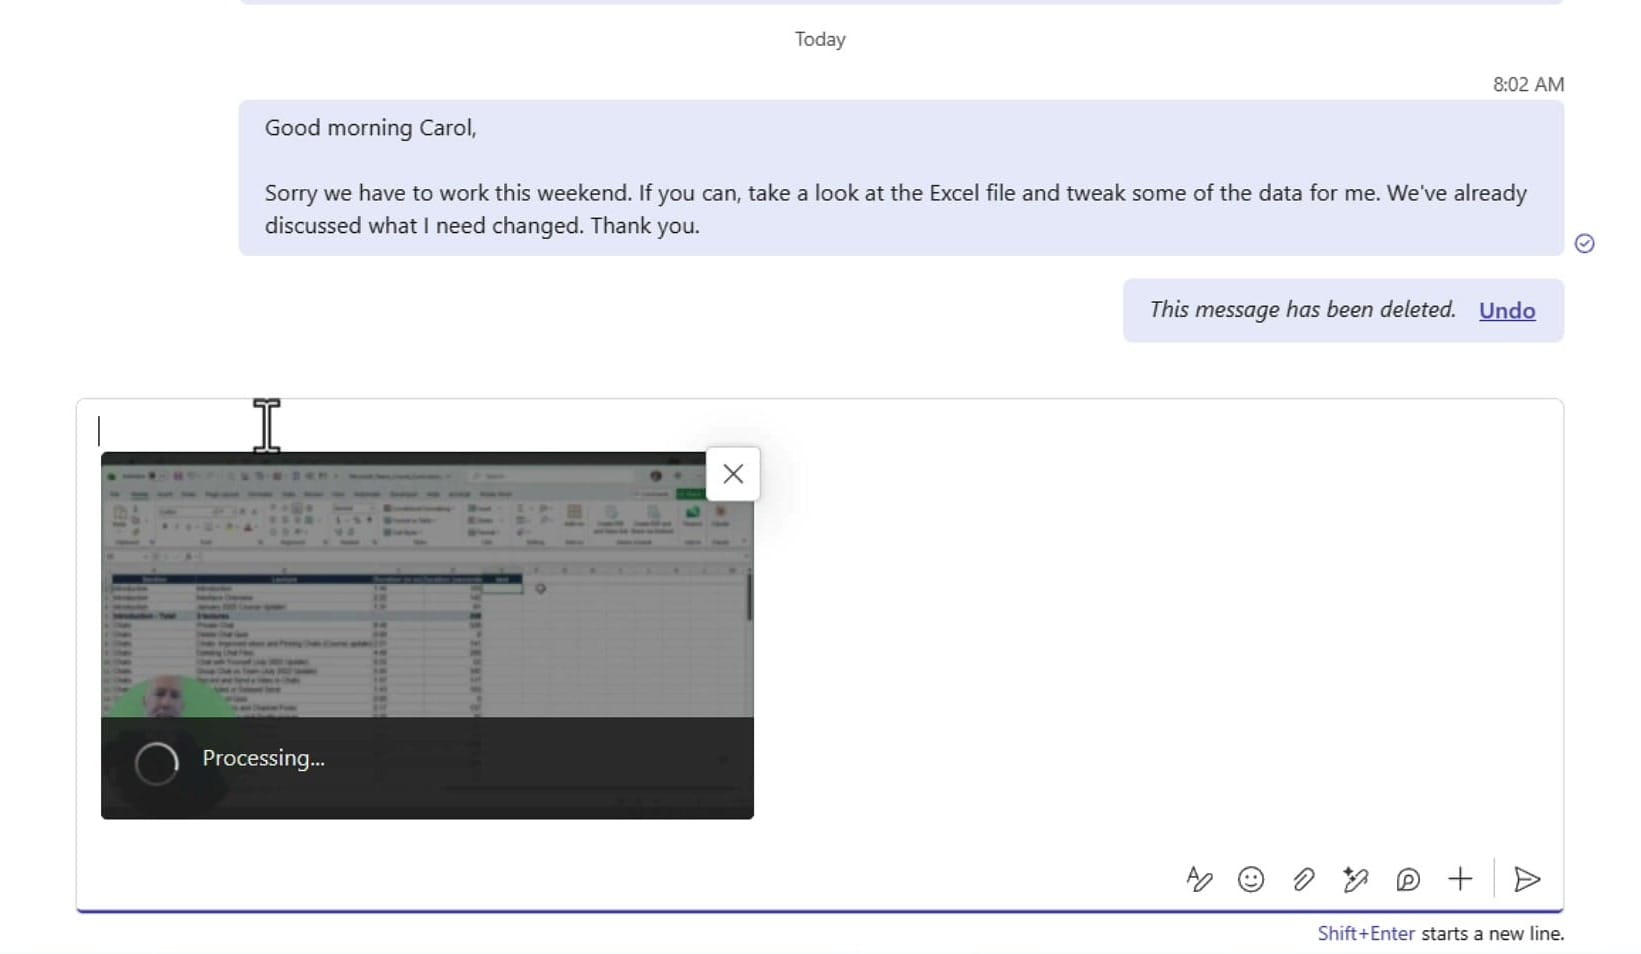
The clip lands in your compose box as an attachment and processes for a few seconds. While it does, type your message around it — something like "Here are the steps you need to follow for this report" gives the recipient context before they press play. Then send it like any other chat message.
Where your clips are stored
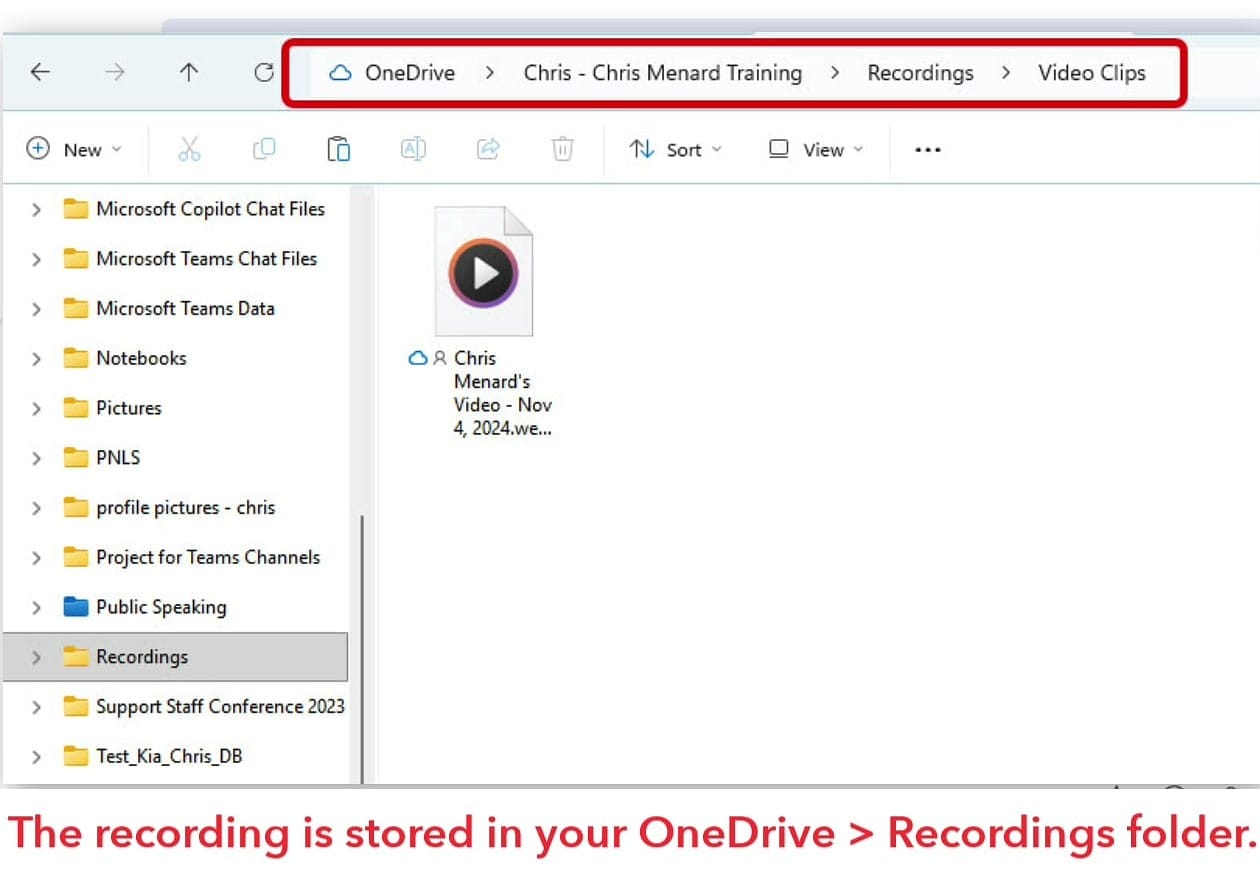
Every clip you record is saved to your own OneDrive, under Recordings > Video Clips. If you ever need the original file after the chat has scrolled away, that is where to look.
Download the transcript or the video
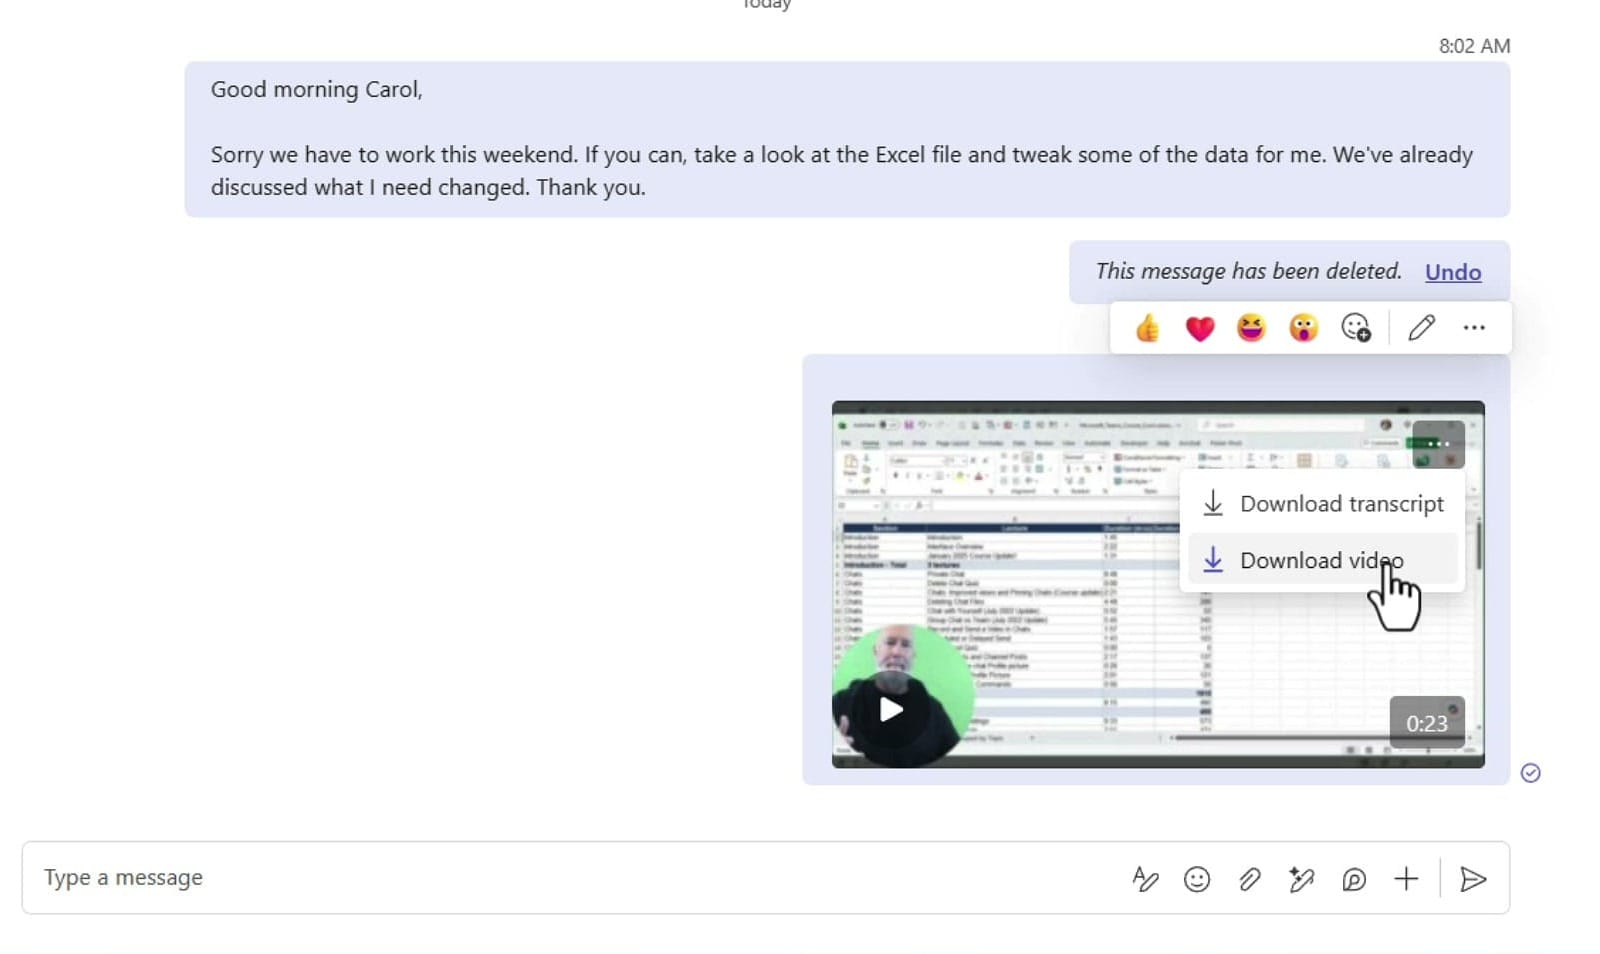
Once the clip is in the chat, hover it, click the three dots, and you get Download transcript and Download video. The person you sent it to has the same two options. The transcript is genuinely useful for support clips — the recipient can copy a file path or a formula out of the text instead of pausing the video and squinting at it.
A few things to keep in mind
Five minutes is the ceiling, so plan longer walkthroughs as a series of clips or use a dedicated recorder — Windows 11 users can record the screen with the Snipping Tool at no extra cost.
A video clip is also not the same thing as recording a call. If you are on a one-on-one or group video call and the record option is greyed out, that is a call rather than a meeting, and recording is disabled by design.
And if you would rather not appear on camera at all, you can always dictate your chat message instead.
LinkedIn Post
Click to view Menard's LinkedIn Post
Related guides
 Chris Menard
 Chris Menard
 Chris Menard
 Chris Menard
 Chris Menard