
How to Record Your Screen with Snipping Tool in Windows 11
Windows 11 includes a free screen recorder inside the Snipping Tool. Here's how to record your screen with audio, choose the capture area, check your microphone, and save or share the result.

If you use Windows 11 and you need to record your screen with audio, you already have a capable tool installed — the Snipping Tool. Most people know it for capturing images, but the same app records video too. It is a great option when you don't have dedicated screen-recording software like Camtasia or Snagit, and it costs nothing.
Below I'll walk you through the whole workflow: opening the recorder, choosing what to capture, setting up your microphone, recording, trimming, saving, and sharing. I'll also cover a couple of limitations and a few free alternatives for when you need to be on camera.
Open the Snipping Tool and switch to video
Start by opening the Snipping Tool. You have two quick options: press Windows + Shift + S, or click Start, type Snipping Tool, and open it. Feel free to maximize the window once it's open.
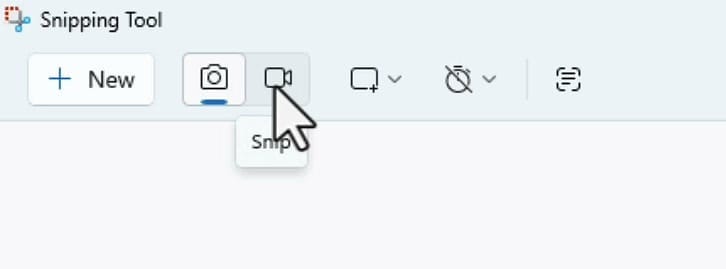
By default, the Snipping Tool opens in Camera mode for still images. To record video, click the video camera icon at the top. That switches you from taking a screenshot to recording a screen capture.
Choose your capture area: rectangle or window
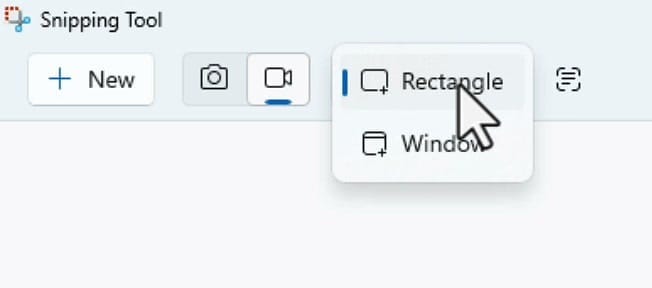
Next, decide how much of the screen you want to record. Click the area dropdown and you'll get two choices — Rectangle, where you drag a box around a specific region, or Window, where you record an entire application window.
I usually choose Window. If you run two monitors like I do, click the window you want and the Snipping Tool locks onto that monitor, so you don't accidentally capture the wrong screen or your second display.
Set up and unmute your microphone
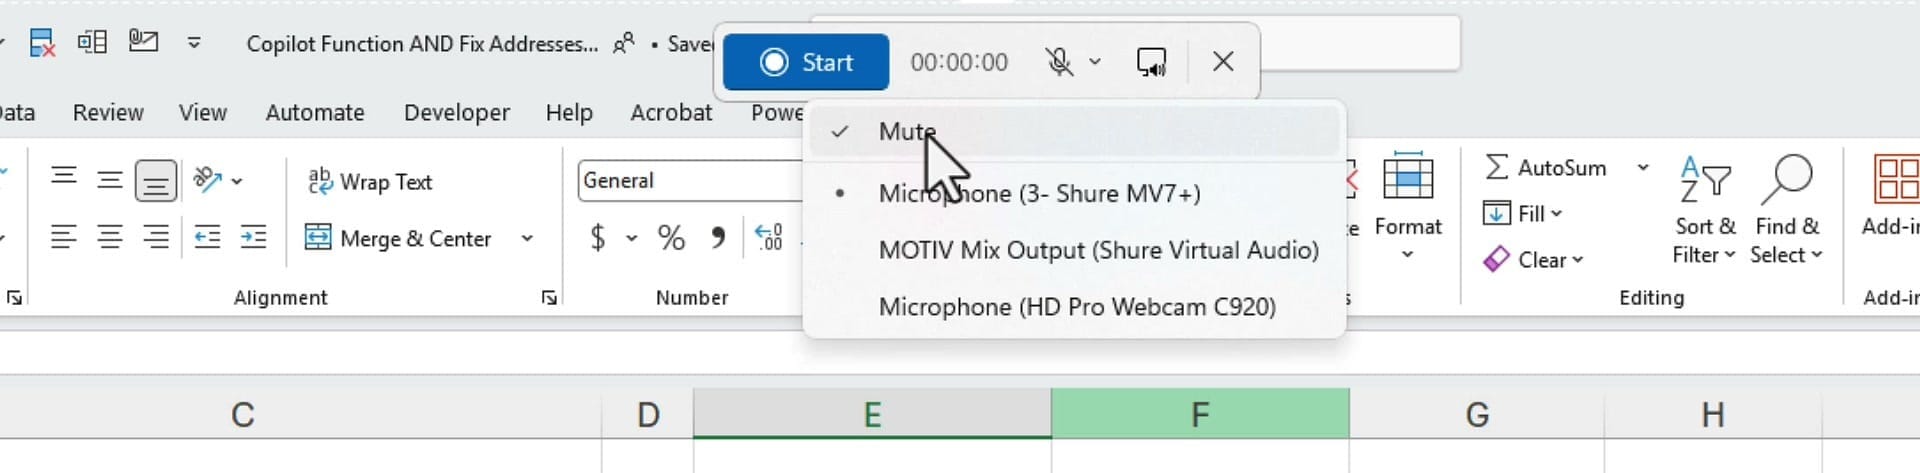
This next step is easy to miss, and it's the one I see people forget most often. Before you click Start, decide whether you want to record audio — and if you do, check the microphone settings.
Click the audio icon on the recording toolbar. You'll see a list of available inputs; pick the correct microphone (mine is a Shure MV7+). The important part: the microphone is muted by default. Selecting the right source isn't enough — you also have to unmute it. Click Mute to toggle it off so your voice is actually recorded.
One more thing worth knowing up front: the Snipping Tool records your screen, your mouse clicks, and your microphone audio — but it will not record your webcam. There's no way to put your face on camera here. If that matters to you, see the free alternatives at the end.
Record, then stop when you're done
When everything is set, click Start. You get a short countdown, and then the recording begins. Now just do whatever you need to demonstrate.
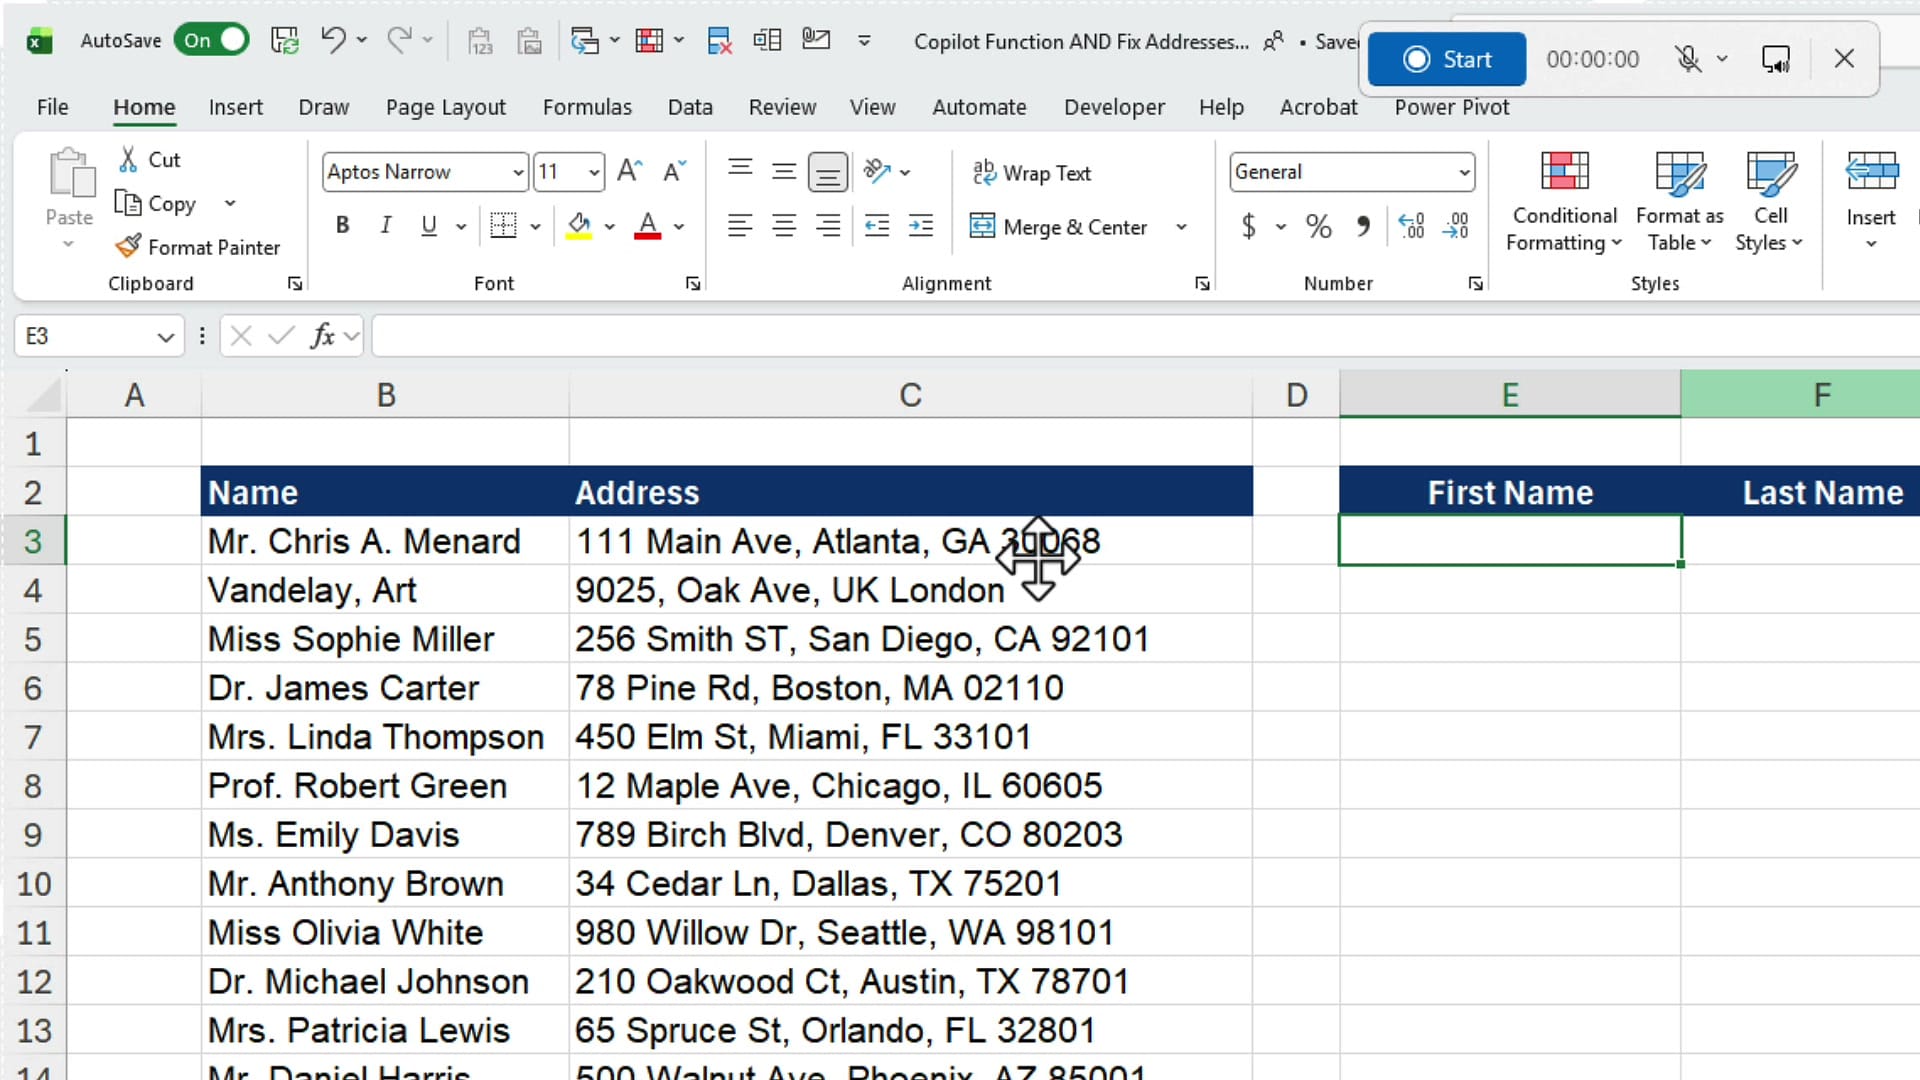
For my example, I recorded a quick task in Excel: taking messy name and address data and pulling out the first name, last name, and city. I used the Copilot function in Microsoft Excel (a license is required) to do the extraction, narrating what I was doing as I went.
When you're finished, click Stop. The Snipping Tool opens the recording in its editor so you can review and clean it up.
Trim, save, or edit further
In the editor you'll find a Trim button — that's your quick, built-in editing for cutting off the start or end of the clip. When you're happy with it, click Save and give your file a name.
If you need more than a trim, click Edit in Clipchamp. Clipchamp is the free video editor built into Windows 11, and it opens your recording ready for more advanced editing.
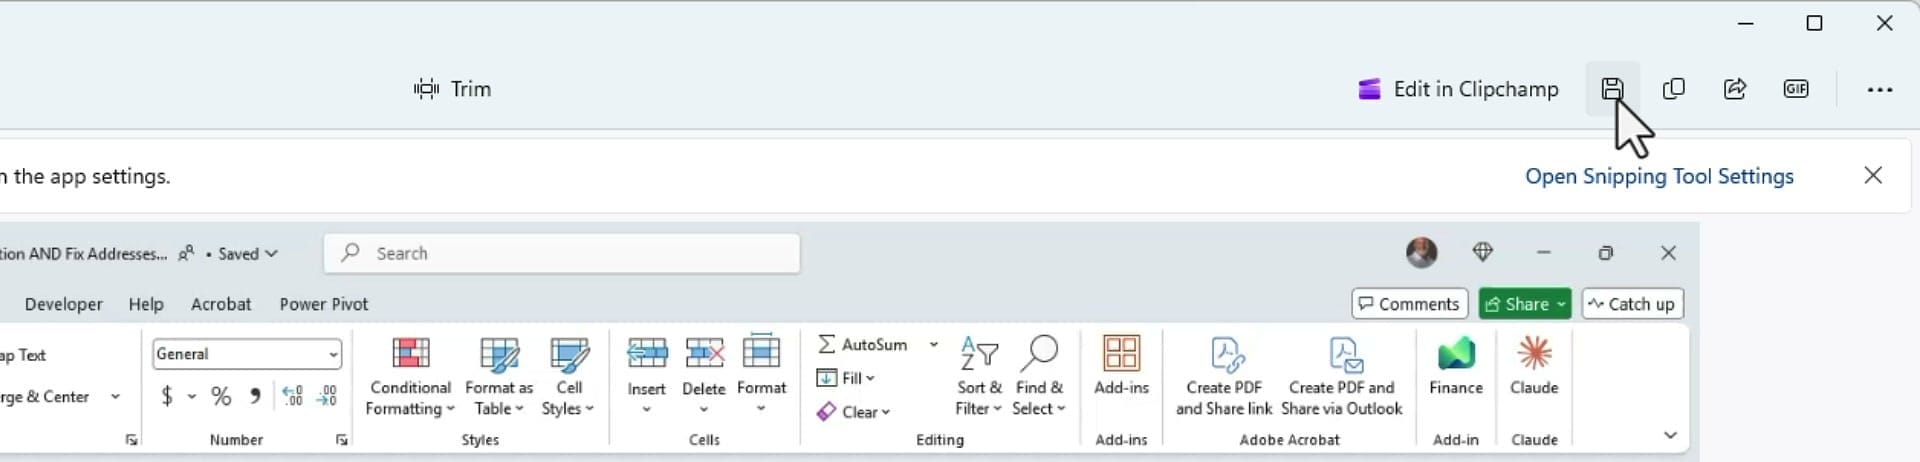
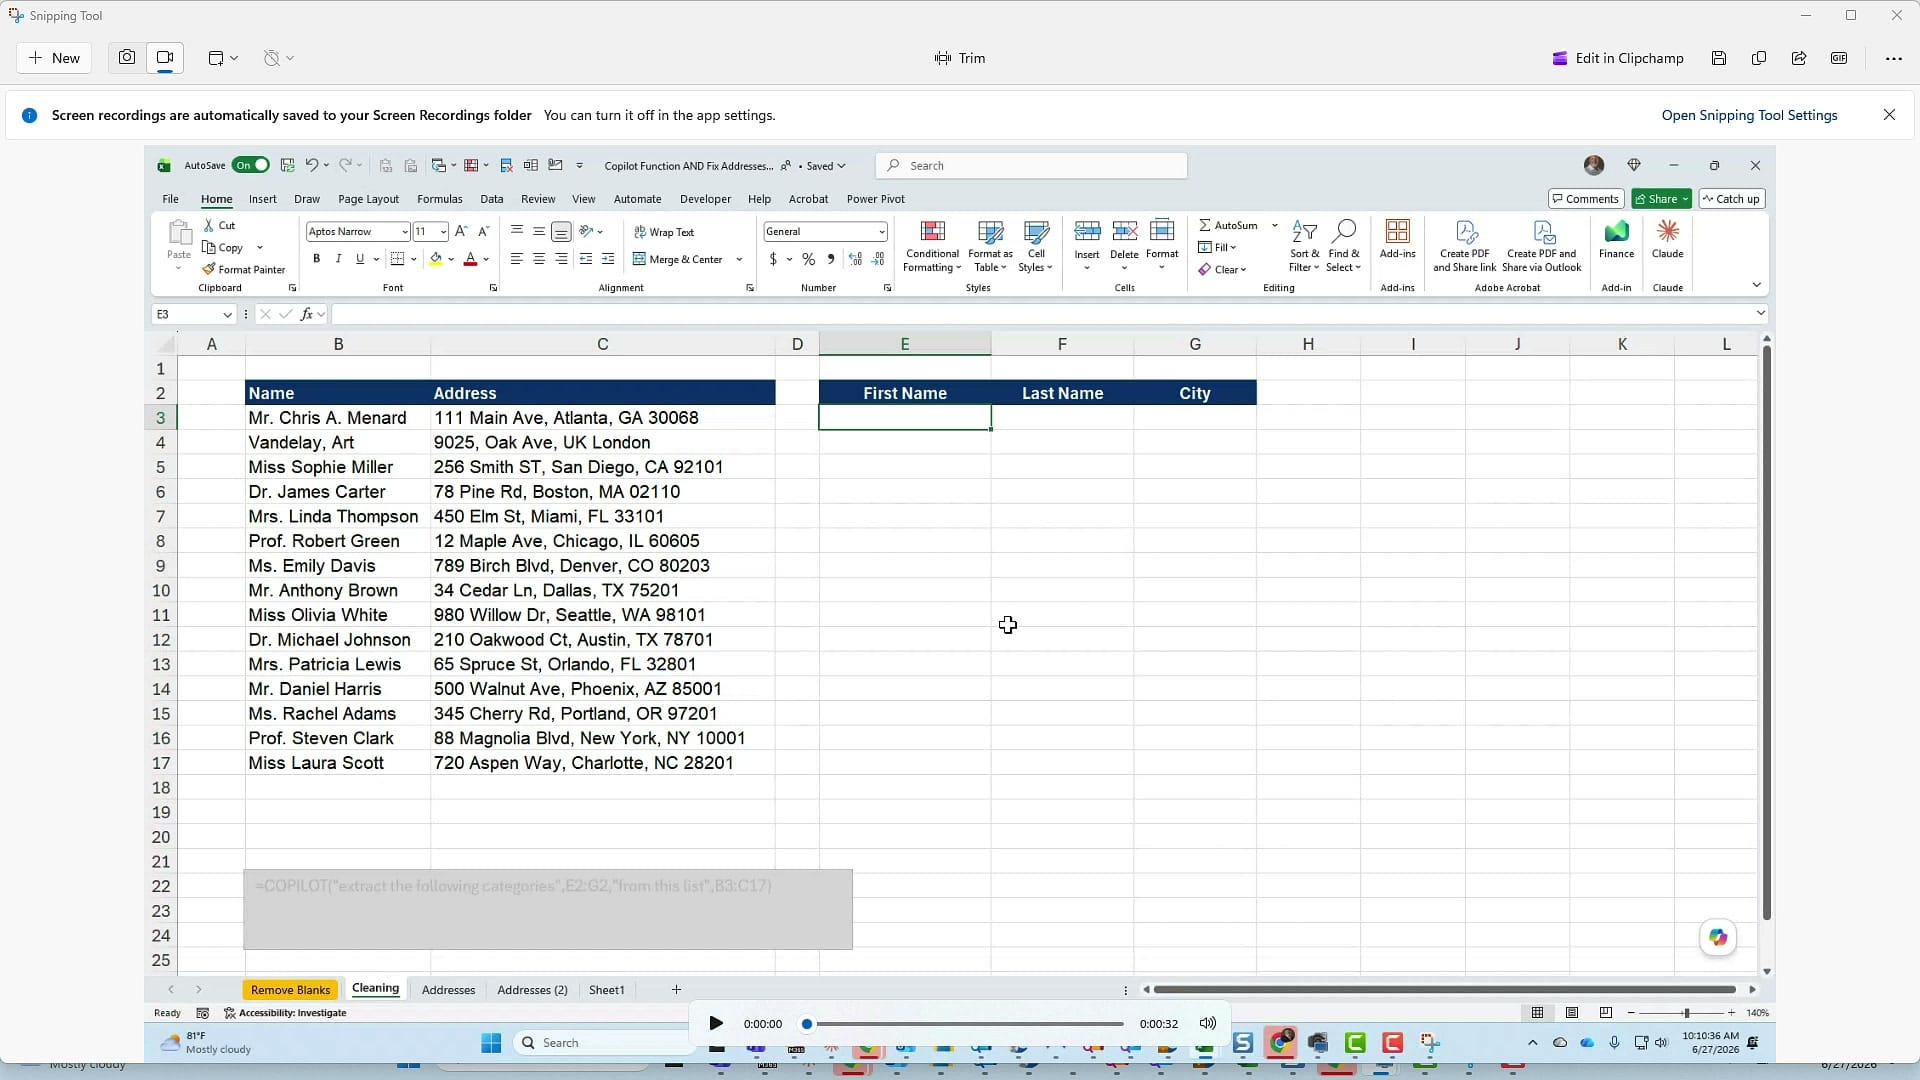
By default, your screen recordings are saved automatically to your Screen Recordings folder — you can turn that off in the app settings if you prefer. You can also play the clip back right in the editor to confirm the audio came through before you share it.
File size and sharing
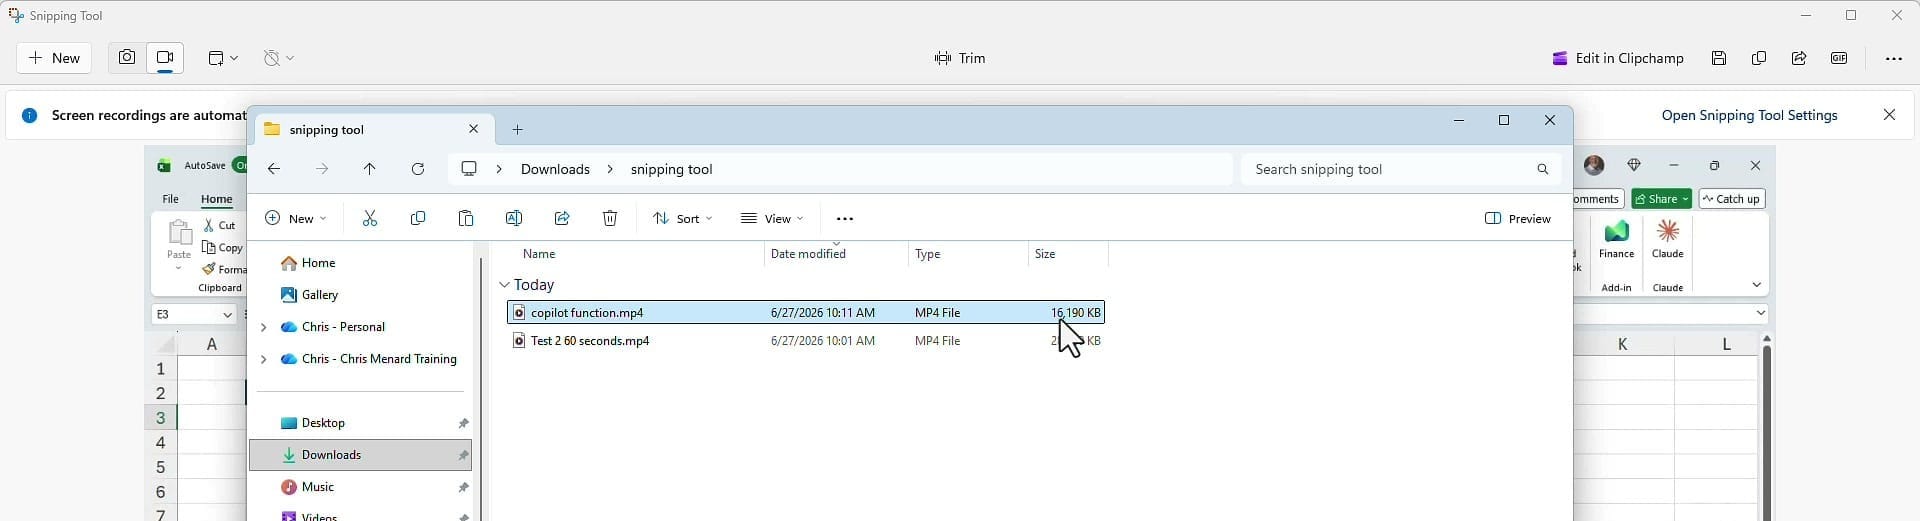
My short demo came out to about 16 MB. That's small, but recordings add up quickly — a longer video can easily pass 50 MB. Depending on how your company is set up, 50 MB is often the largest attachment you can email, so a longer recording may be too big to send directly.
When a file is too large to email, copy it to your OneDrive account and share a link instead. That gets around attachment limits and lets you send it to anyone who needs it.
Free alternatives when you need to be on camera
The Snipping Tool is excellent for a quick, no-camera screen recording, but it isn't your only free option — and it's the right pick to reach for when you want to be on camera.
If you have a Zoom account, you can start a meeting by yourself and record it, camera and all. Zoom also lets you record separate audio tracks, which makes editing much easier.
Microsoft Teams works the same way. Click your calendar in Teams, choose Meet Now, and you can turn on your camera and record your screen. A nice bonus for sharing: your Teams recording is saved automatically to your OneDrive Recordings folder, so it's ready to share from there without moving anything. You can even record a quick video clip right inside a Teams chat for short messages.
The bottom line: for a fast, free screen recording with audio, the Windows 11 Snipping Tool is hard to beat. It's simple, it's already installed, and it handles the everyday tutorials and work updates most of us need — no camera, but easy to use.
Related guides
 Chris Menard
 Chris Menard
 Chris Menard
 Chris Menard