Snagit Scrolling vs. Automatic Scrolling: When to Use Each
Snagit has two scrolling capture modes. Use Automatic Scrolling for a full webpage, and Scrolling to grab just a region in a bigger page or panel where auto scrolling is not practical - a large Excel spreadsheet for example.

TechSmith Snagit is one of my favorite applications. It has been around since 1990, it's a premier screen capture program, and these days it captures video too.
Two capture options I get asked about a lot are Scrolling and Automatic Scrolling. Both let you capture more than what fits on your screen, but they solve different problems.
I'll walk through where to find them and three examples: a full webpage, part of an Excel worksheet, and a scrollable pane in PowerPoint.
Where to find the scrolling options
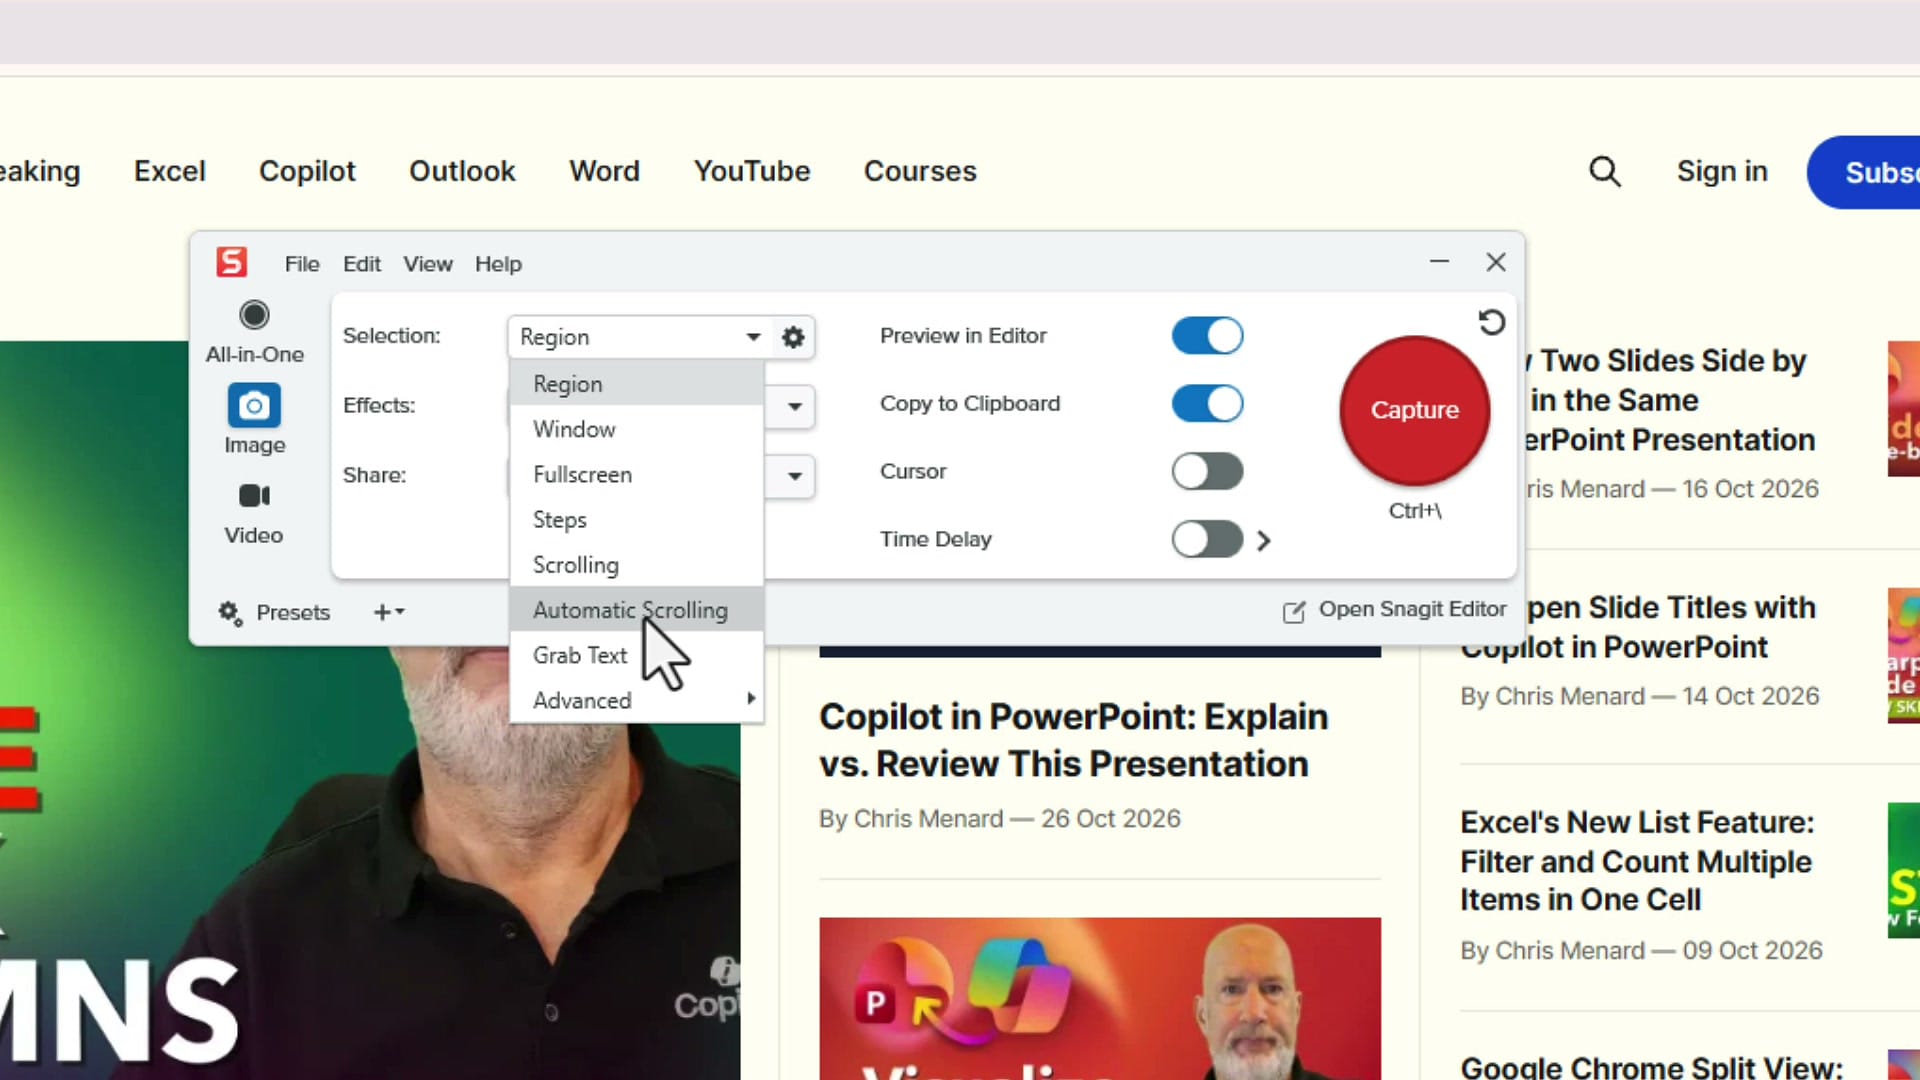
Open the Snagit Capture window and click the Selection drop-down. I'm usually on Region; that's my default go-to. In the same list you'll find Scrolling and Automatic Scrolling.
Automatic Scrolling: capture an entire webpage
Automatic Scrolling does exactly what it says. I don't have to scroll anything myself. I decide what I want to capture, click on it, and Snagit scrolls for me. It can scroll left to right, up and down, or both.
Here I have my home page open in the browser. Choose Automatic Scrolling, click Capture, and hover over the page. Notice the arrows Snagit shows you:
- The arrow on the right side scrolls horizontally.
- The arrow at the bottom scrolls vertically.
- The arrow in the bottom-right corner scrolls both ways.
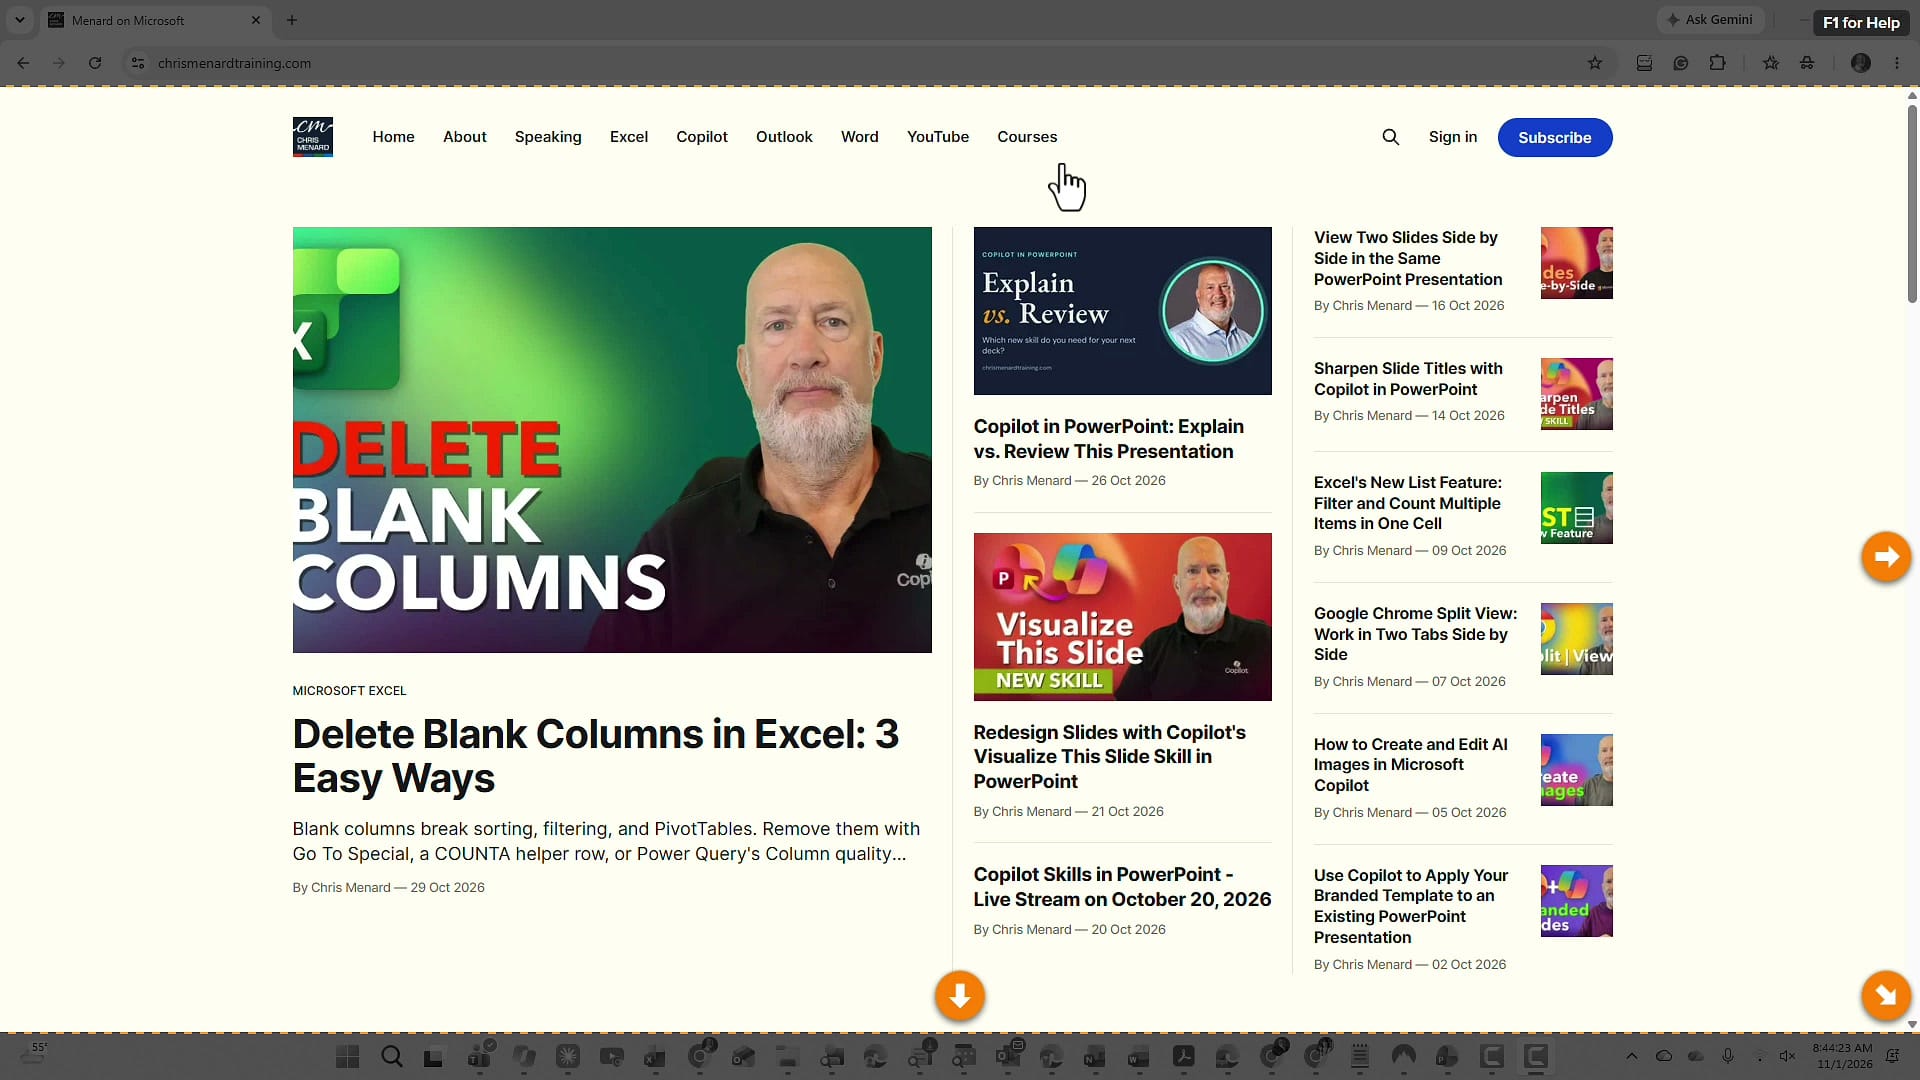
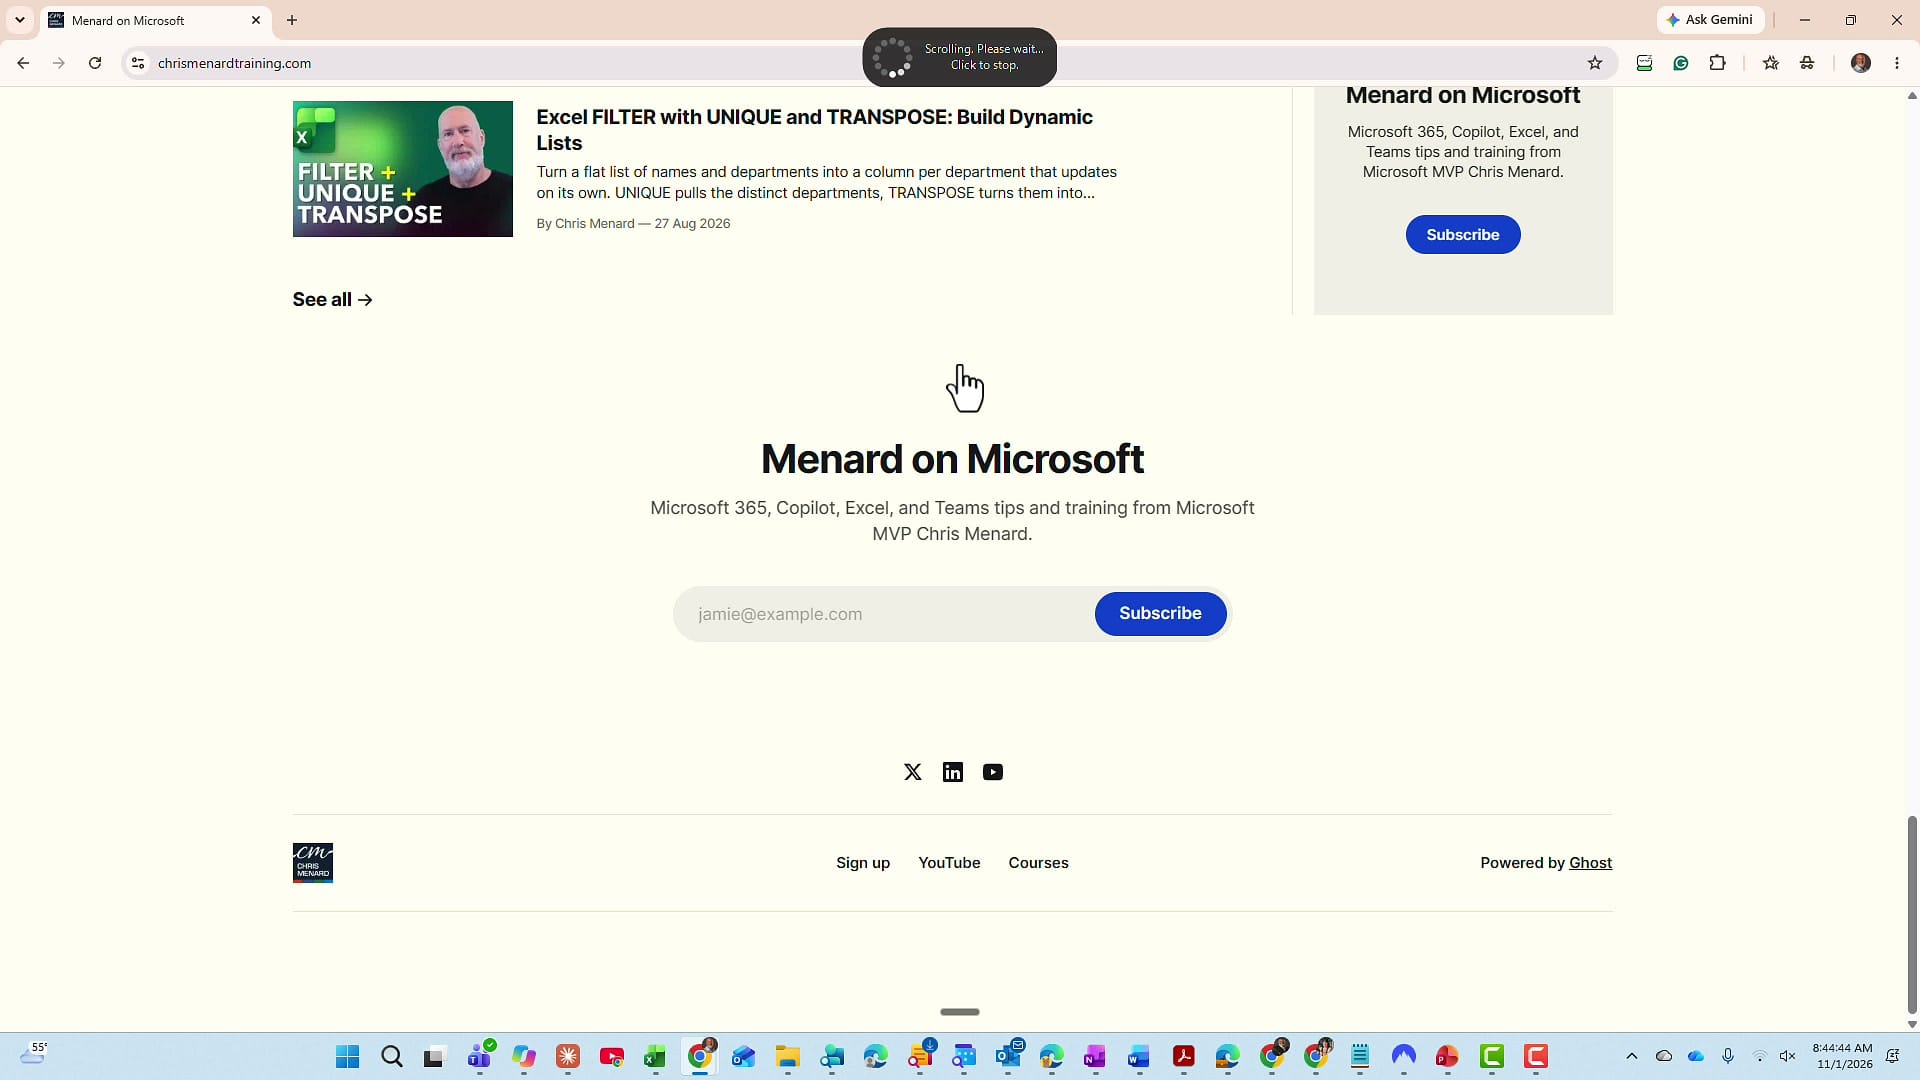
I only want to scroll top to bottom and capture everything on the page, so I click the bottom arrow. From there I'm not doing anything. Snagit scrolls the page on its own.
Review and save the webpage capture
When it's done, the capture opens in the Snagit Editor. It opens at 100%; use the zoom drop-down at the bottom to fit the whole image on screen. From here you can edit it like any other capture, but the important part is that it grabbed the entire webpage.
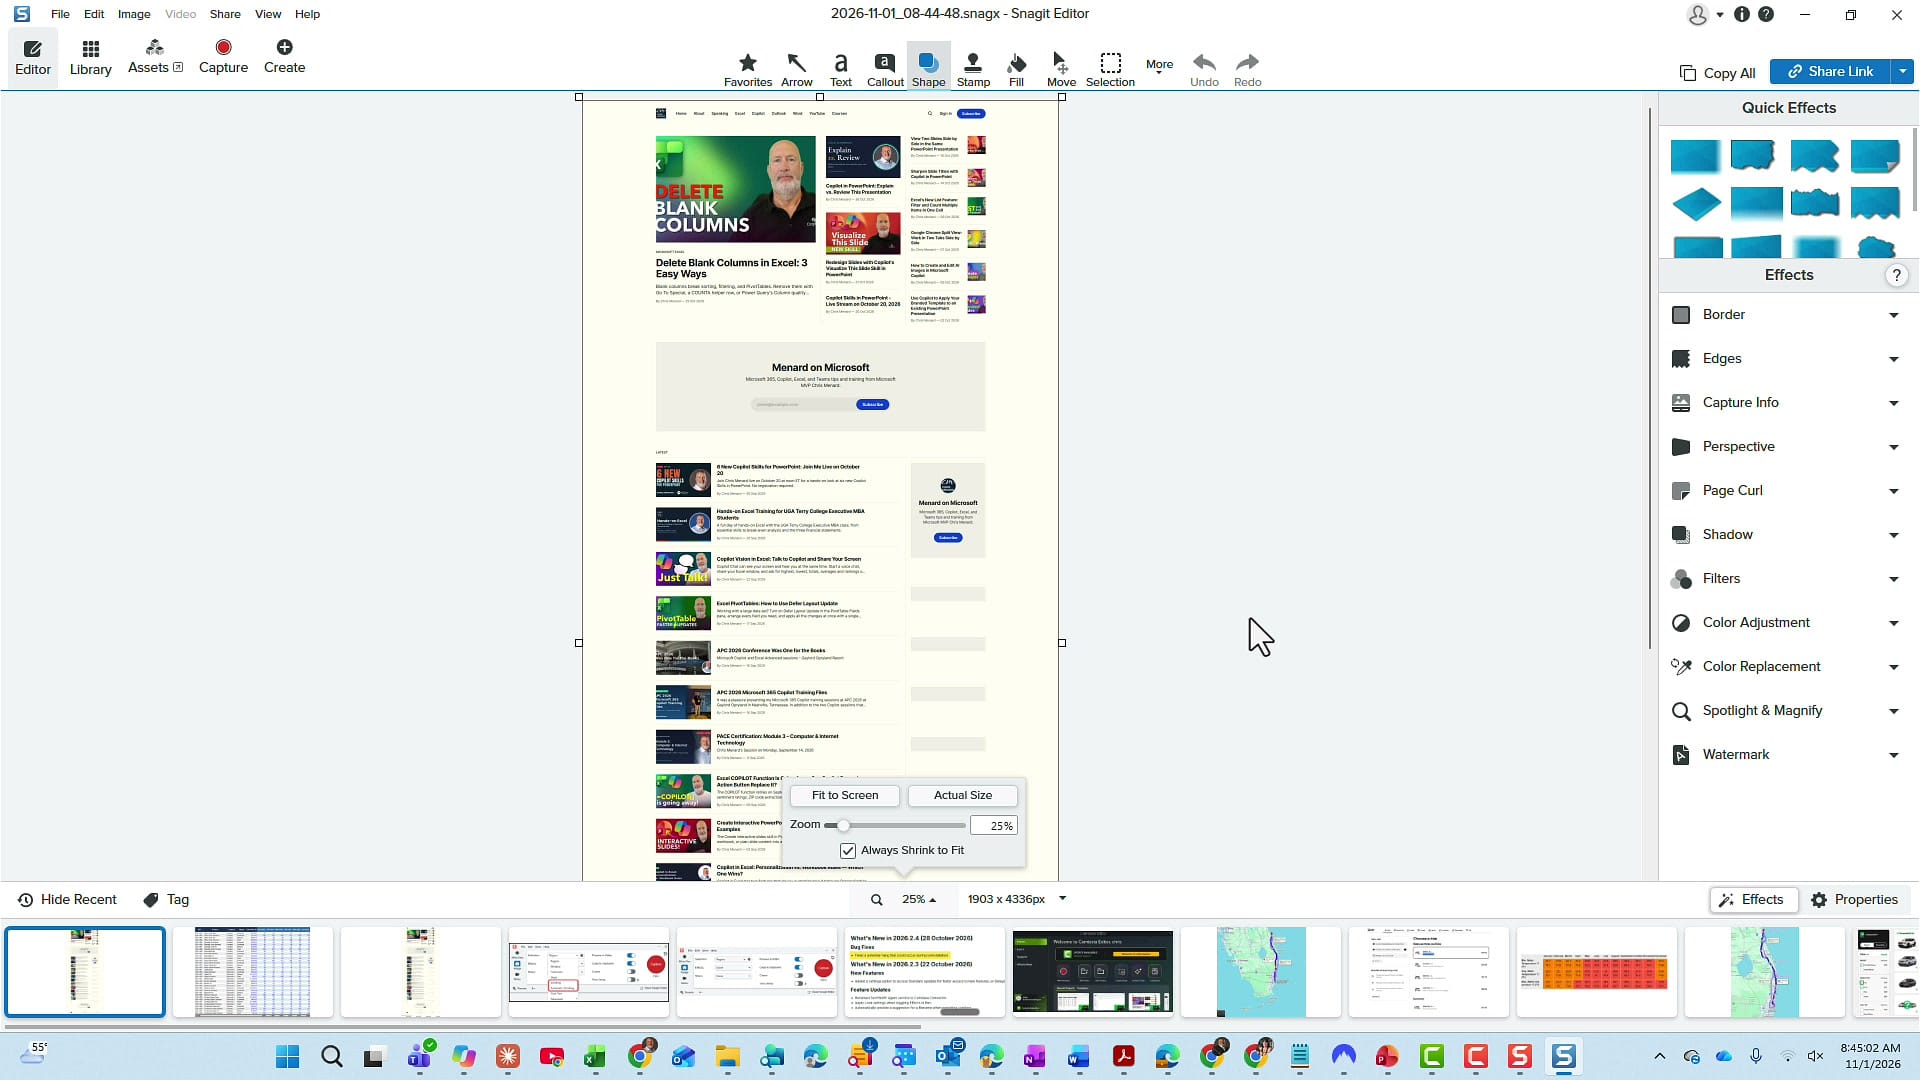
Here's a tip for large captures like this. Go to File > Save As and, between JPEG and PNG, choose PNG. You could save it as a PDF, but a page this long makes a hard-to-read PDF, so PNG is the better choice here.
Scrolling: capture only the cells you need in Excel
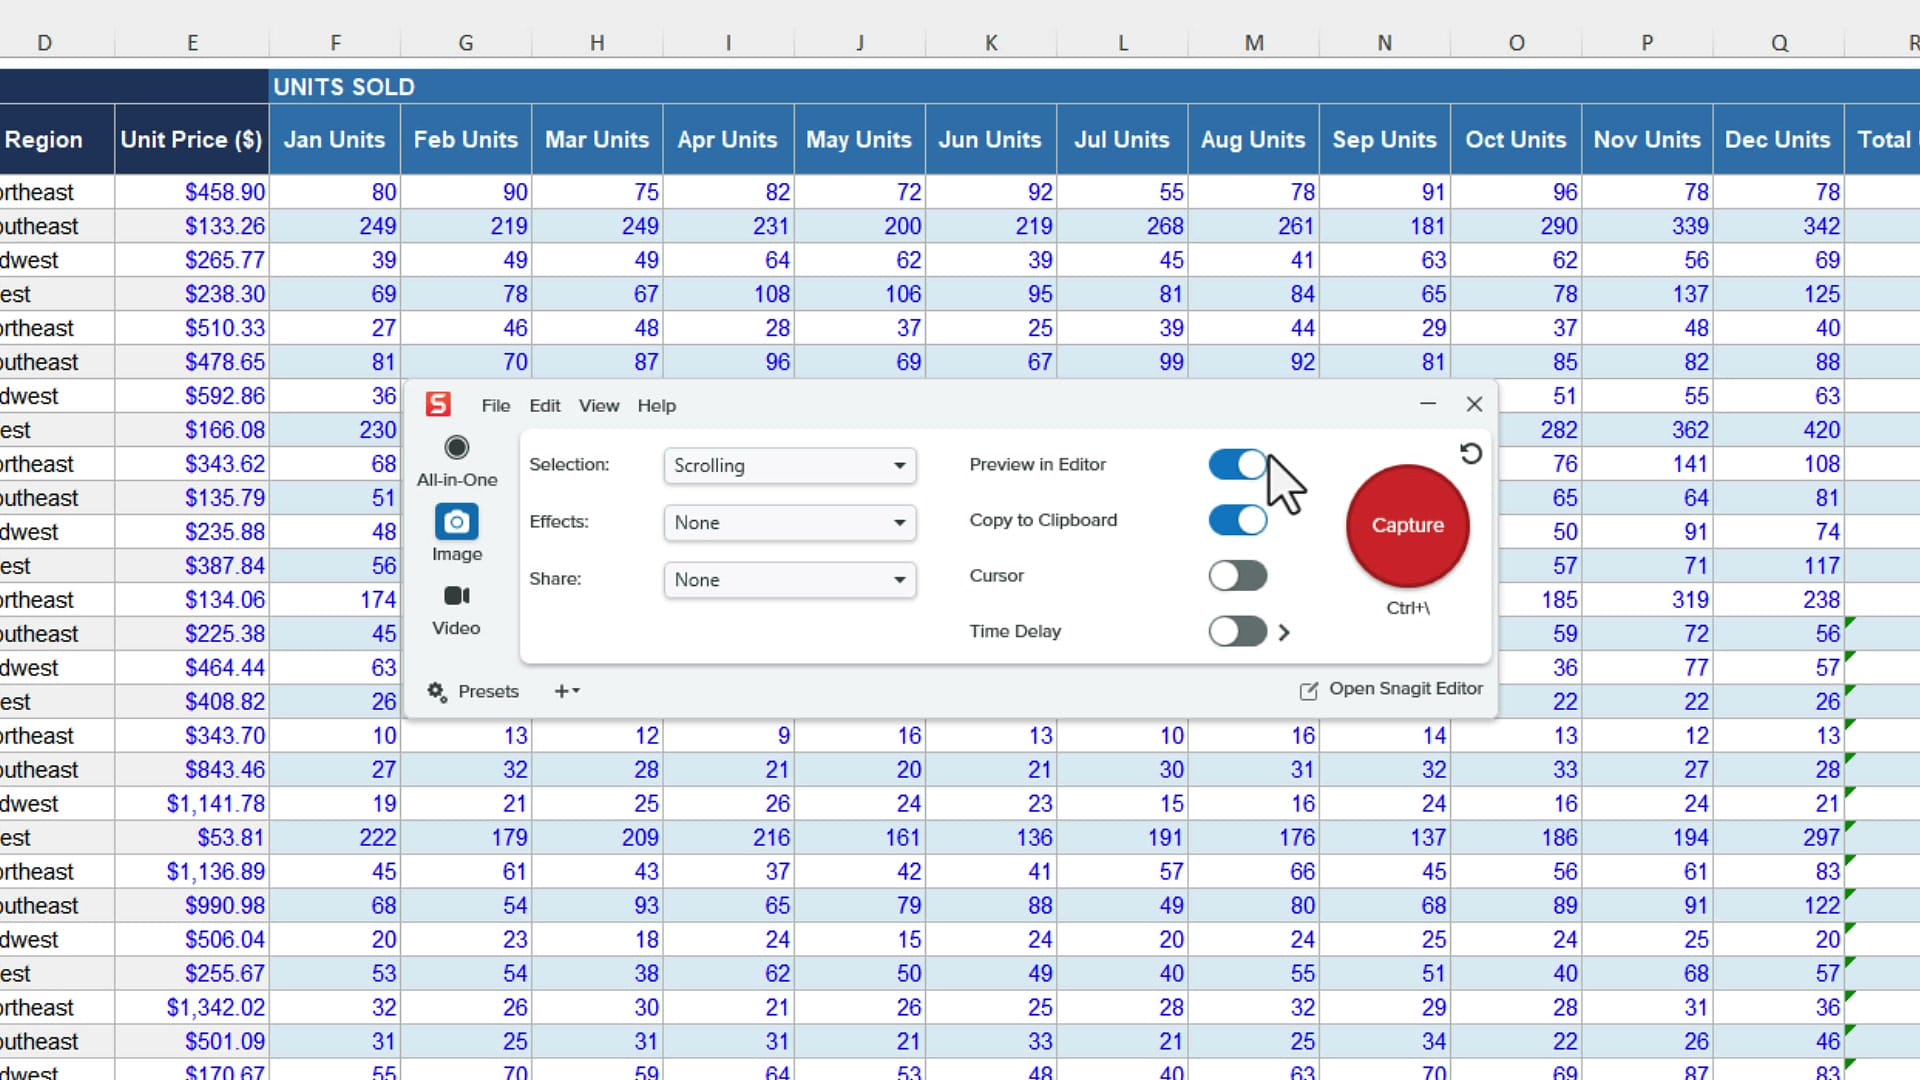
I actually use plain Scrolling more than Automatic Scrolling, because it lets me decide exactly what goes in the picture. In this Excel worksheet, I was asked to show the SKU number in cell A5 over to June (column K), and then all the way down to the bottom. Nobody cares about the other months or the totals on the right. They just want SKU through June, every row.
Automatic Scrolling would grab everything. So I change the selection to Scrolling. You can click Capture, or use your keyboard shortcut (mine is Ctrl+\) to start.
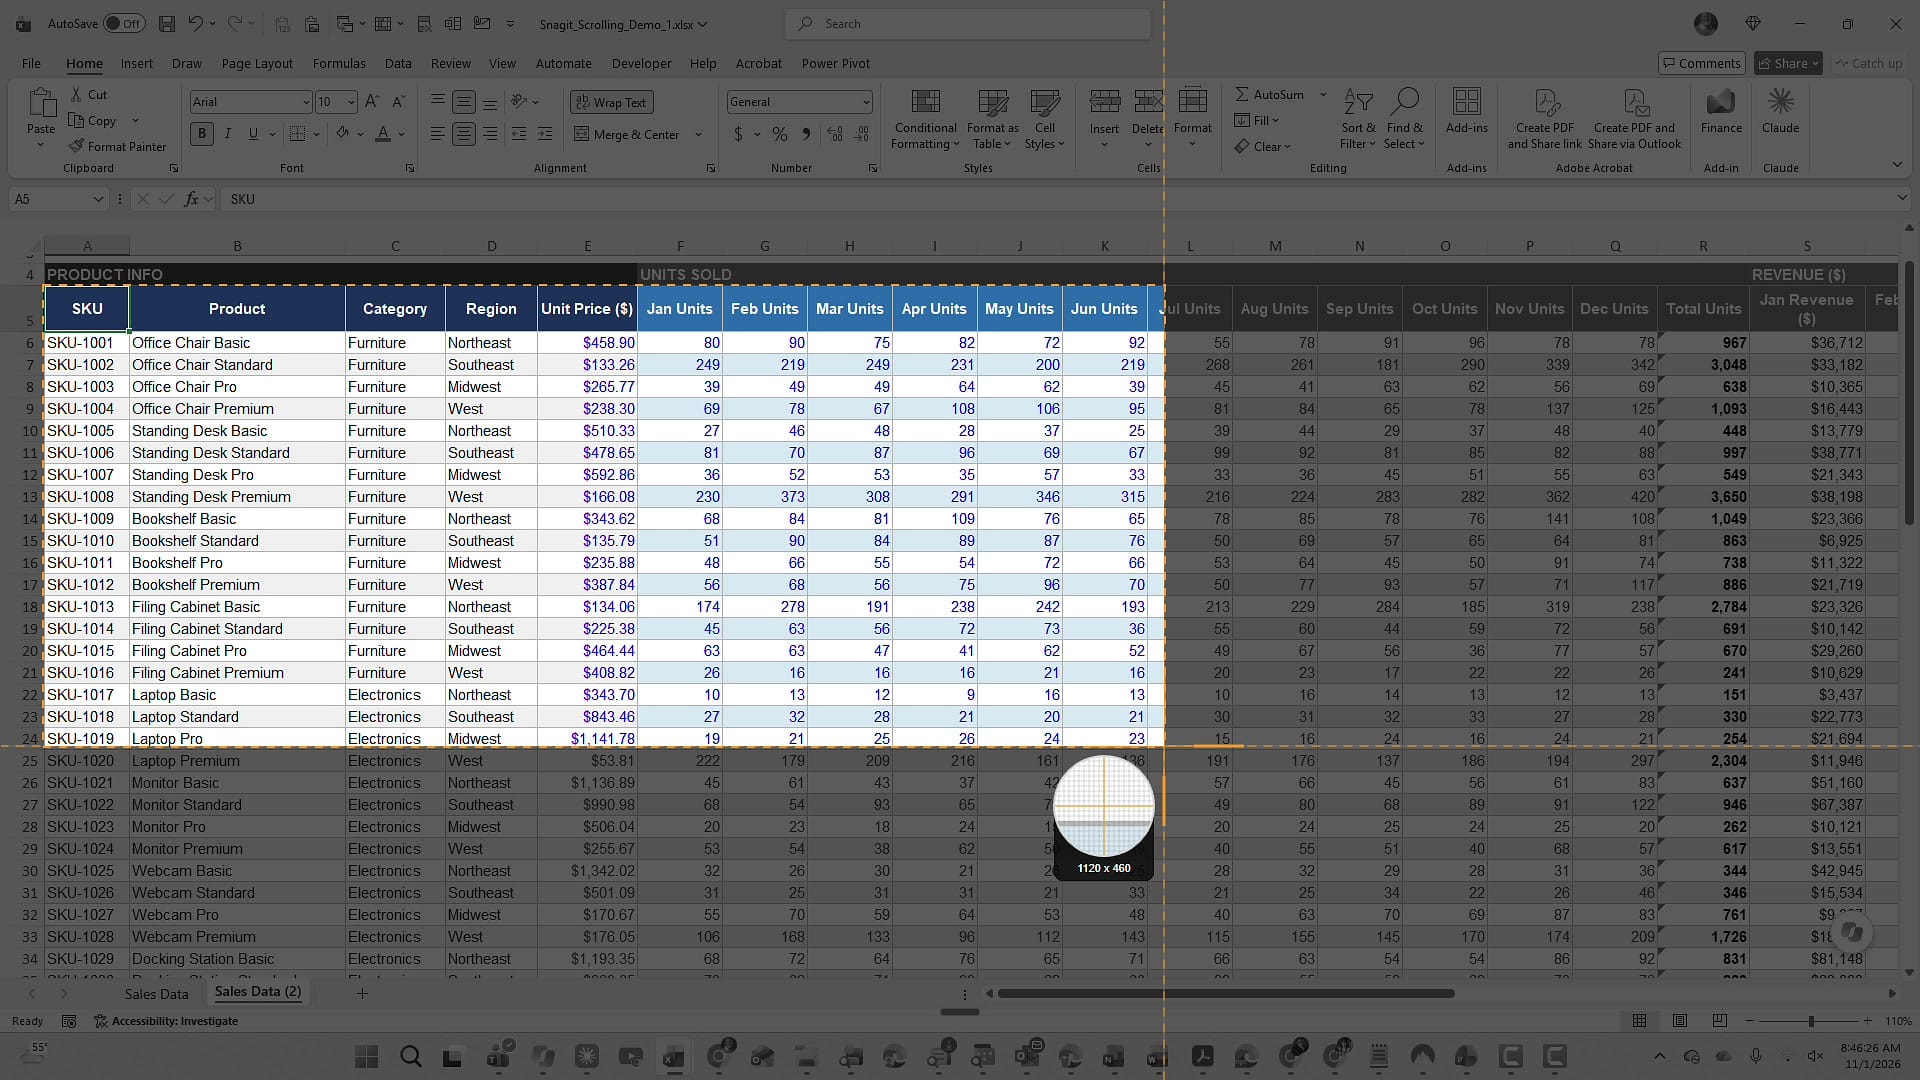
Drag across the area you want, from the SKU heading over to the June column. You may be tempted to drag all the way to the bottom of the screen, but you don't need to. I stop around row 25 and let go of the mouse.
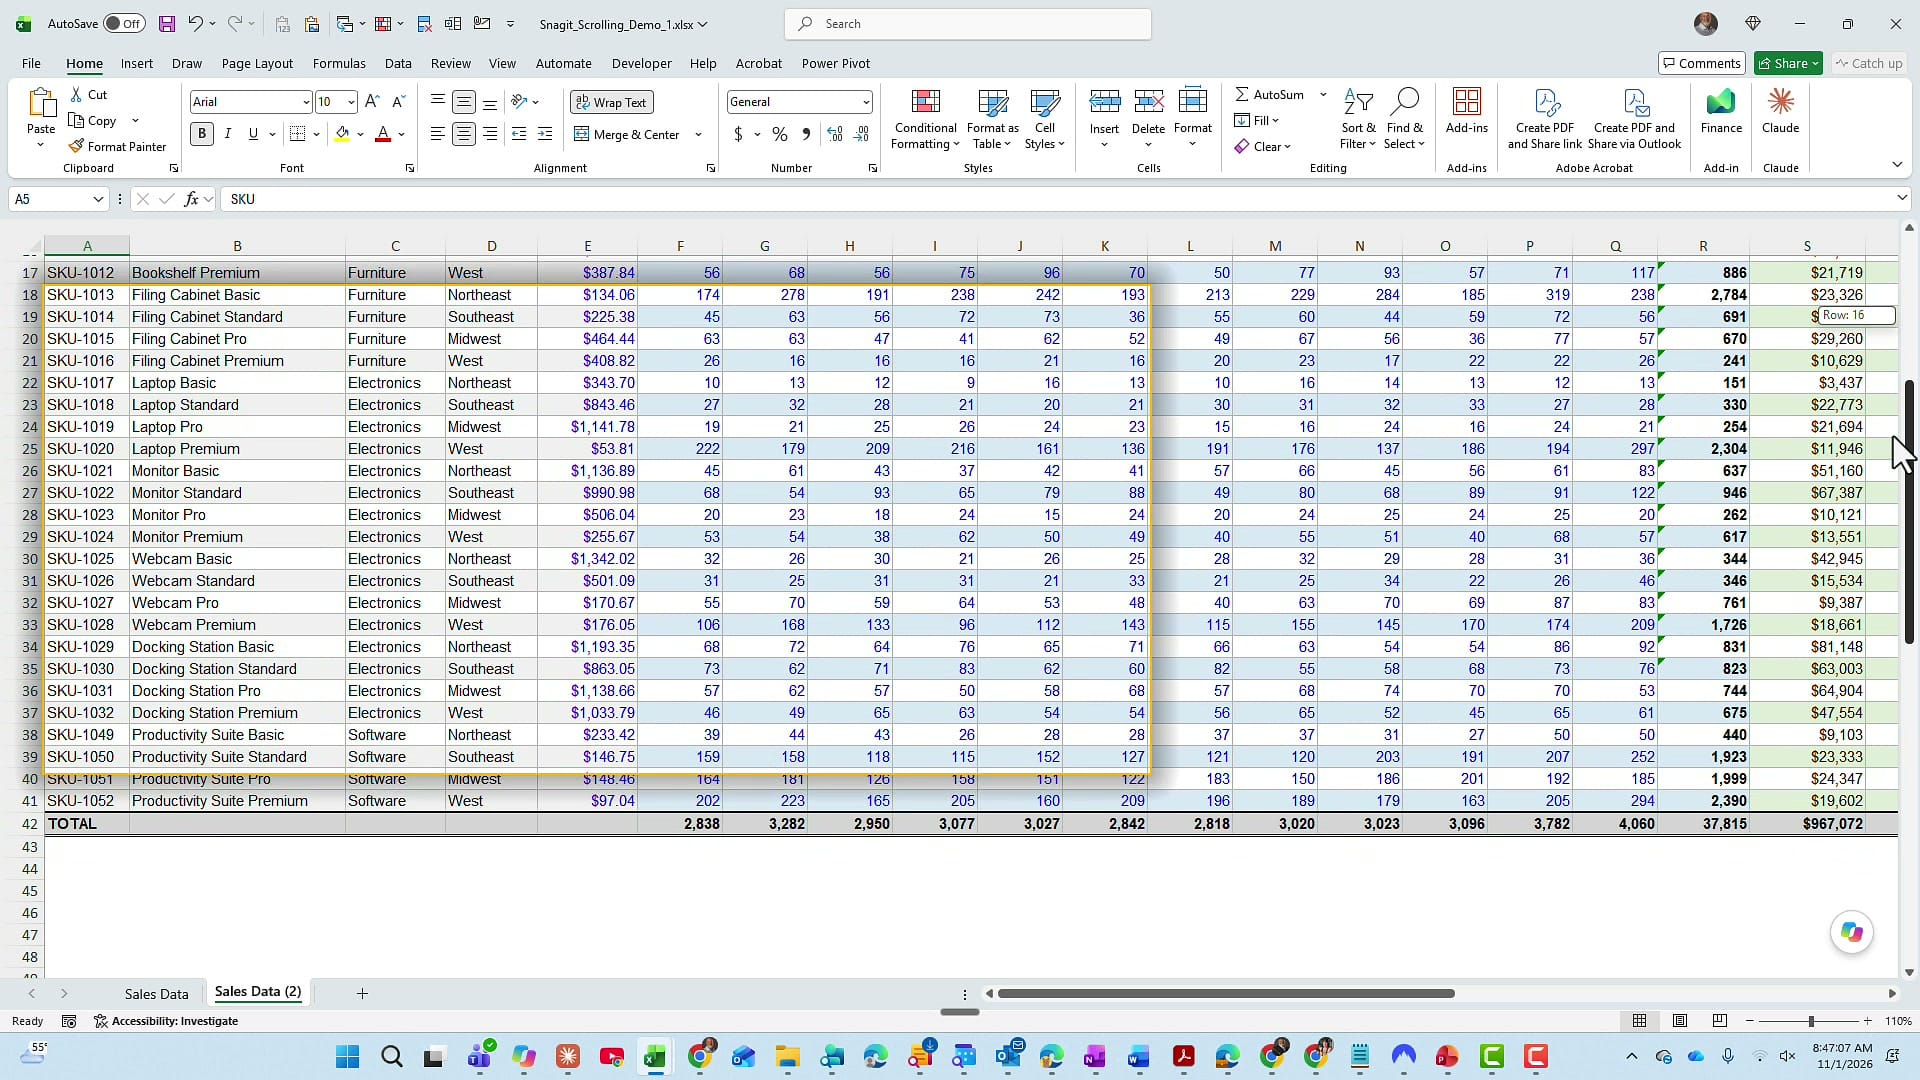
Snagit then prompts you: Scroll vertically or horizontally to start or remove Snagit from the image. Grab the scroll bar and pull down until you reach the last row. My tip: don't scroll too quickly. When you get to the bottom, click Done.
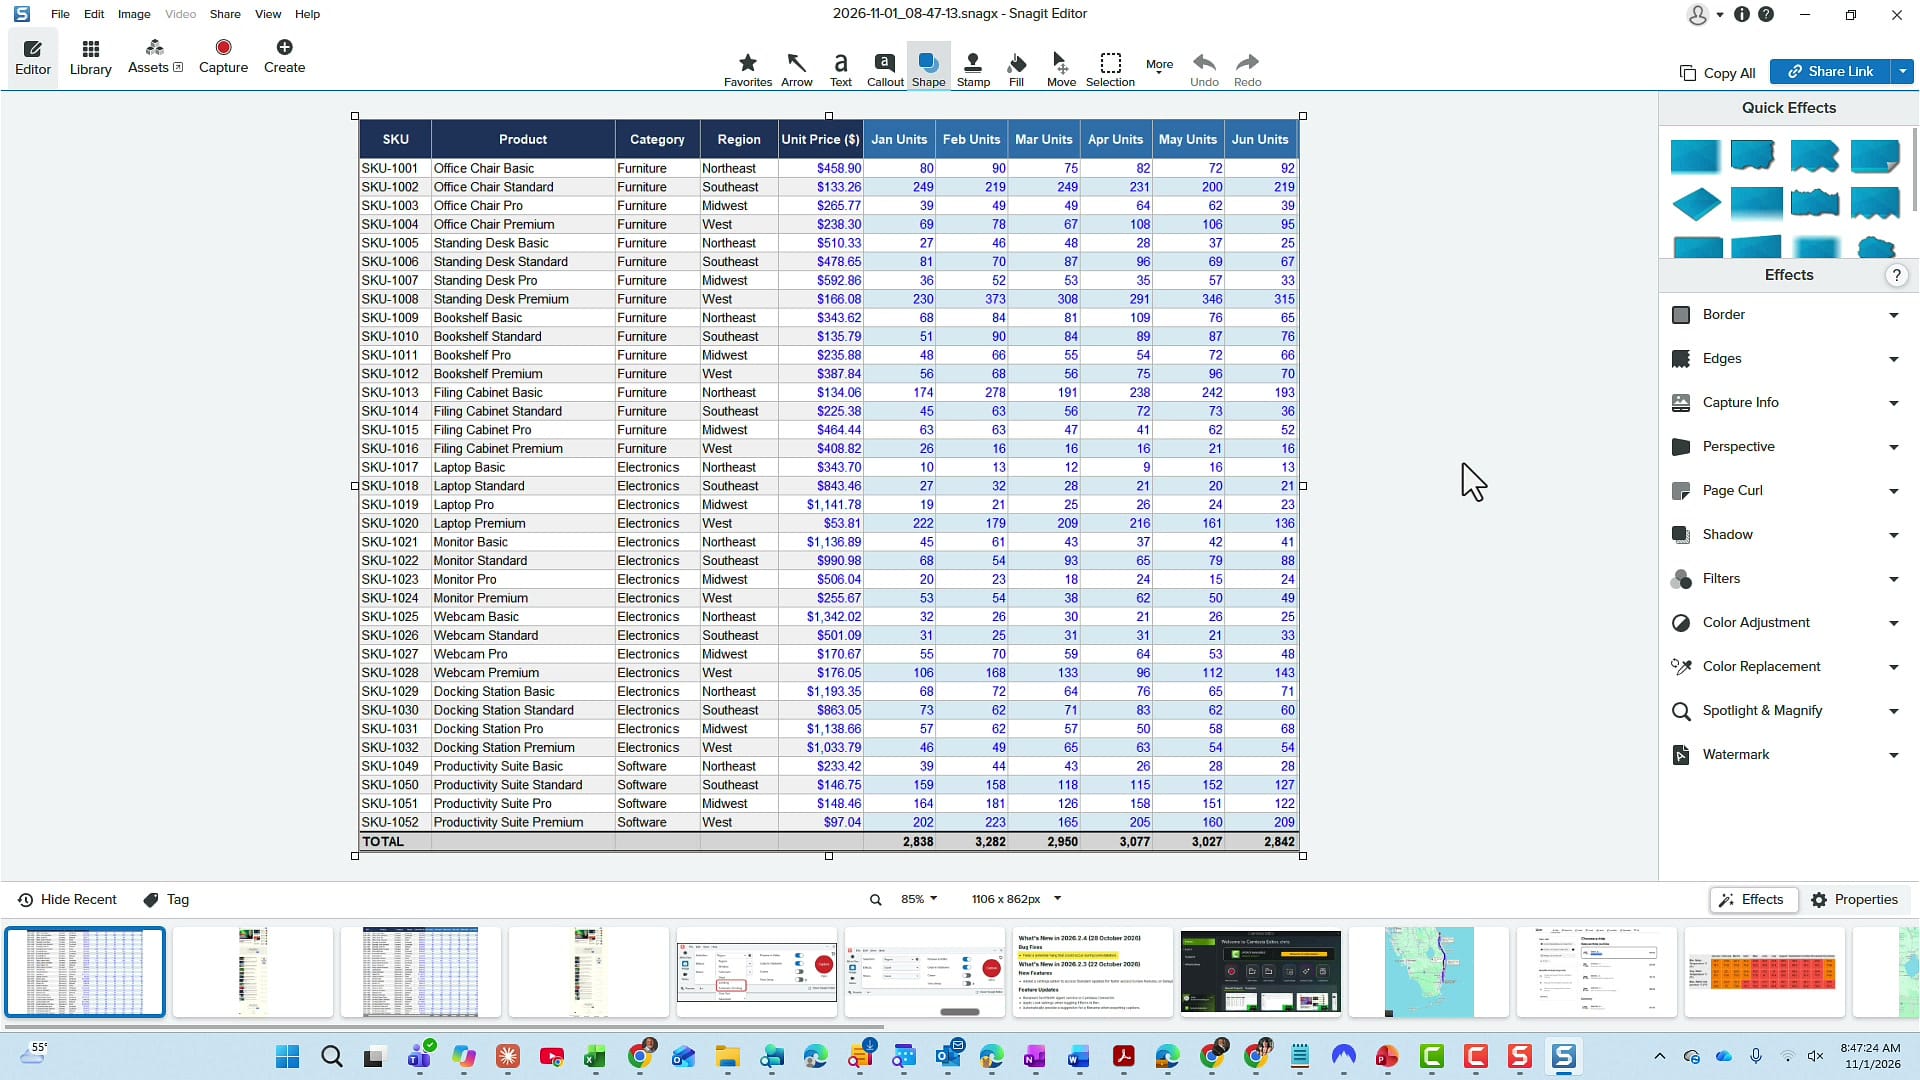
Save or share the Excel screenshot
Back in the Snagit Editor, this is exactly what I wanted: SKU through June, every row down to the total, and nothing else. PNG is fine here and JPEG would work too. I can also copy it and paste it straight into a Teams chat or an email, or make it a PDF.
Scrolling: capture a pane with its own scroll bar in PowerPoint
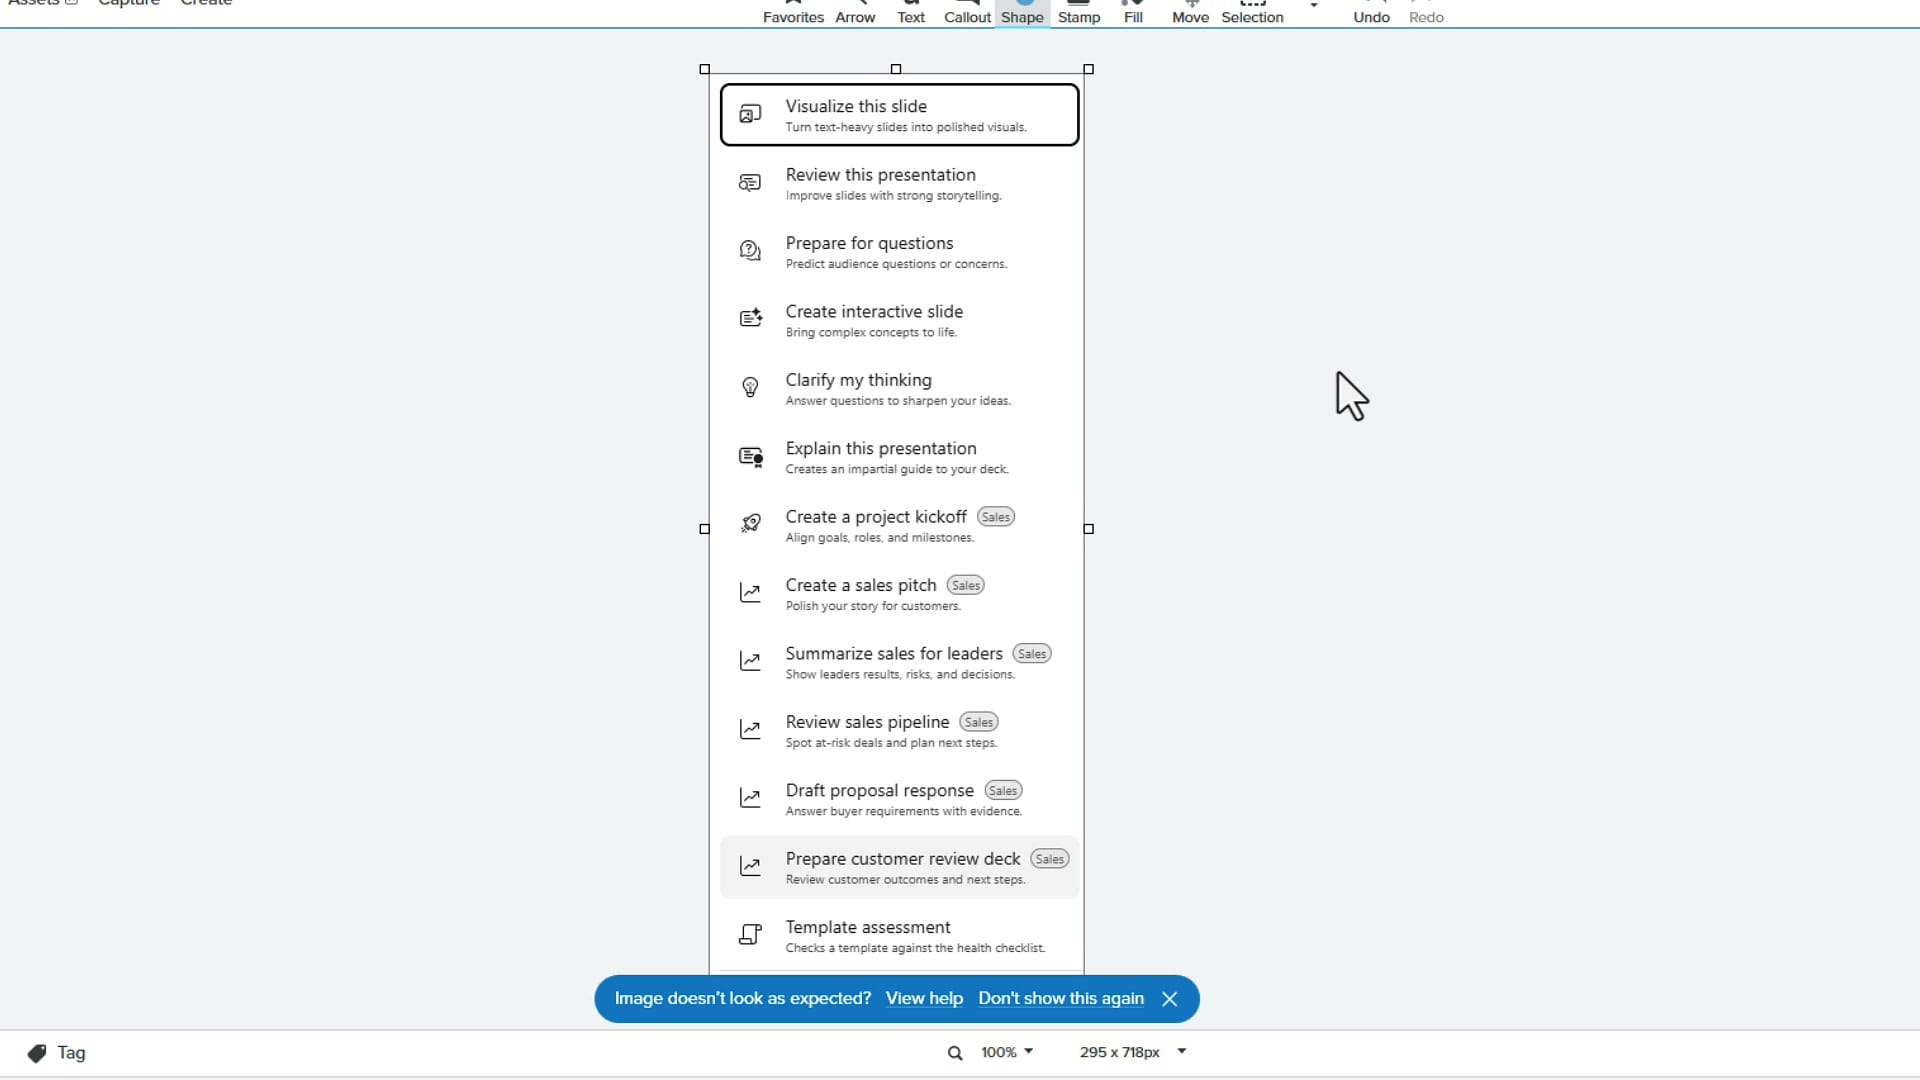
Here's my second example of Scrolling, and it's one where Automatic Scrolling won't work. In PowerPoint, I clicked the plus sign in Copilot and opened the plugins and skills list. It starts with Visualize this slide and goes all the way down to Template assessment, but the list lives inside a small window with its own scroll bar.
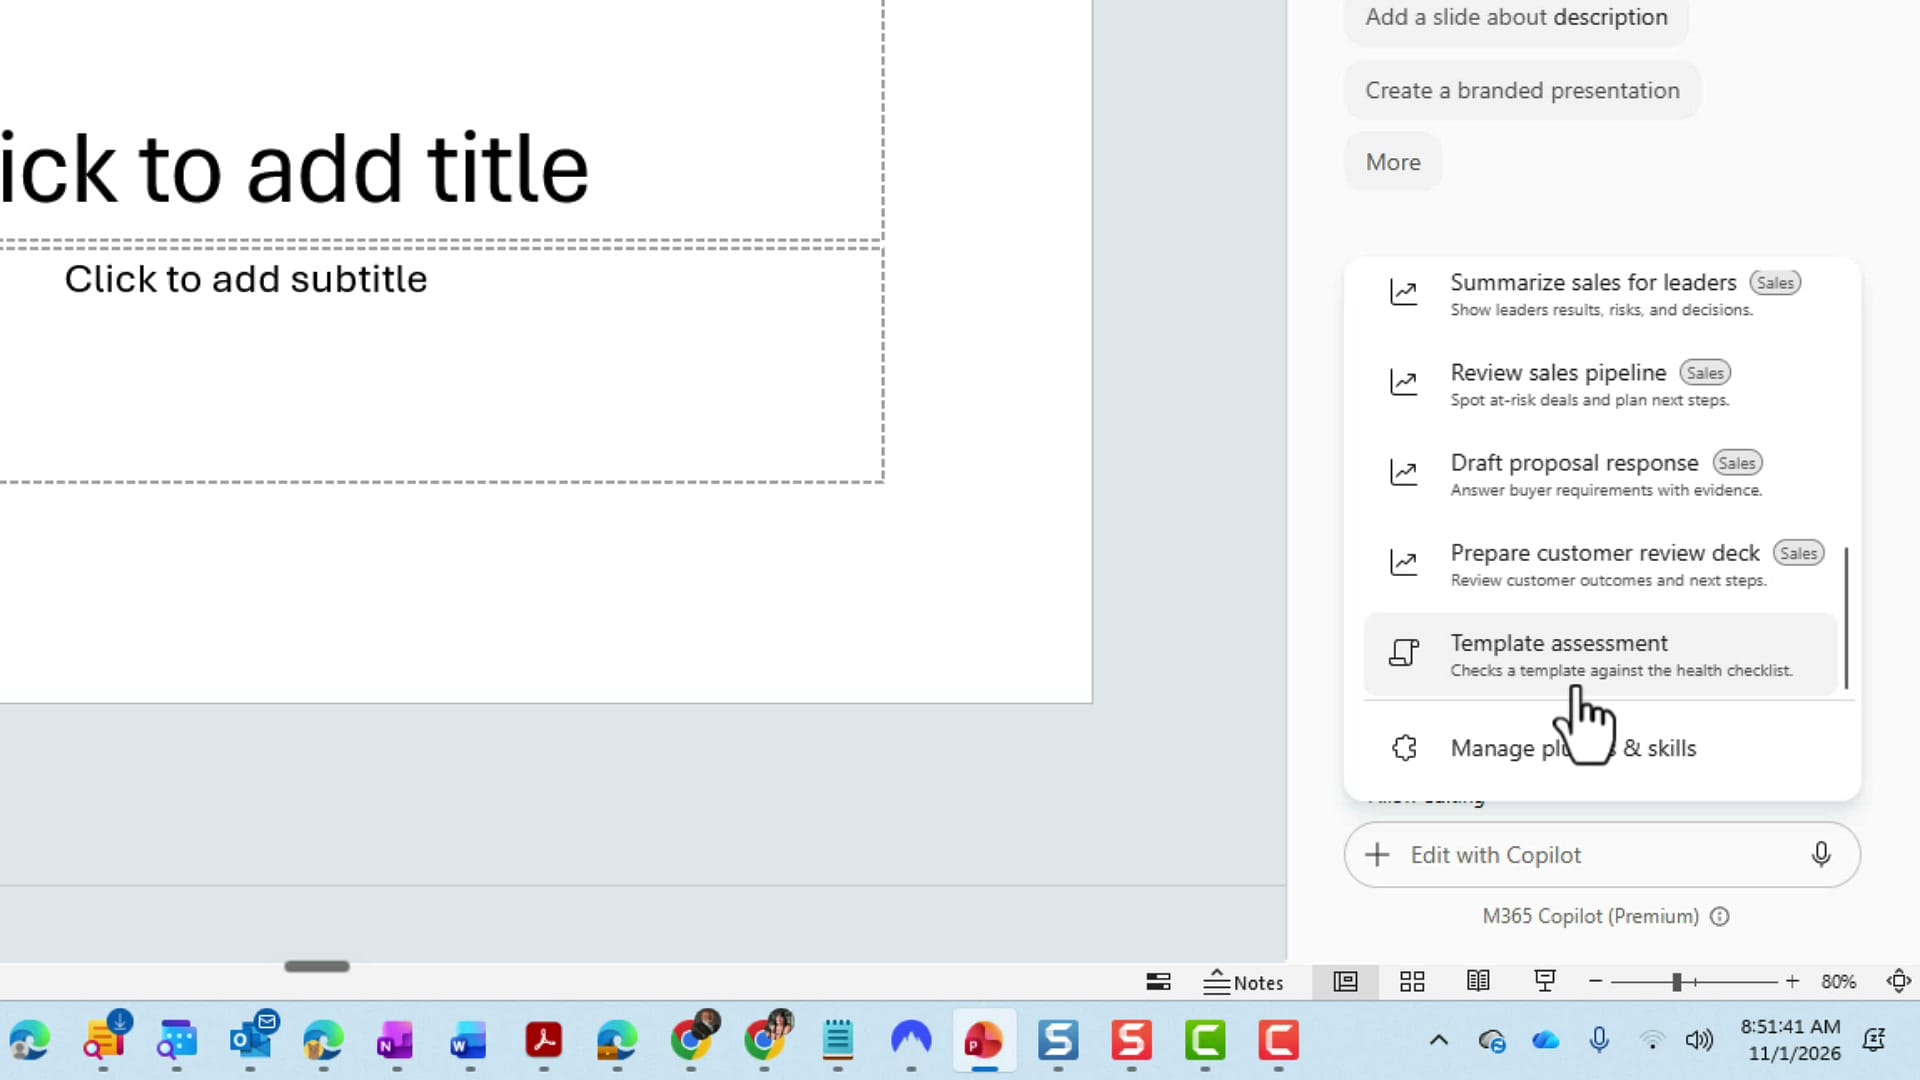
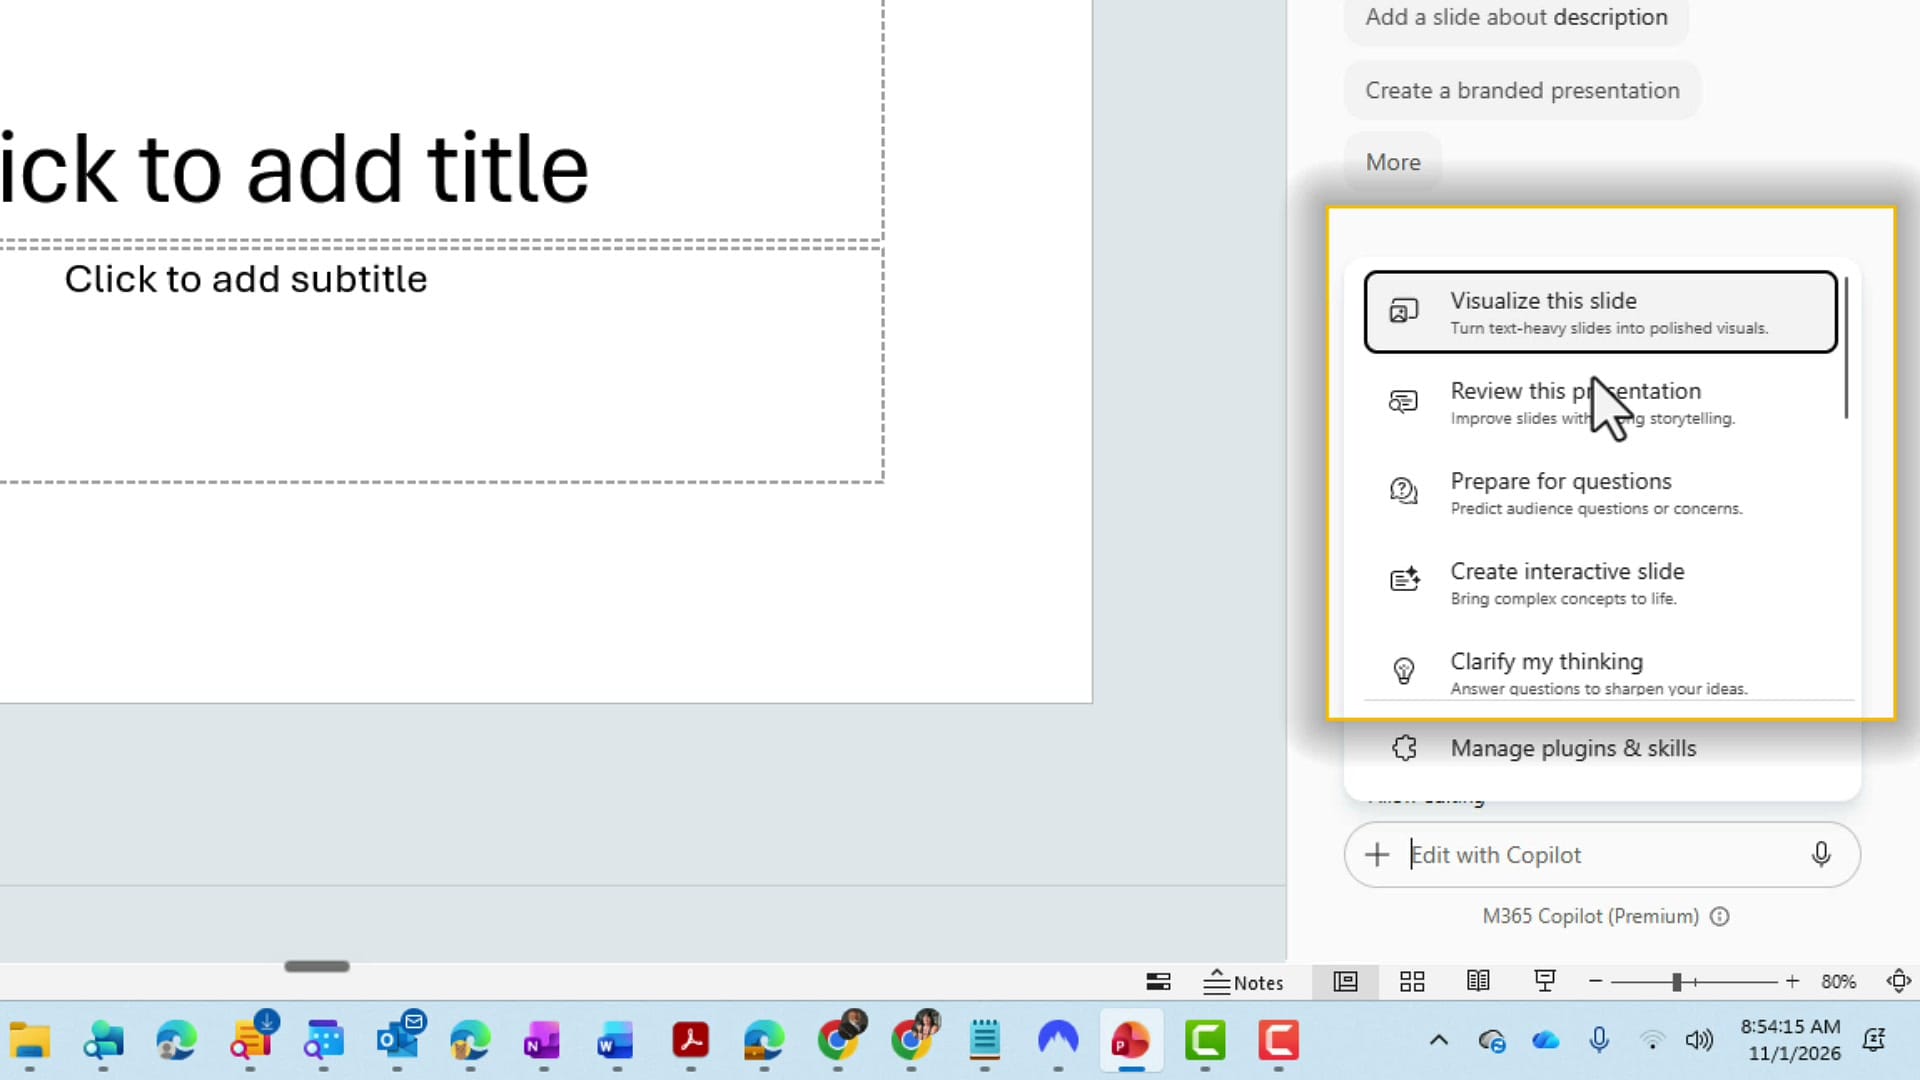
Even if you don't use PowerPoint or Copilot, this is a great example of when to pick Scrolling. I'm trying to capture just what's inside that window, not the whole screen. With Scrolling already set, it doesn't matter whether you start at the top or the bottom. To prove it, I started at the bottom of the list on Template assessment, selected the pane, and scrolled up until I had everything covered. Then I clicked Done.
Trim the screenshot in Snagit Editor
The capture opens in the Snagit Editor again. I usually pull the edges in a little to tidy up the right-hand side and bottom. Now I have one clean screenshot with every option from that list, even the ones hidden behind the scroll bar.
Which one should you use?
- Automatic Scrolling is best when you want the whole thing, like an entire webpage, and you're happy to let Snagit do the scrolling.
- Scrolling is best when you want to choose exactly what's included: specific columns in Excel, or the contents of a pane or window that has its own scroll bar.
Once you've got your captures, you can even combine multiple images into one screenshot in Snagit.
Related guides
 Chris Menard
 Chris Menard
 Chris Menard
 Chris Menard
 Chris Menard