Microsoft Teams Now Has a Muted Chat Section: How to Enable, Use, and Disable It
Microsoft Teams just added a new Muted section to the chat list that automatically groups your muted meeting chats. Here's how to turn it on, how it behaves, and the one limitation to know about.


Microsoft Teams just rolled out a new option that automatically groups your muted meeting chats into their own collapsible section in the chat list. If you frequently mute meeting chats after the meeting ends — like I do — this is a small change with a big quality-of-life impact. Here is how to enable it, how it behaves, and one important limitation to know about.
Why a separate Muted section matters
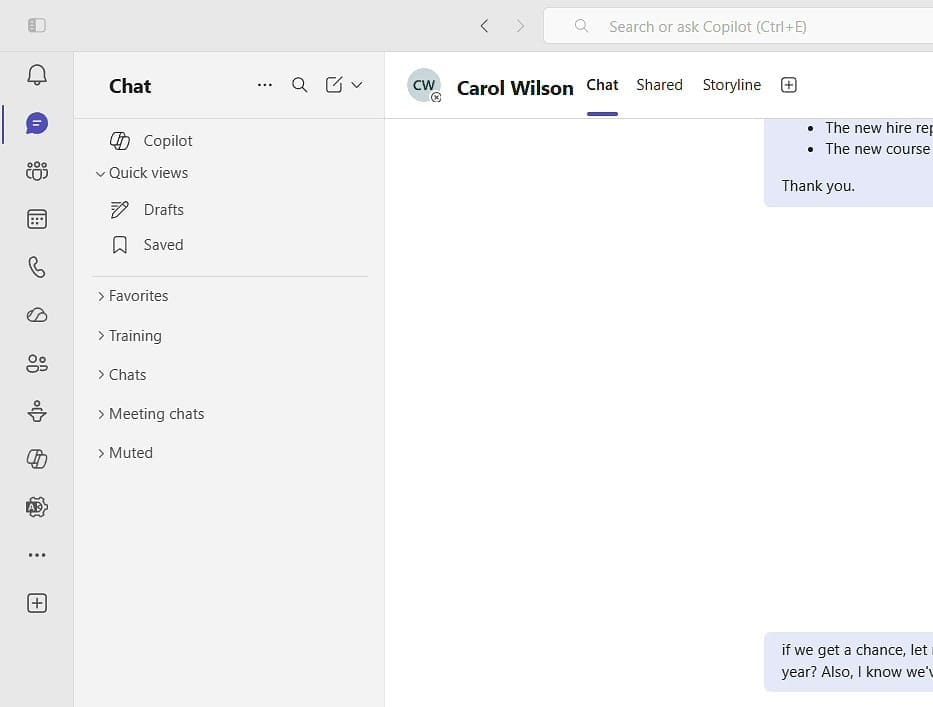
If you attend a lot of meetings, your Meeting chats section can fill up fast. After a meeting wraps and I leave, the chat is still active for everyone else who stayed. Coworkers often keep chatting in there for a while, and the notification badges and bumps to the top of the list become a distraction when I am trying to focus on other work. My fix has always been to mute those chats one by one. The new Muted section takes that habit and gives it a clean home — every muted meeting chat drops out of the active list and into its own collapsed bucket where it stays out of the way until you need it.
Open Customize view in your chat list
To enable (or disable) the Muted section, start in the chat pane on the far left of Teams. At the top of the chat list, click the three dots menu next to the search icon, then choose Customize view.
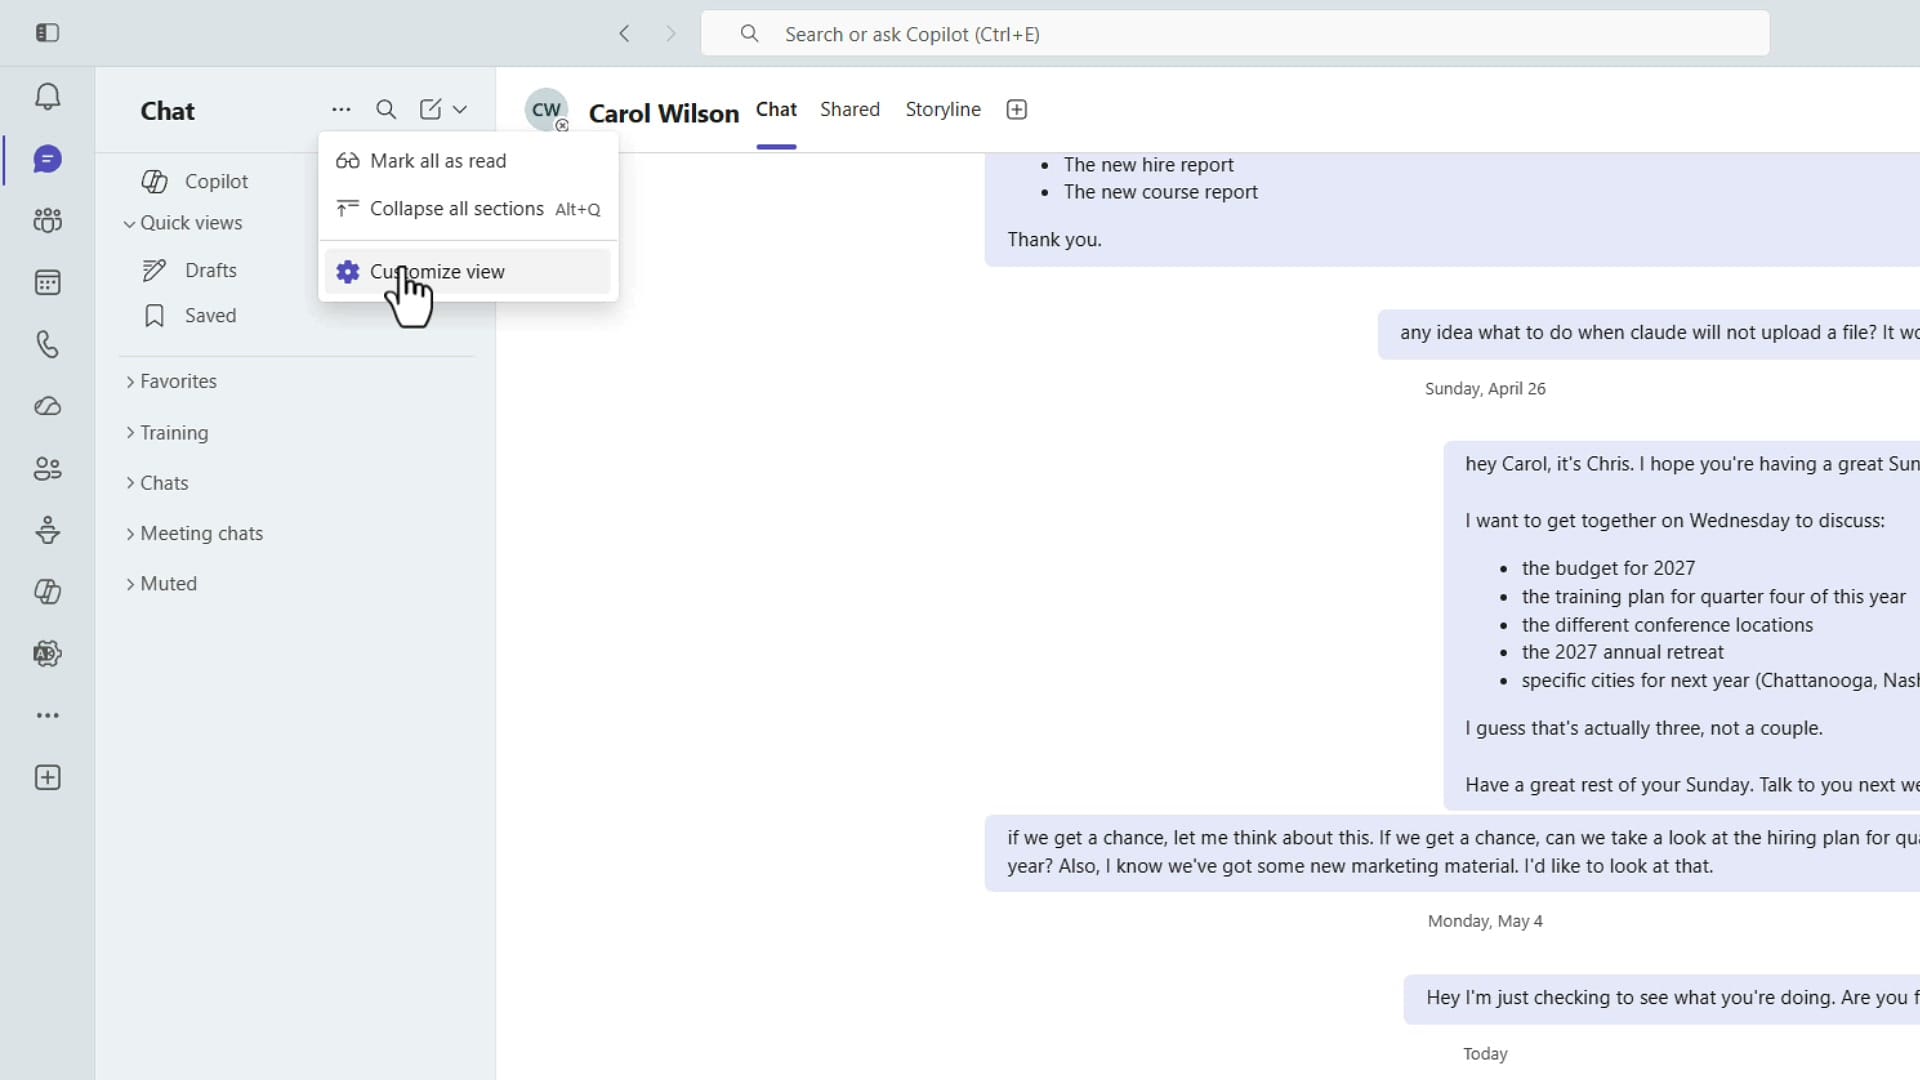
That opens your Teams settings on the Chats and channels tab — exactly where the new toggle lives.
Enable Show muted items in their own section
Scroll down a little to the Chats and channels list group. You will see a stack of toggles for things like message previews, time stamps, and meeting chats. The fourth toggle is the new one:
- Show meeting chats in their own section — separates meeting chats from regular chats. I have this turned on.
- Show muted items in their own section — the brand-new option. Turn this on to get the Muted section in your sidebar.
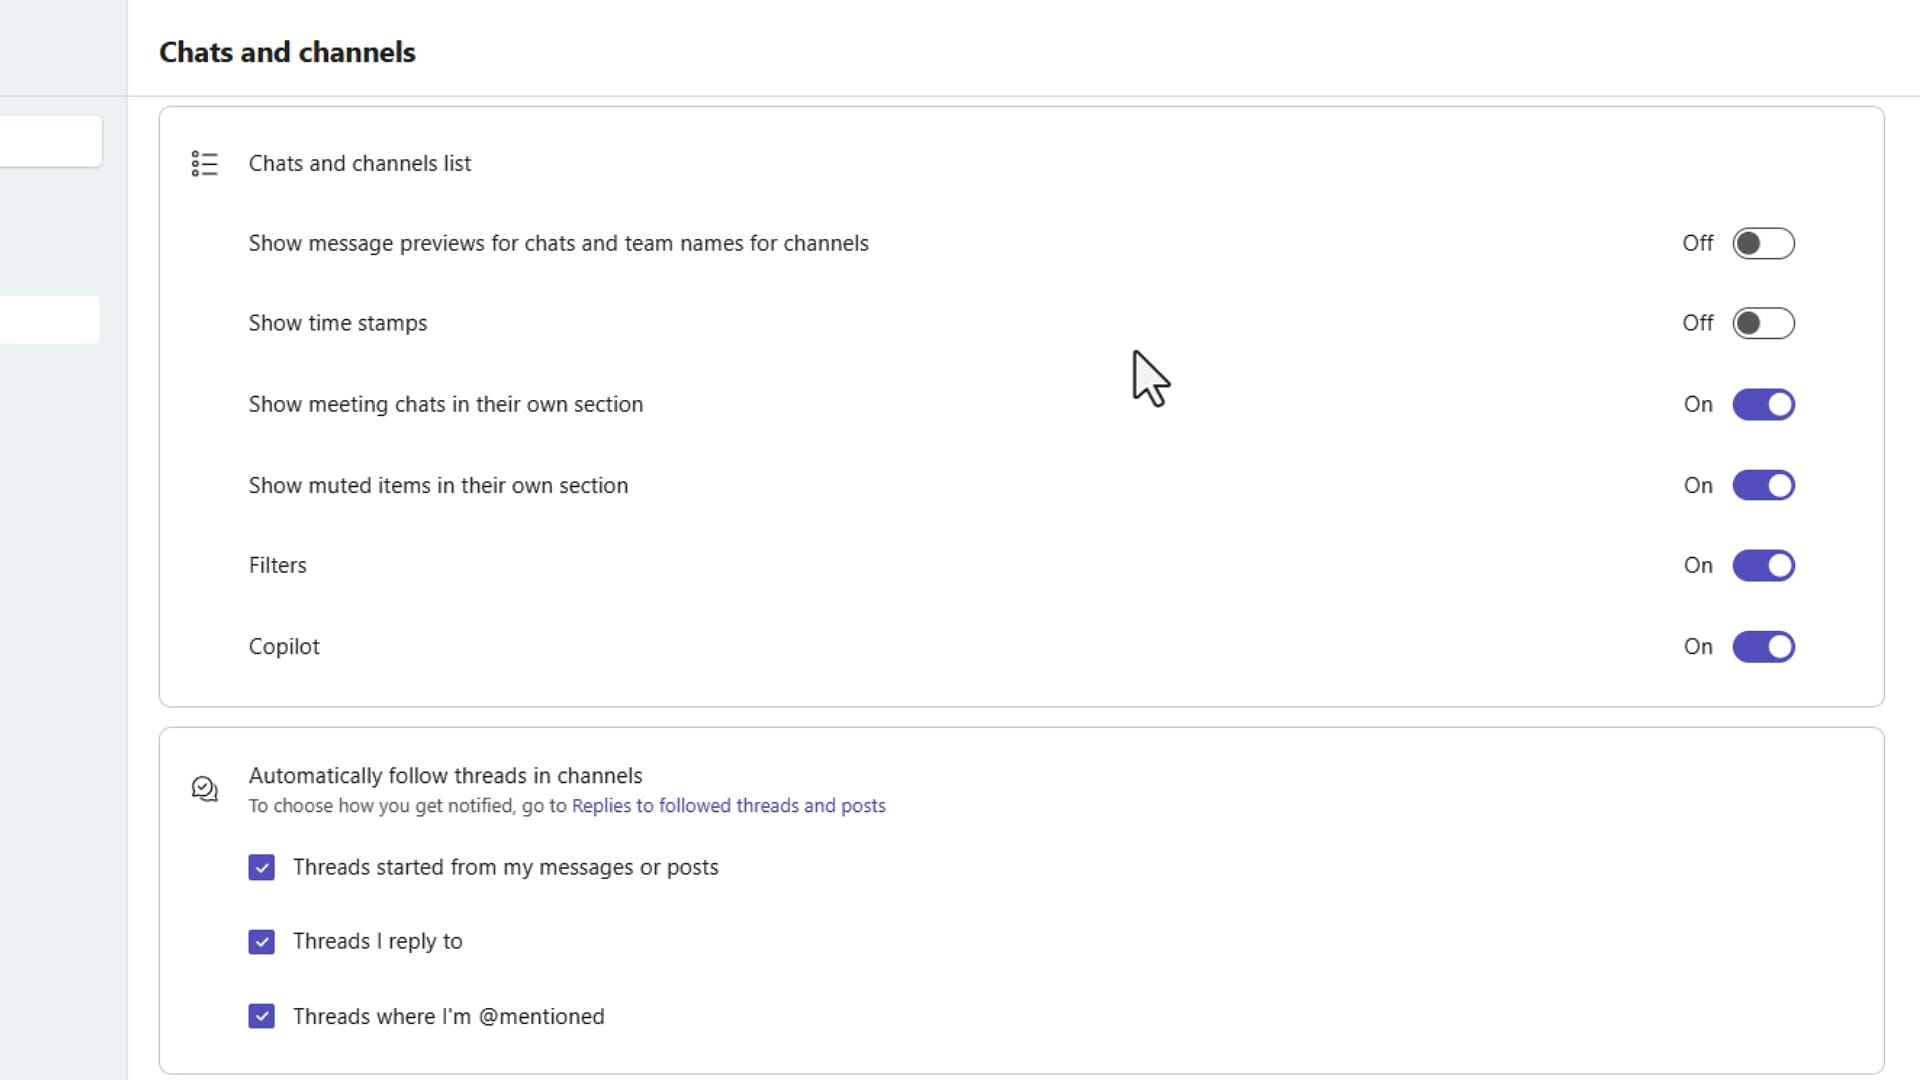
When the notification first rolled out to me, I genuinely cannot remember whether it arrived already enabled or whether I had to flip it on. Either way, this is the single switch that controls it.
Mute a meeting chat and watch it move
By default, every chat in your Meeting chats section is unmuted. To mute one, hover over the chat in the sidebar, click the three dots that appear, and choose Mute.
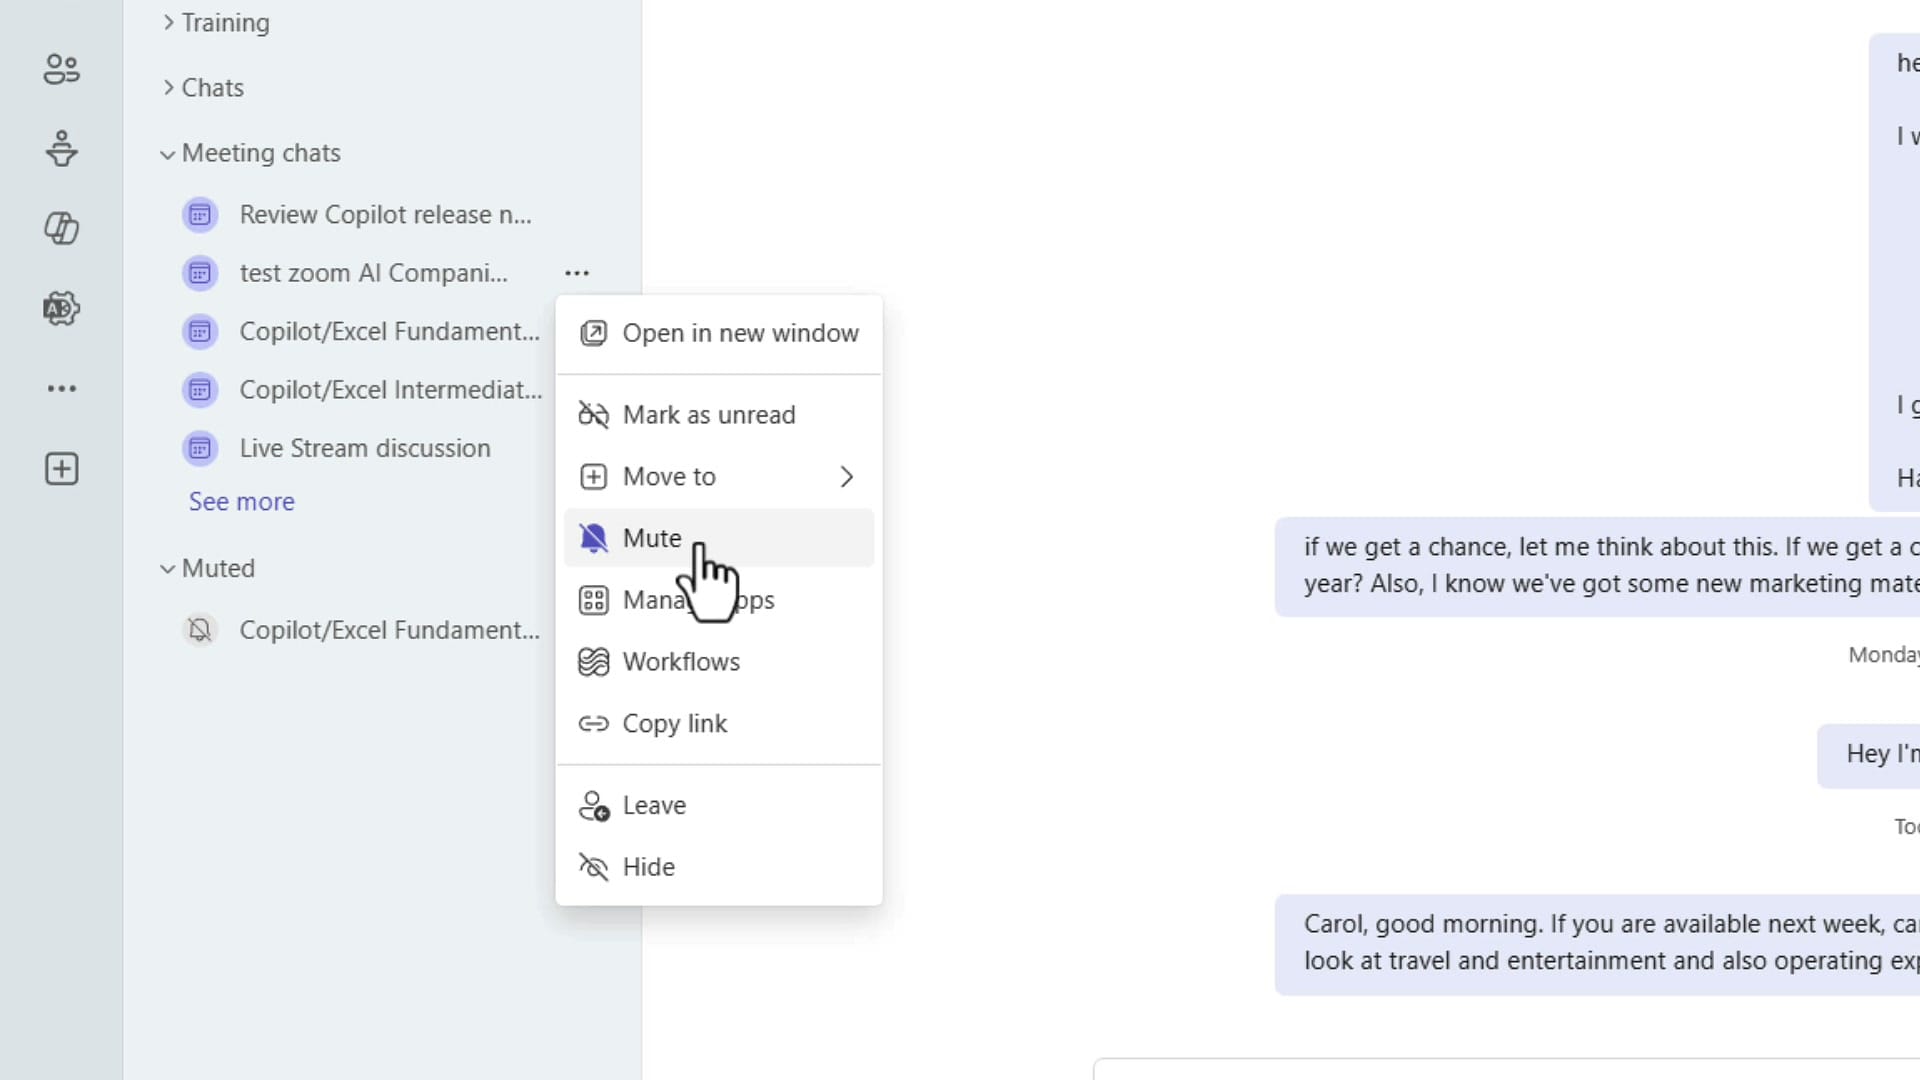
As soon as you click Mute, the chat slides out of Meeting chats and into your Muted section, with a small bell-with-a-line-through-it icon to remind you it is silenced. Expand Muted and you will see every meeting chat you have ever muted, organized together.
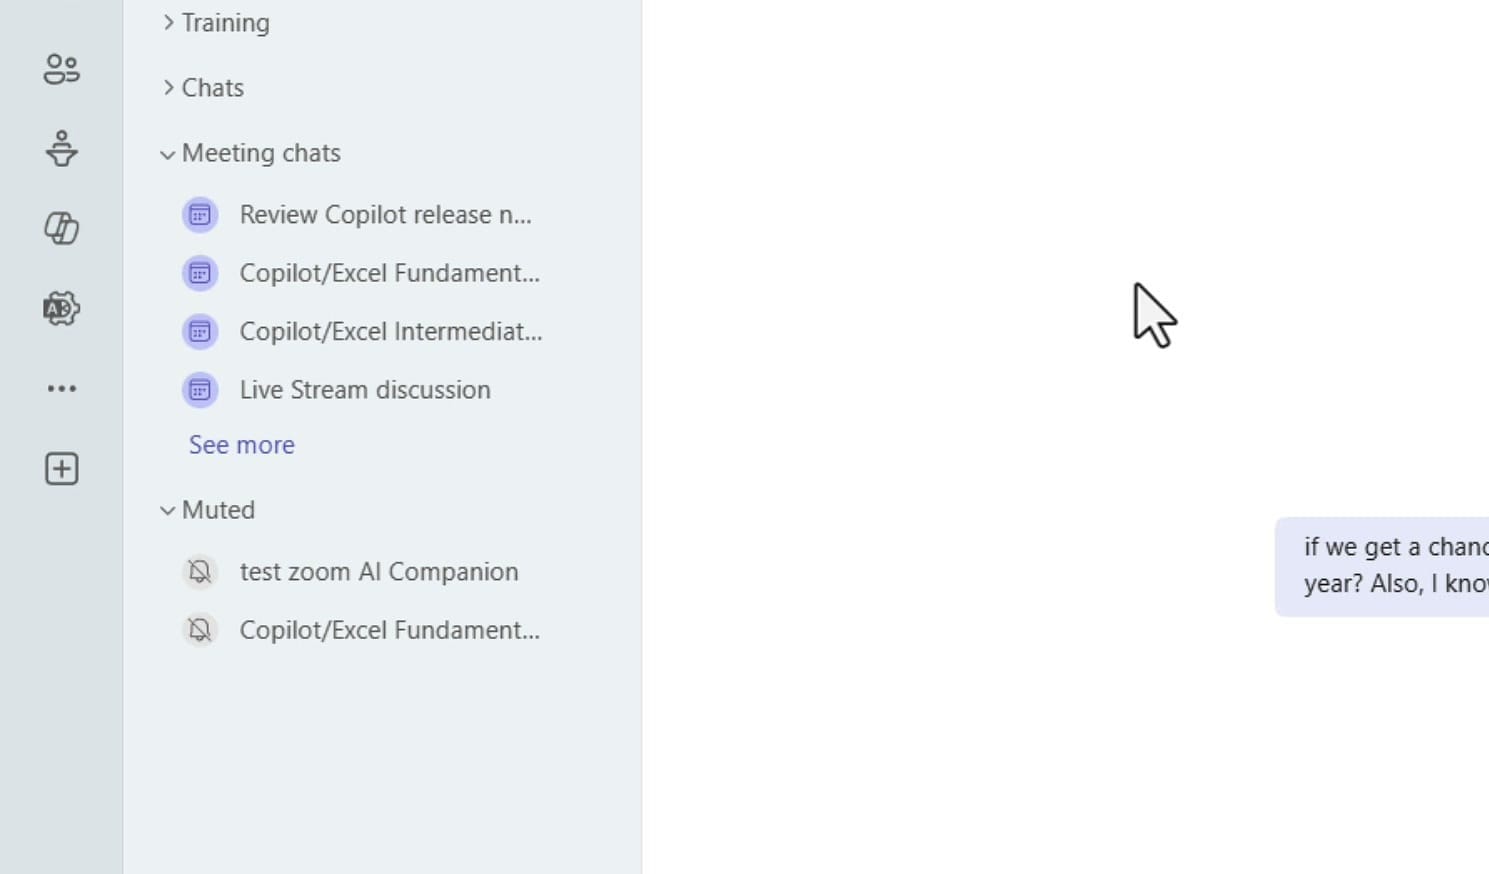
This is the part I am personally loving. I like to chat during a meeting, but once I leave I do not want to keep seeing that conversation bump to the top of my list every time someone follows up. Now those muted threads quietly live in their own section — out of sight, but easy to find when I need to scroll back through them.
Turning the Muted section off
If you would rather keep your muted meeting chats mixed in with the rest of your meeting chats, just go back to Customize view and turn Show muted items in their own section off. Your muted chats stay muted — they just go back to living under Meeting chats with the bell-off icon on each one.
Important limitation: this only works for meeting chats
Here is the part that the settings screen does not spell out: the new Muted section is only for meeting chats. Muting a regular one-on-one or group chat does not move it into the Muted section.
For example, I have a chat with Carol Wilson pinned in my Favorites. If I right-click that chat and choose Mute, you might expect it to drop into Muted along with my muted meeting chats. It does not. The chat stays right where it was — in Favorites — with only the bell icon indicating it is muted.
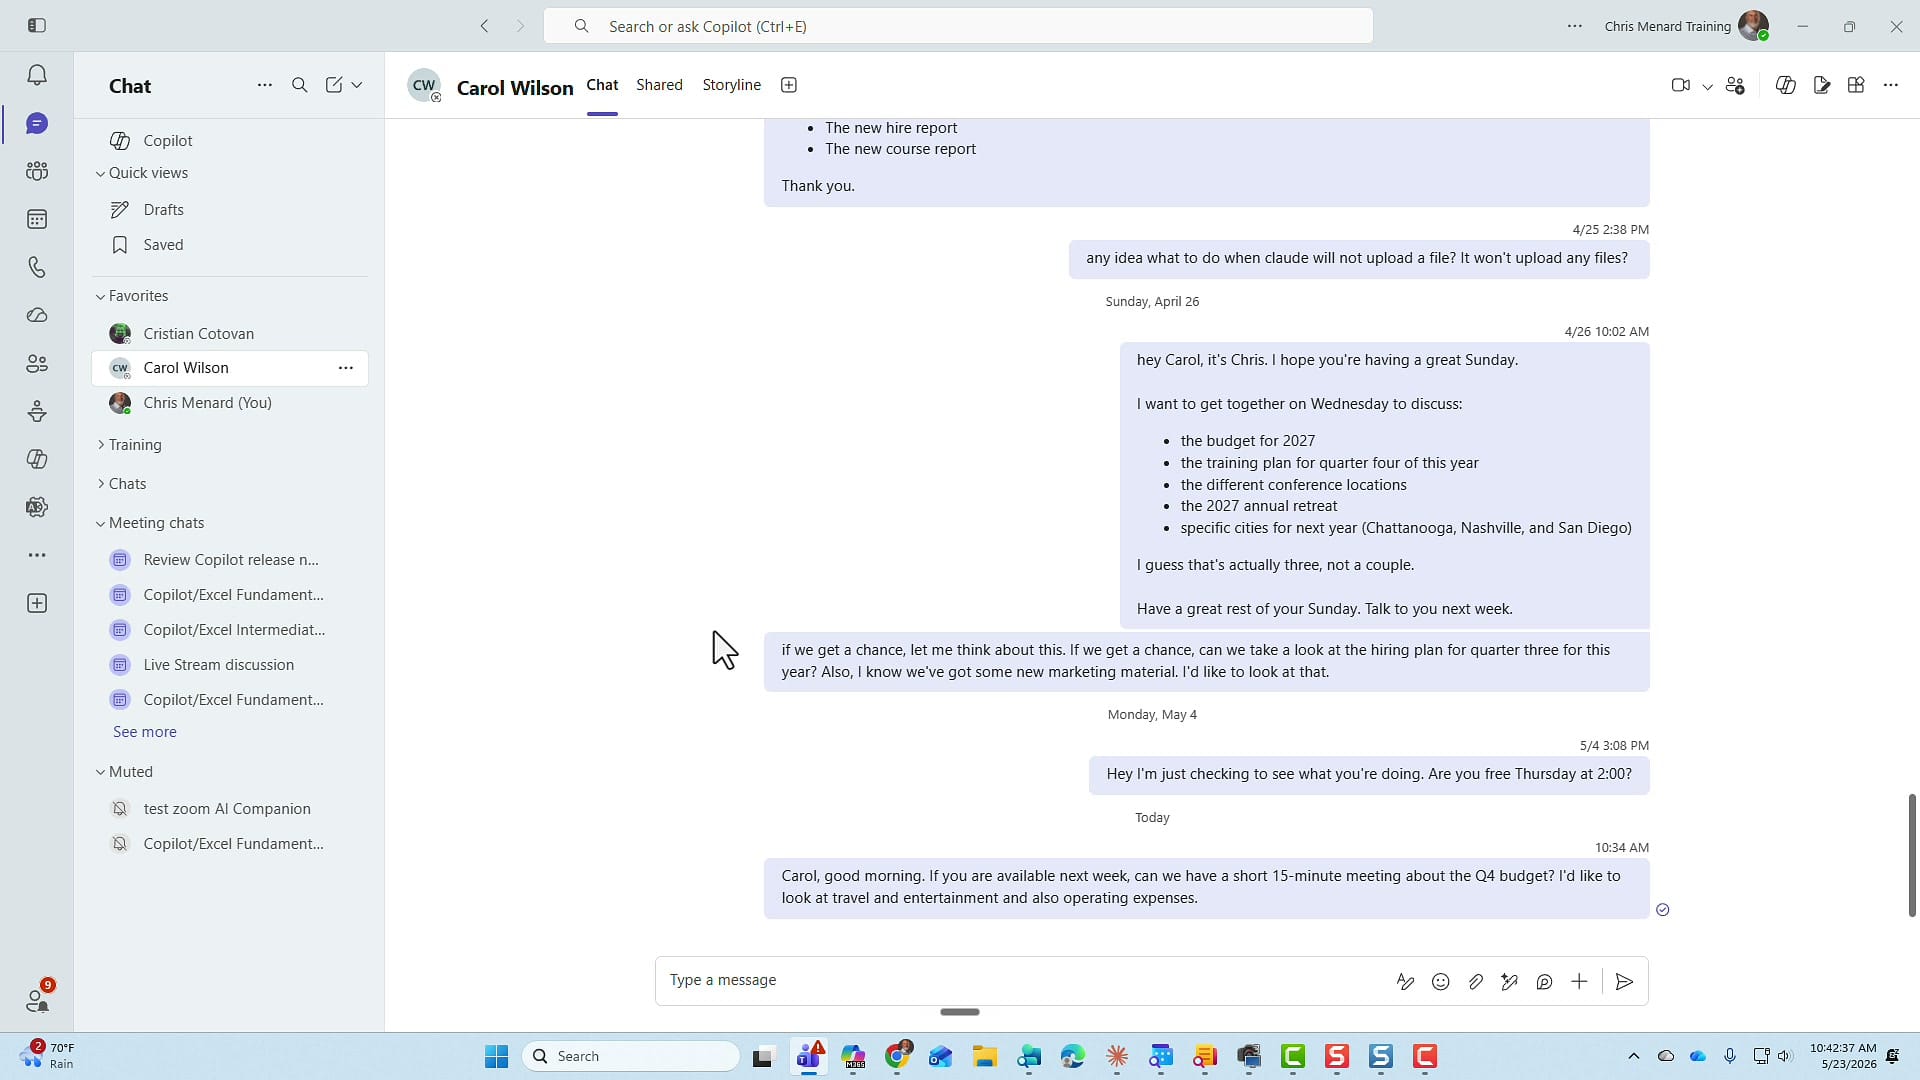
So if you mute lots of regular chats too, do not expect them to collect in this new bucket. For now, treat the Muted section as a "post-meeting chat parking lot." Microsoft may extend it later, but as of today it is scoped specifically to meeting chats.
Who should turn this on
If any of these sound like you, flip the toggle on:
- You attend a lot of recurring or one-off meetings and frequently mute the chat after you leave.
- Your Meeting chats section gets noisy and you want quiet chats grouped separately.
- You like a clean chat list and prefer collapsible sections over a long flat list.
If you rarely mute meeting chats — or you want them mixed in chronologically with the rest — leave it off. There is no wrong answer; this is purely a sidebar-organization preference.
Related guides