Excel Power Query vs. Manually Fixing Data: A Side-by-Side Comparison
Clean one messy Excel dataset two ways — manually and with Power Query — to see exactly when each approach saves you time.


If you've never used Power Query and you're still cleaning up messy spreadsheets by hand, this comparison is for you. I'm going to take one ugly dataset and fix it two ways — first manually with formulas, then with Power Query — so you can see exactly where each approach wins. I'll also tell you the one time I'd still skip Power Query and just fix the data by hand.
You can download the same practice file I'm using here — no email, no name, nothing to sign up for. Open it and follow along:
The data we're starting with
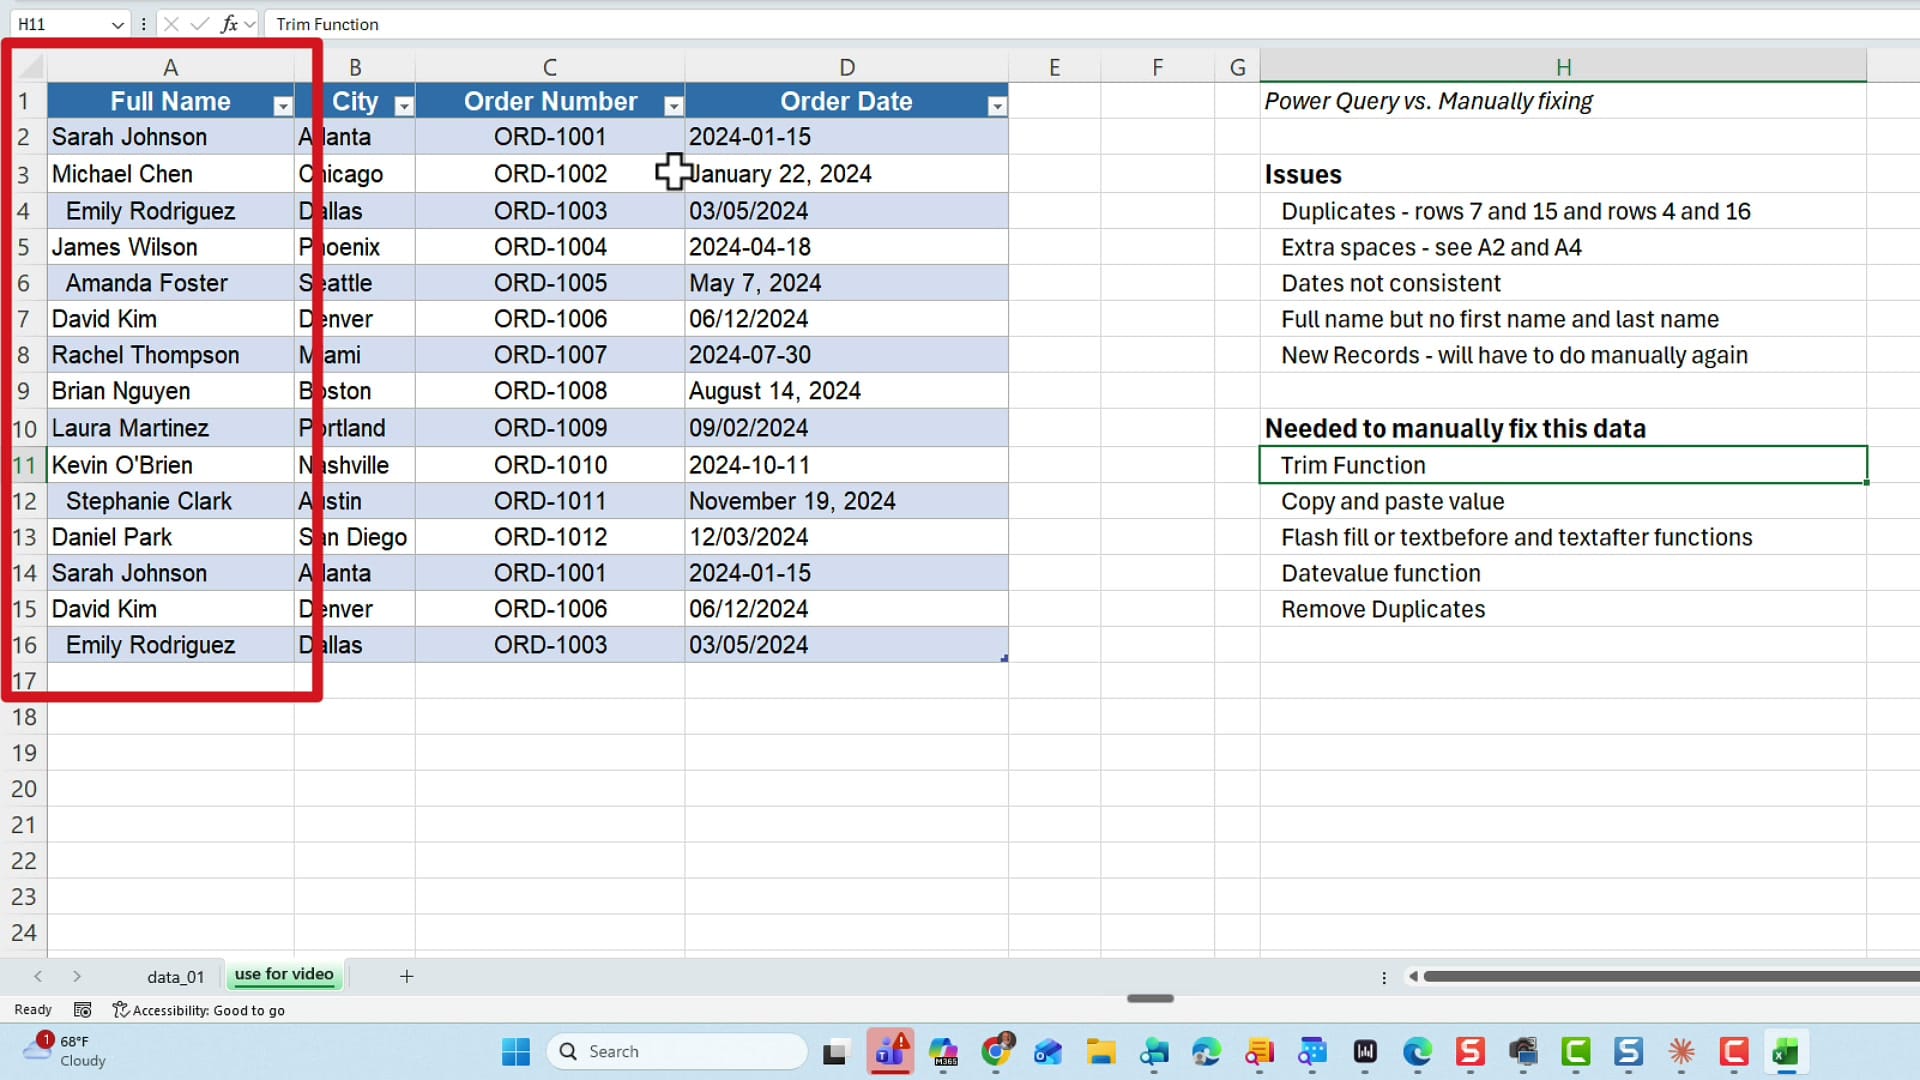
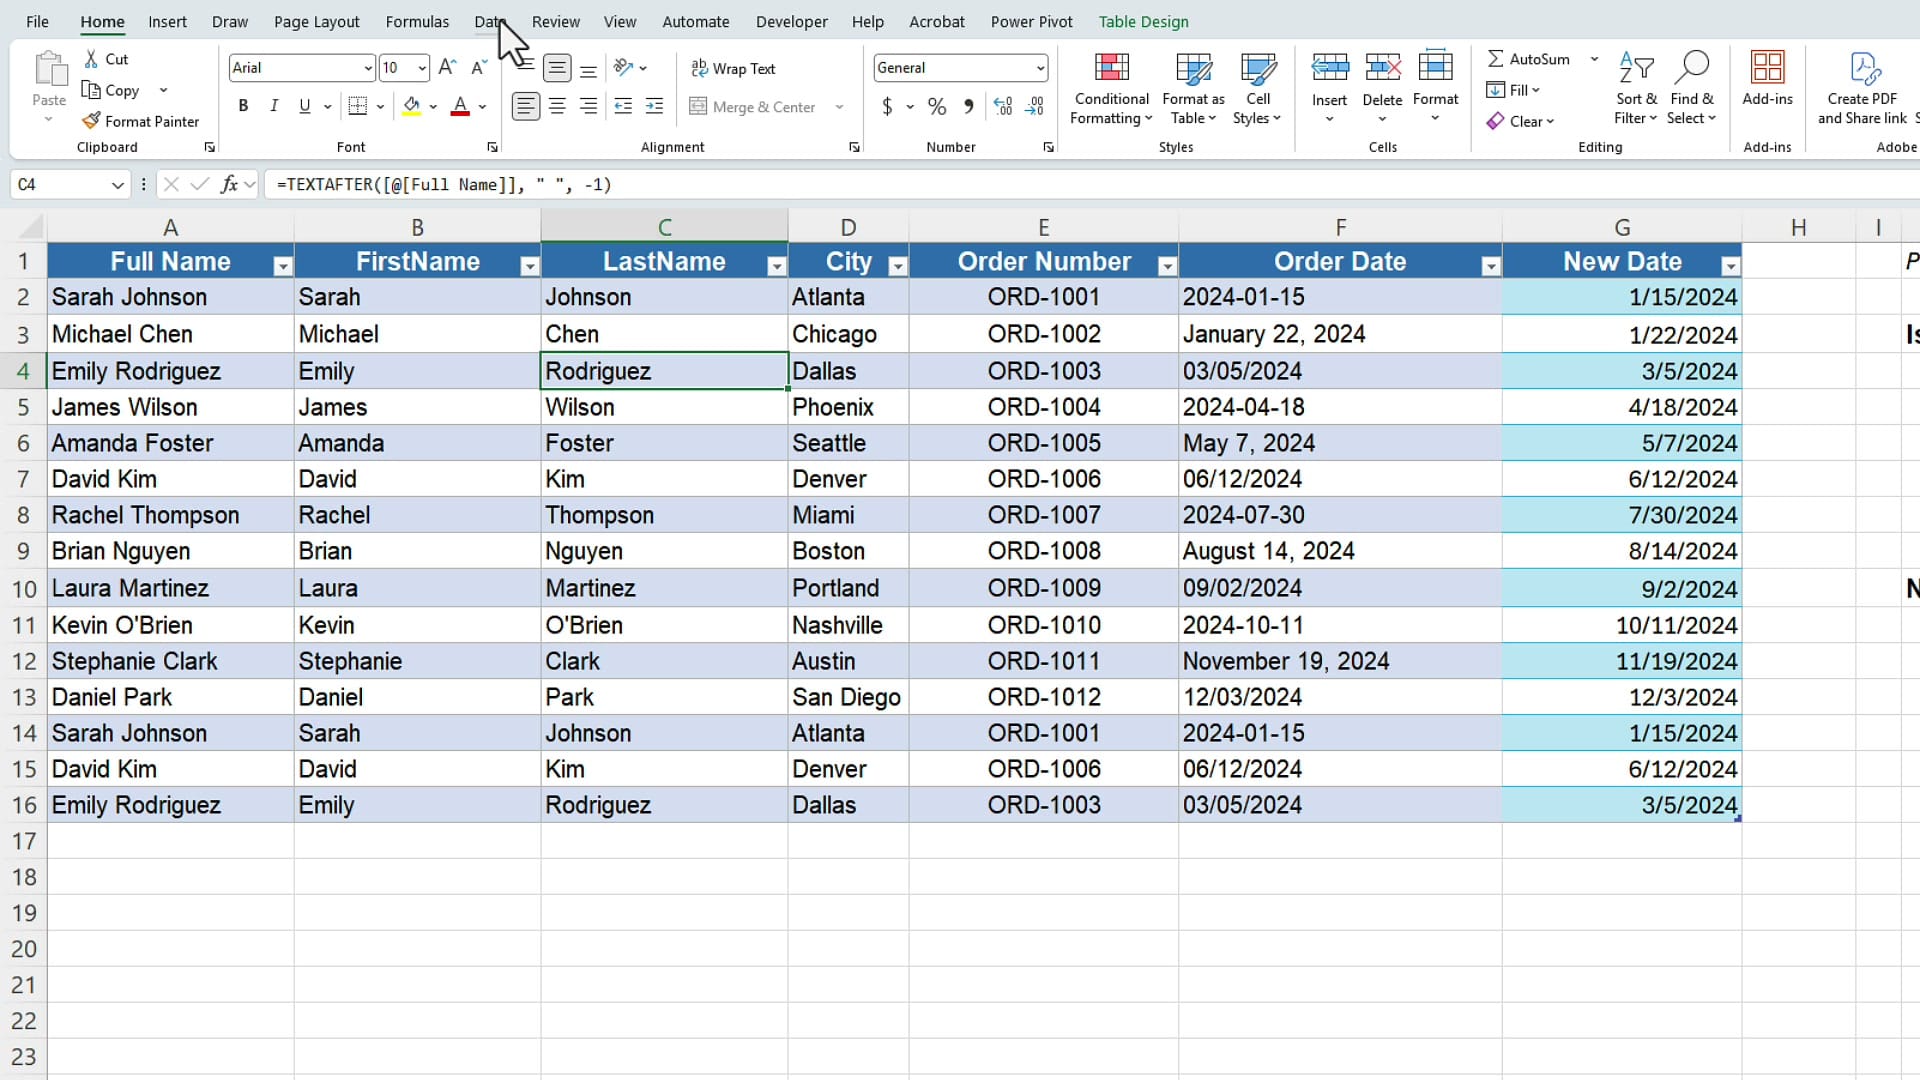
Here's the worksheet. Column A has full names, and several of them have a problem you can't always see: extra spaces. Sarah Johnson in row 2 has a bunch of trailing spaces, and Emily Rodriguez in row 4 has spaces before her name. There are four issues to clean up:
- Extra spaces hiding in the names (rows 2 and 4).
- Full names that need to be split into a first name and last name.
- Inconsistent dates — some are real dates, some are text that just looks like a date.
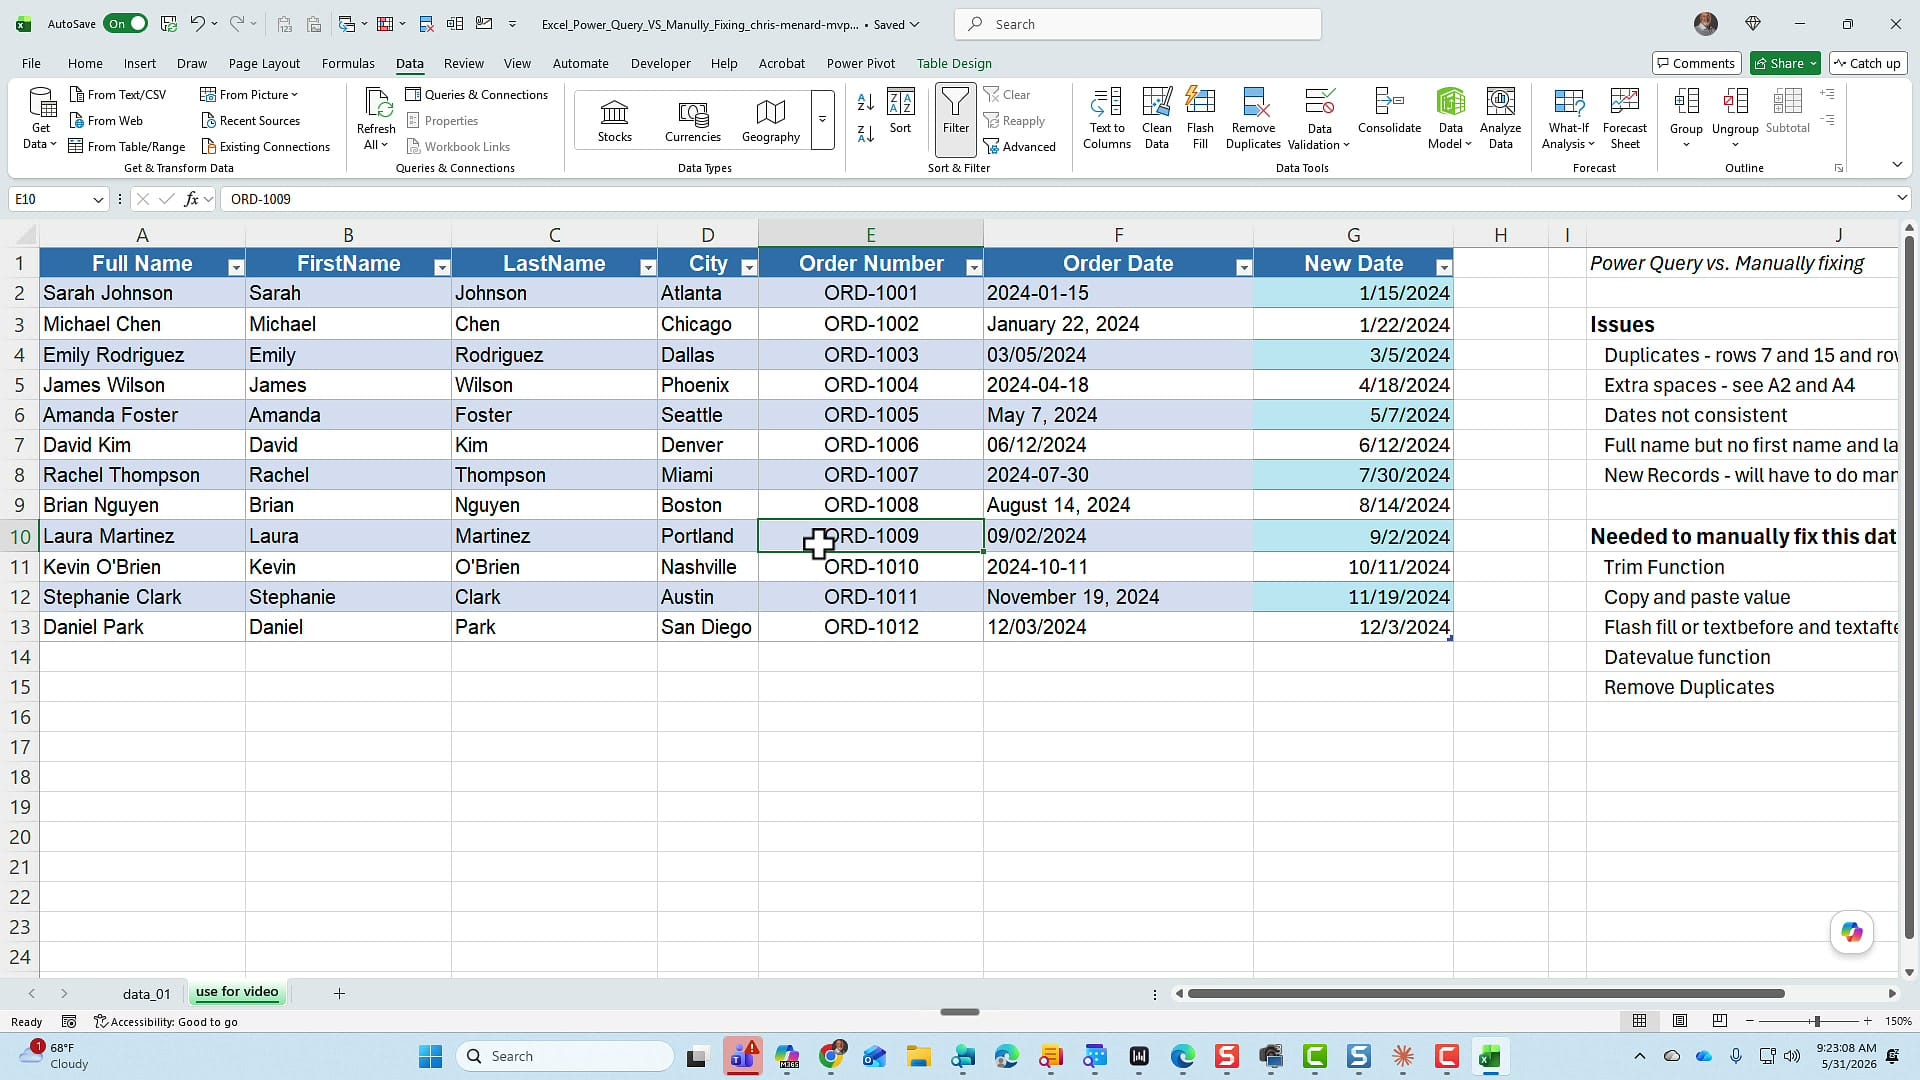
- Duplicate rows — rows 7 and 15 match, and rows 4 and 16 match.
Method 1: Fixing the data manually
Remove the extra spaces with TRIM
The fastest way to strip out extra spaces is the TRIM function. In a helper column, type =TRIM(A2) and fill it down. TRIM removes leading spaces, trailing spaces, and any double spaces between words, leaving single spaces only.
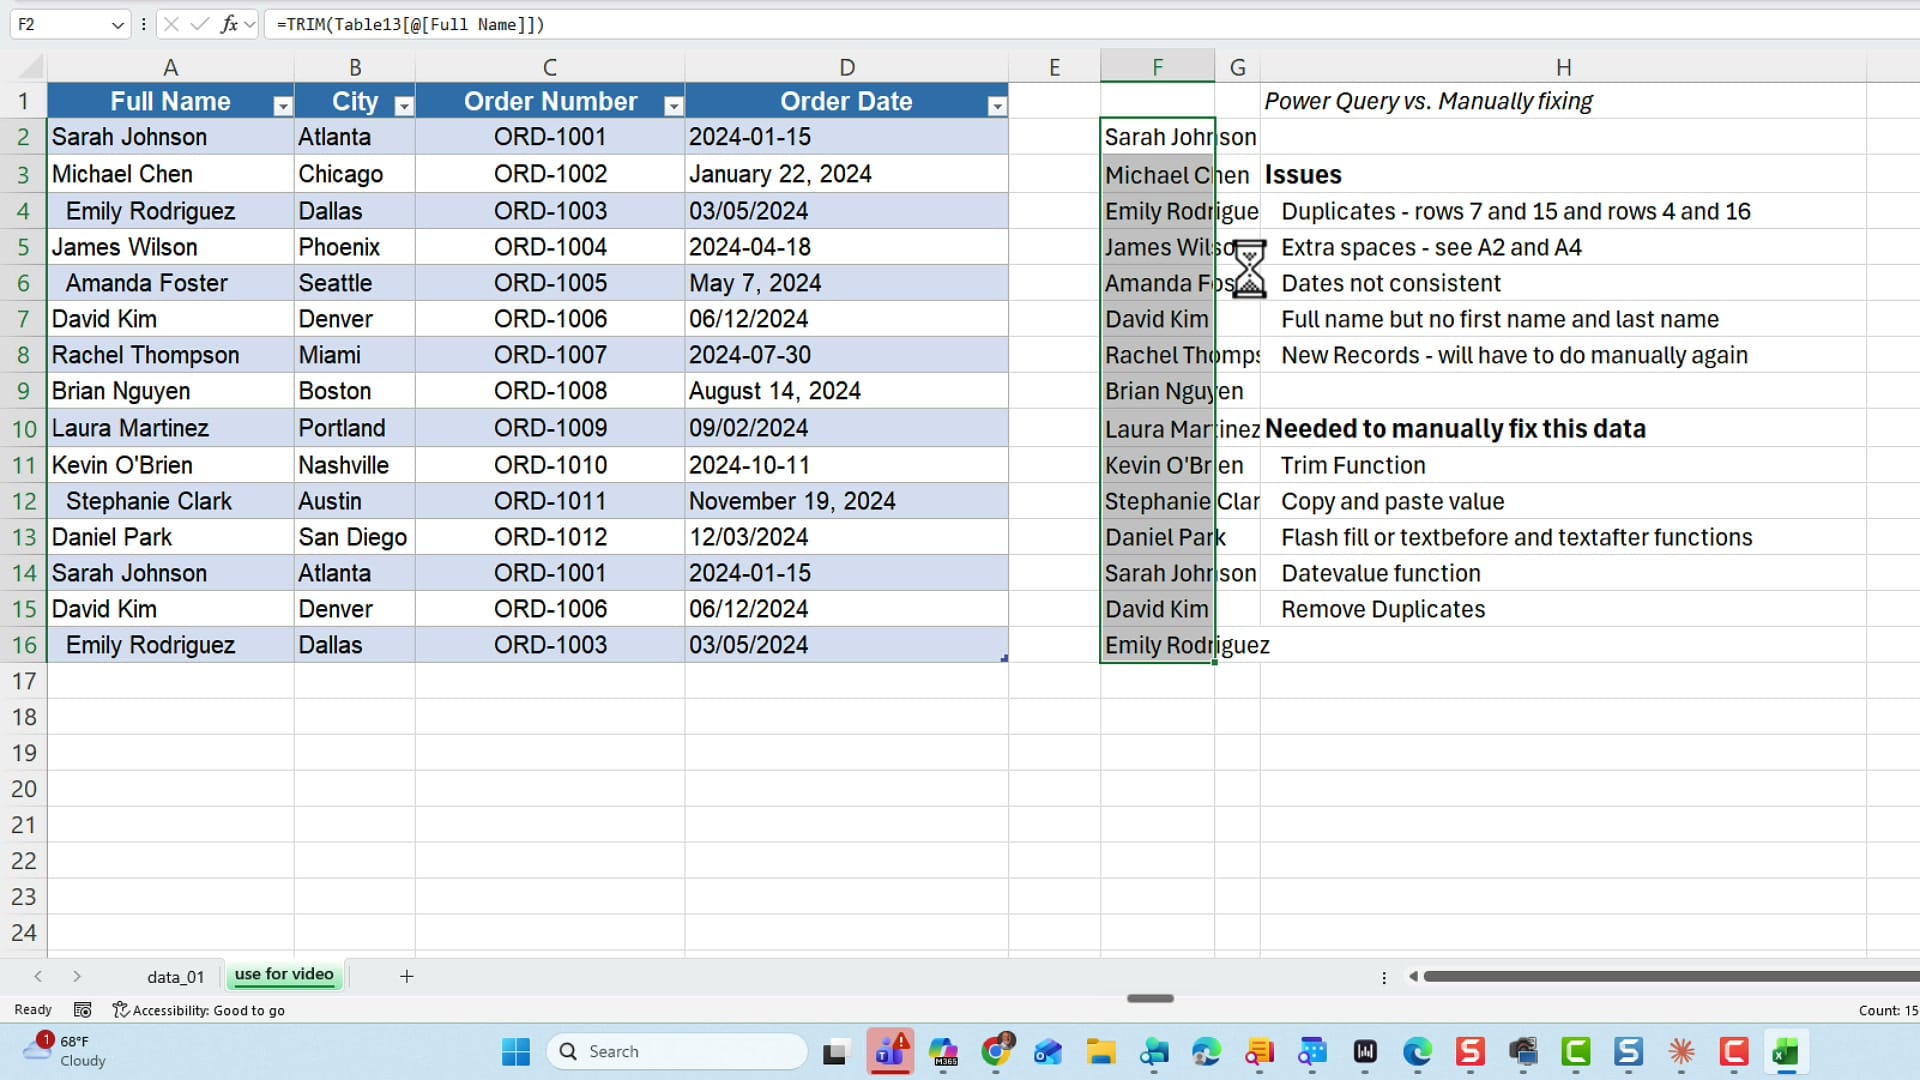
Because TRIM returns a formula, you then have to copy the cleaned column and paste it back as values, then delete the helper column. That's already two extra steps. If you only have leading and trailing spaces, TRIM handles it — but if you ever run into stubborn spaces that TRIM won't touch, see my guide on removing extra spaces in the middle of words beyond TRIM.
Split the full names
Next, break the full name into a first name and a last name. You have two good options: Flash Fill (type the first name in the new column and press Ctrl+E), or the TEXTBEFORE and TEXTAFTER functions. Use =TEXTBEFORE(A2," ") for the first name and =TEXTAFTER(A2," ",-1) for the last name.
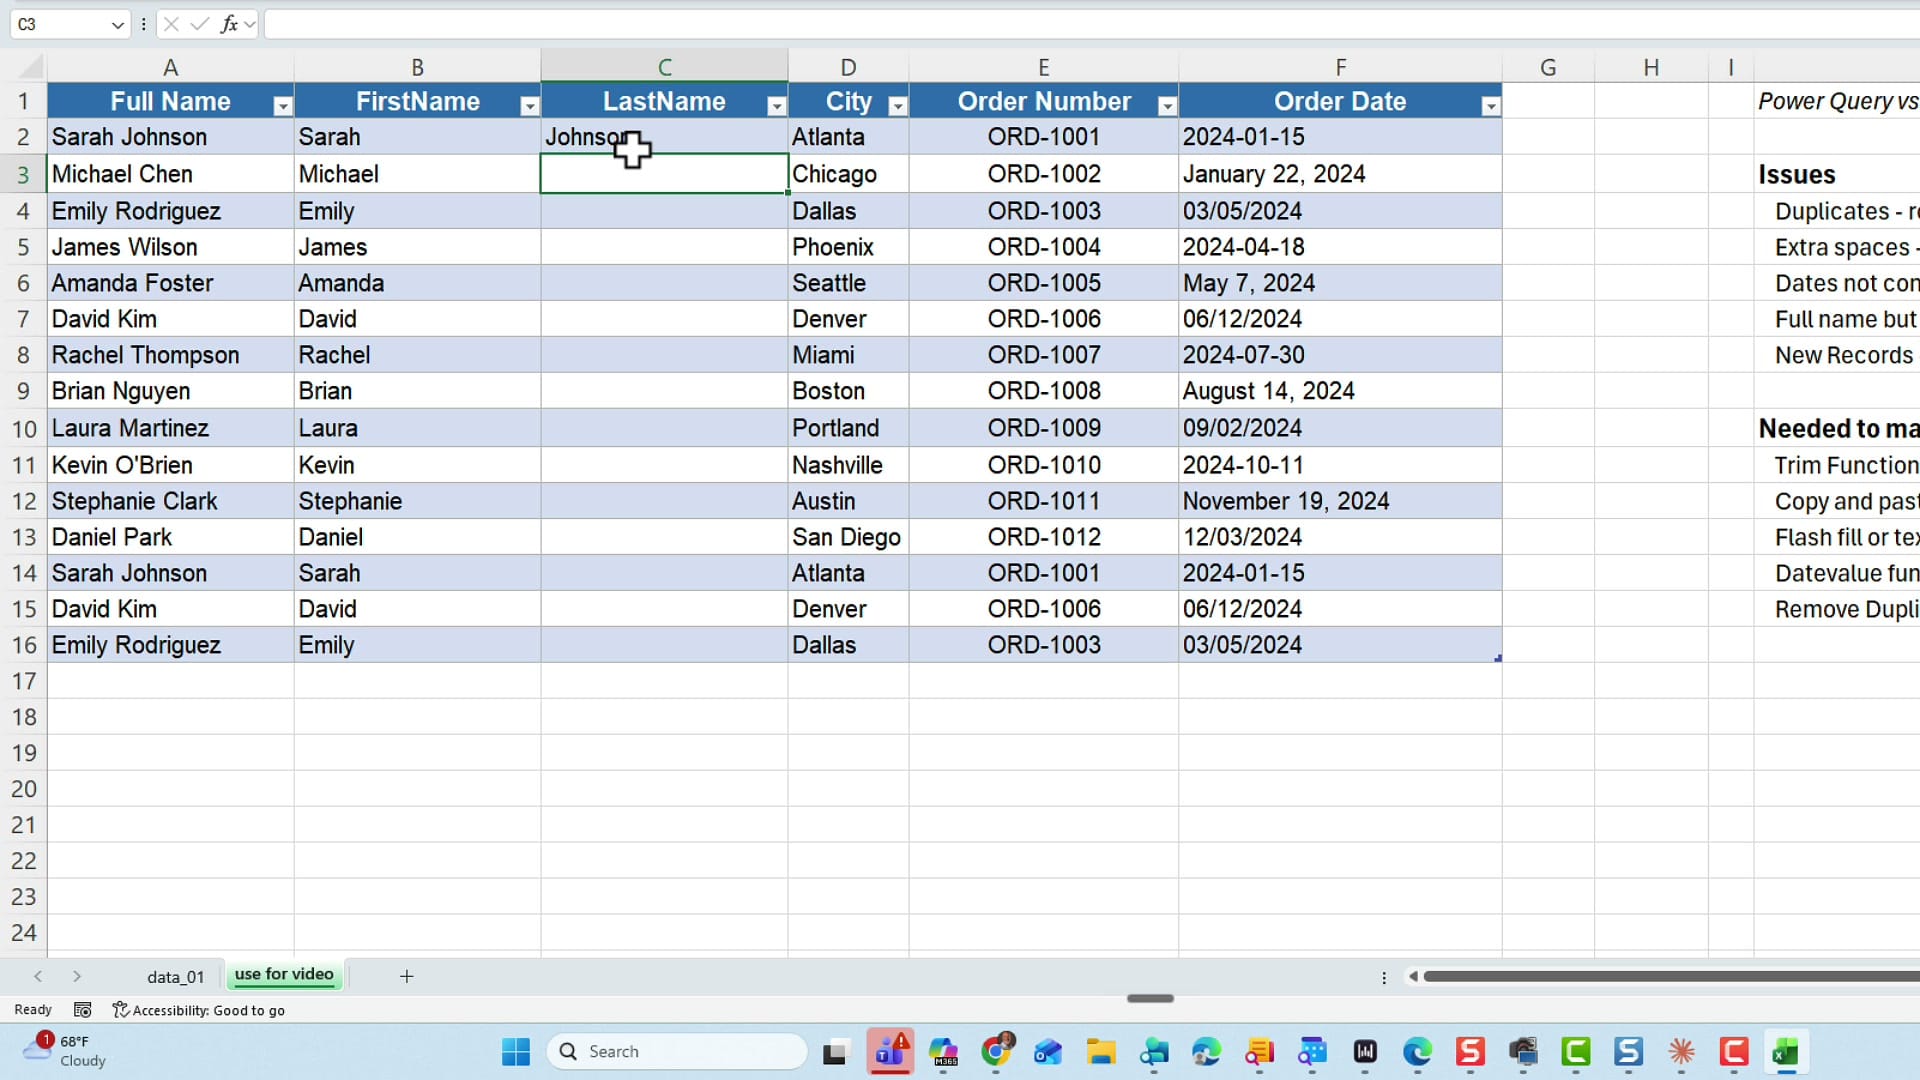
One thing worth knowing: Flash Fill is static — it fills the values once and never updates. TEXTBEFORE and TEXTAFTER are formulas, so they recalculate if the source data changes. That makes the function approach the better choice when your data is going to grow. If you want more ways to break apart text, take a look at advanced text-splitting in Excel.
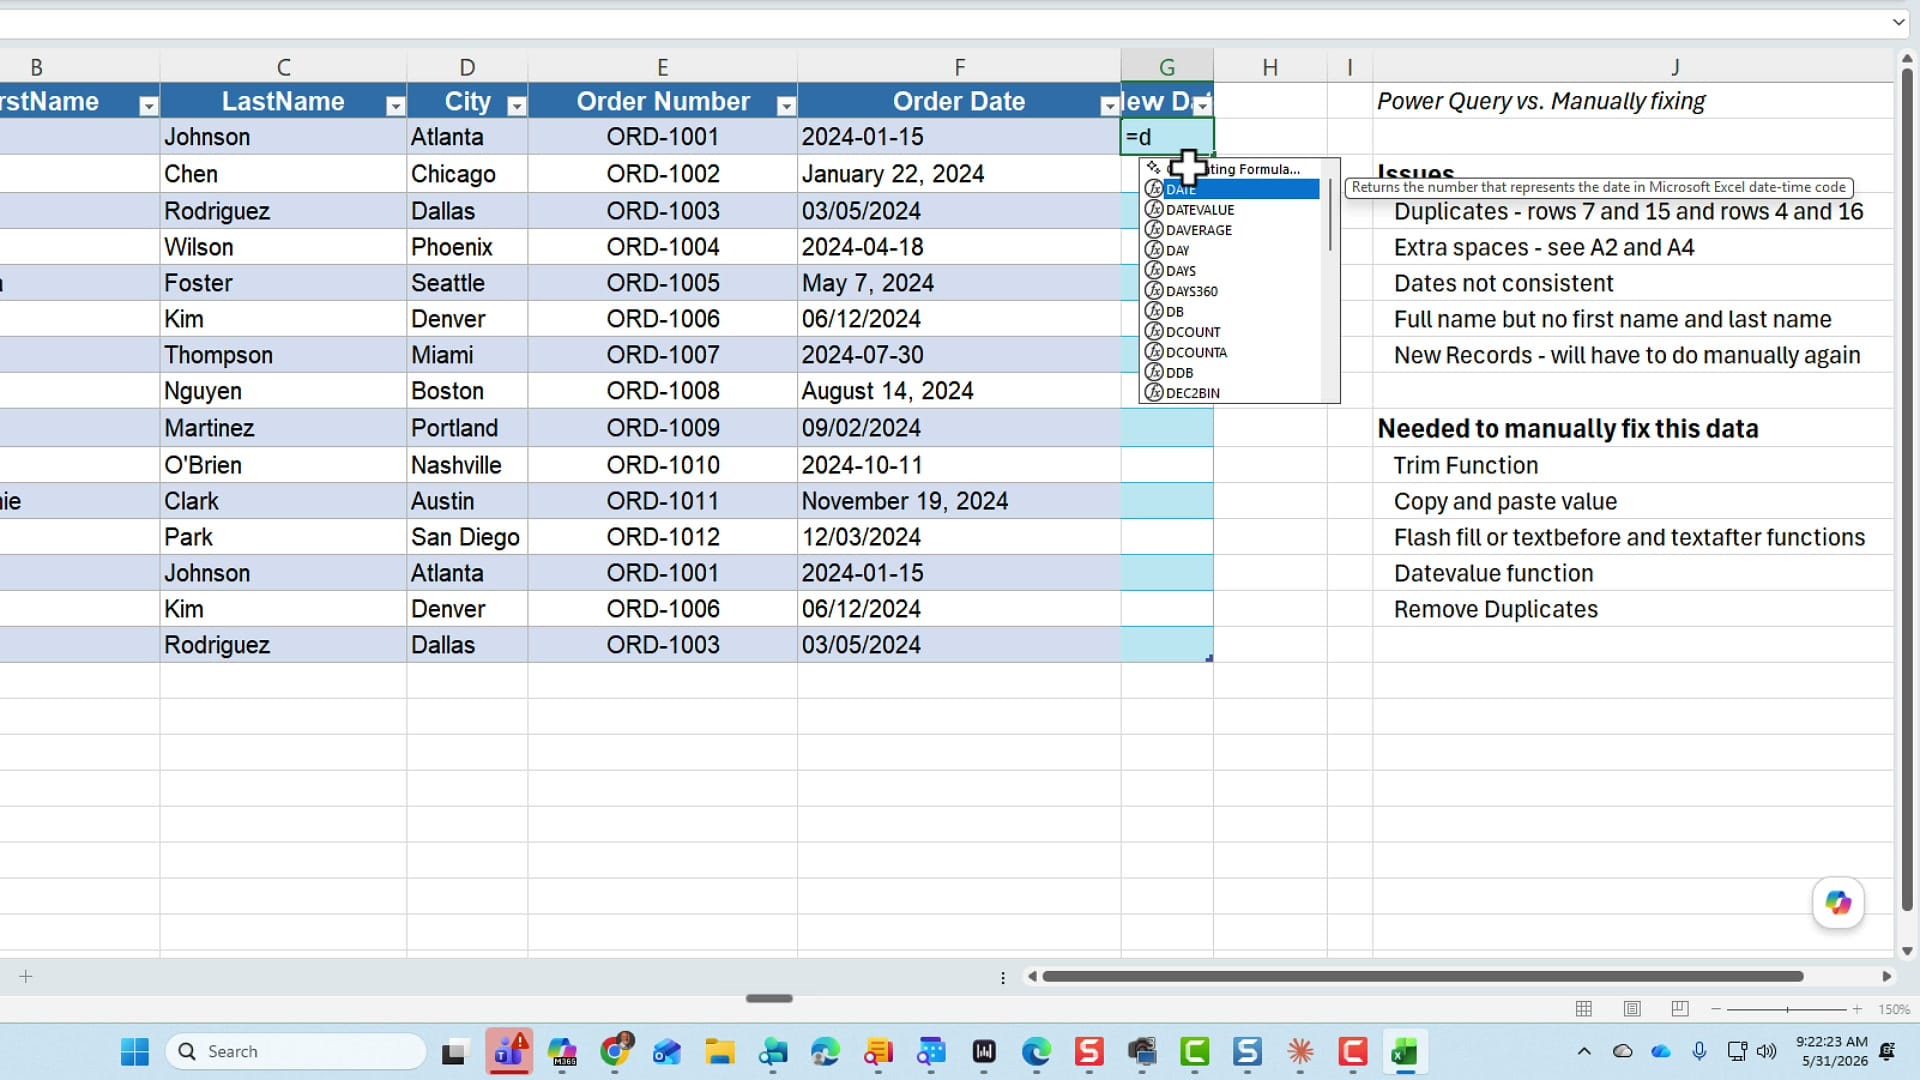
Fix the inconsistent dates with DATEVALUE
Some of the entries in the date column are real dates and some are just text. To convert the text ones into real, sortable dates, use =DATEVALUE(F2) in a new column. DATEVALUE returns a serial number, so highlight the results and apply whatever date format you like.
If separating dates and times is part of your cleanup, my post on two methods to separate date and time in Excel covers that next step.
Remove the duplicate rows
Last manual step: select your data, go to the Data tab, and click Remove Duplicates. Excel finds the three duplicates and removes them. For more ways to handle duplicates, see finding and removing duplicates in Excel with UNIQUE, VSTACK, and TEXTJOIN.
The data is clean — but here's the catch. Every one of those steps is a one-time fix. If someone adds new records tomorrow with the same spacing problems, you have to run TRIM again, copy-paste values again, re-do the Flash Fill, and remove duplicates again. That's where Power Query changes the game.
Method 2: Cleaning the data with Power Query
Now let's do the exact same cleanup in Power Query. The difference is that Power Query records every step, so you can re-run the whole cleanup with a single click whenever the data changes.
Open Power Query
Click anywhere in your data, go to the Data tab, and in the Get & Transform Data group choose From Table/Range. (If your data isn't already a table, Power Query will turn it into one for you.) The Power Query Editor opens.
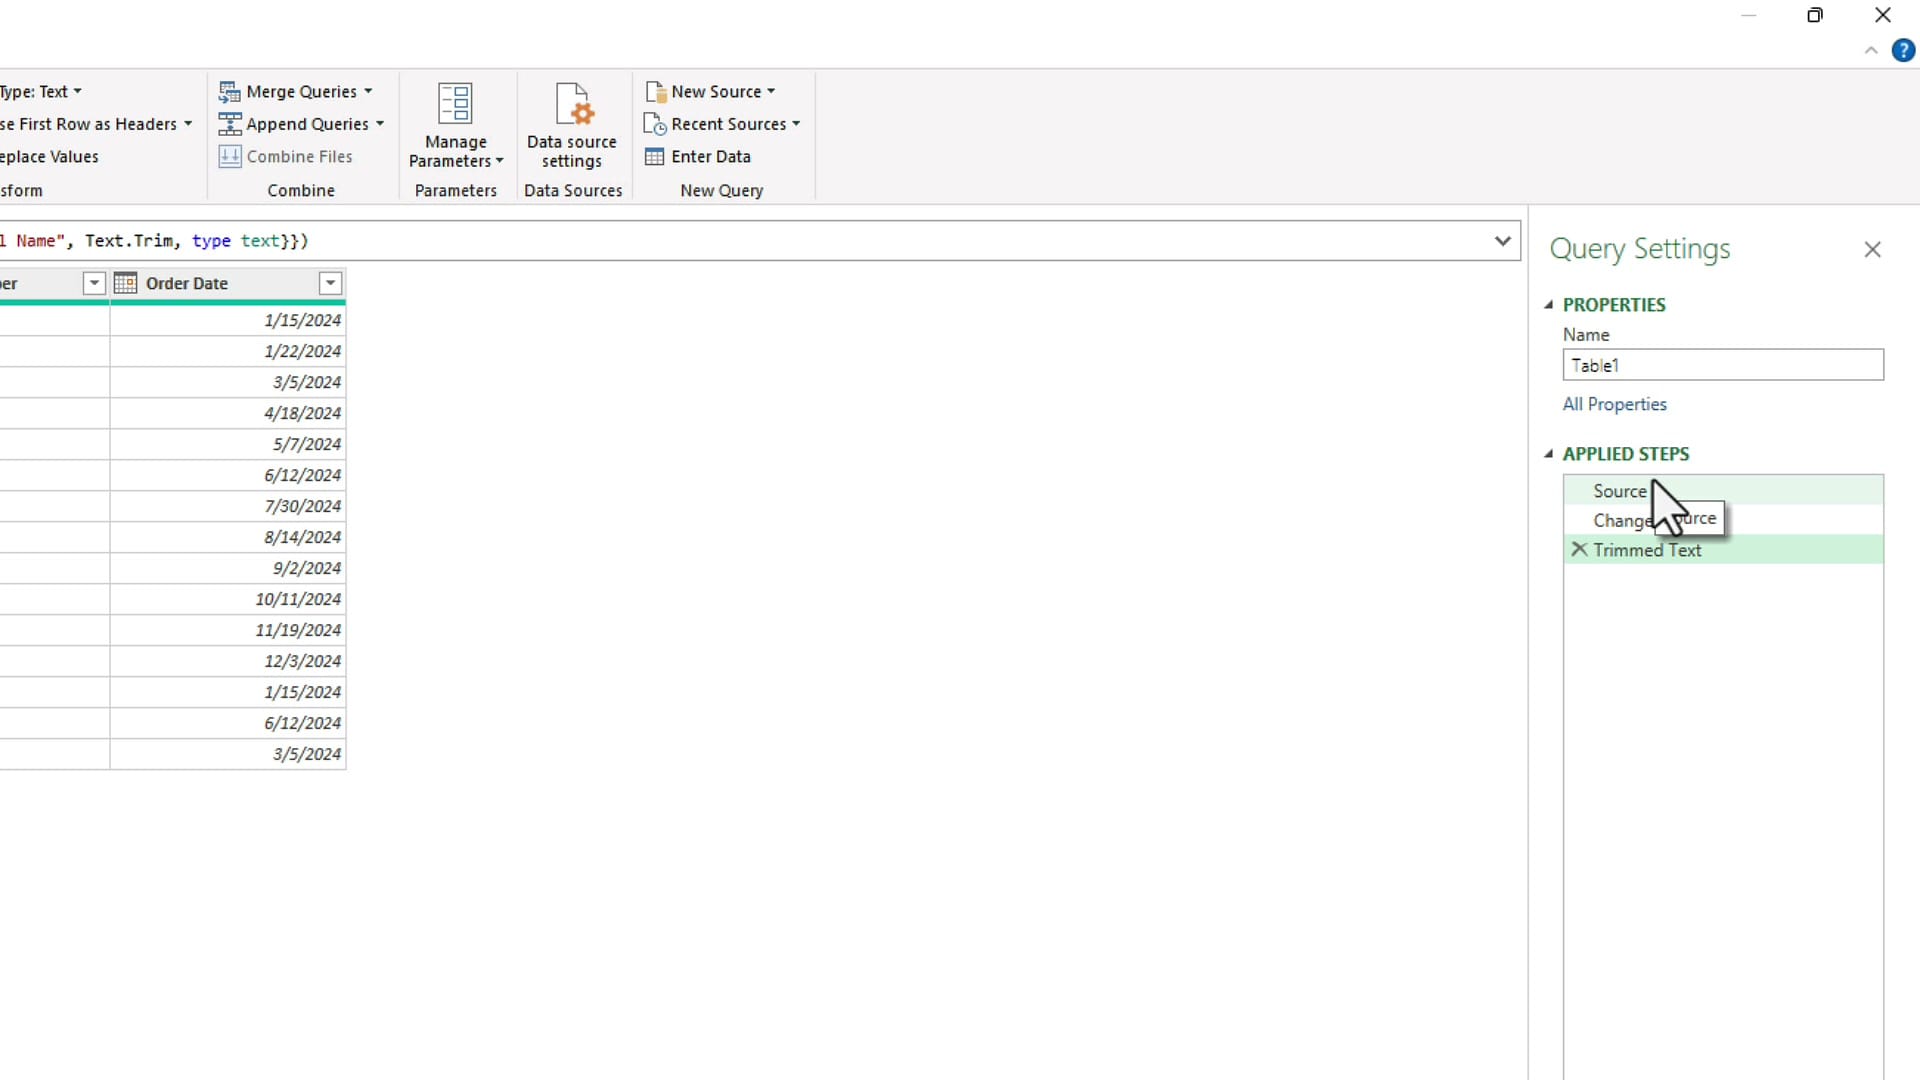
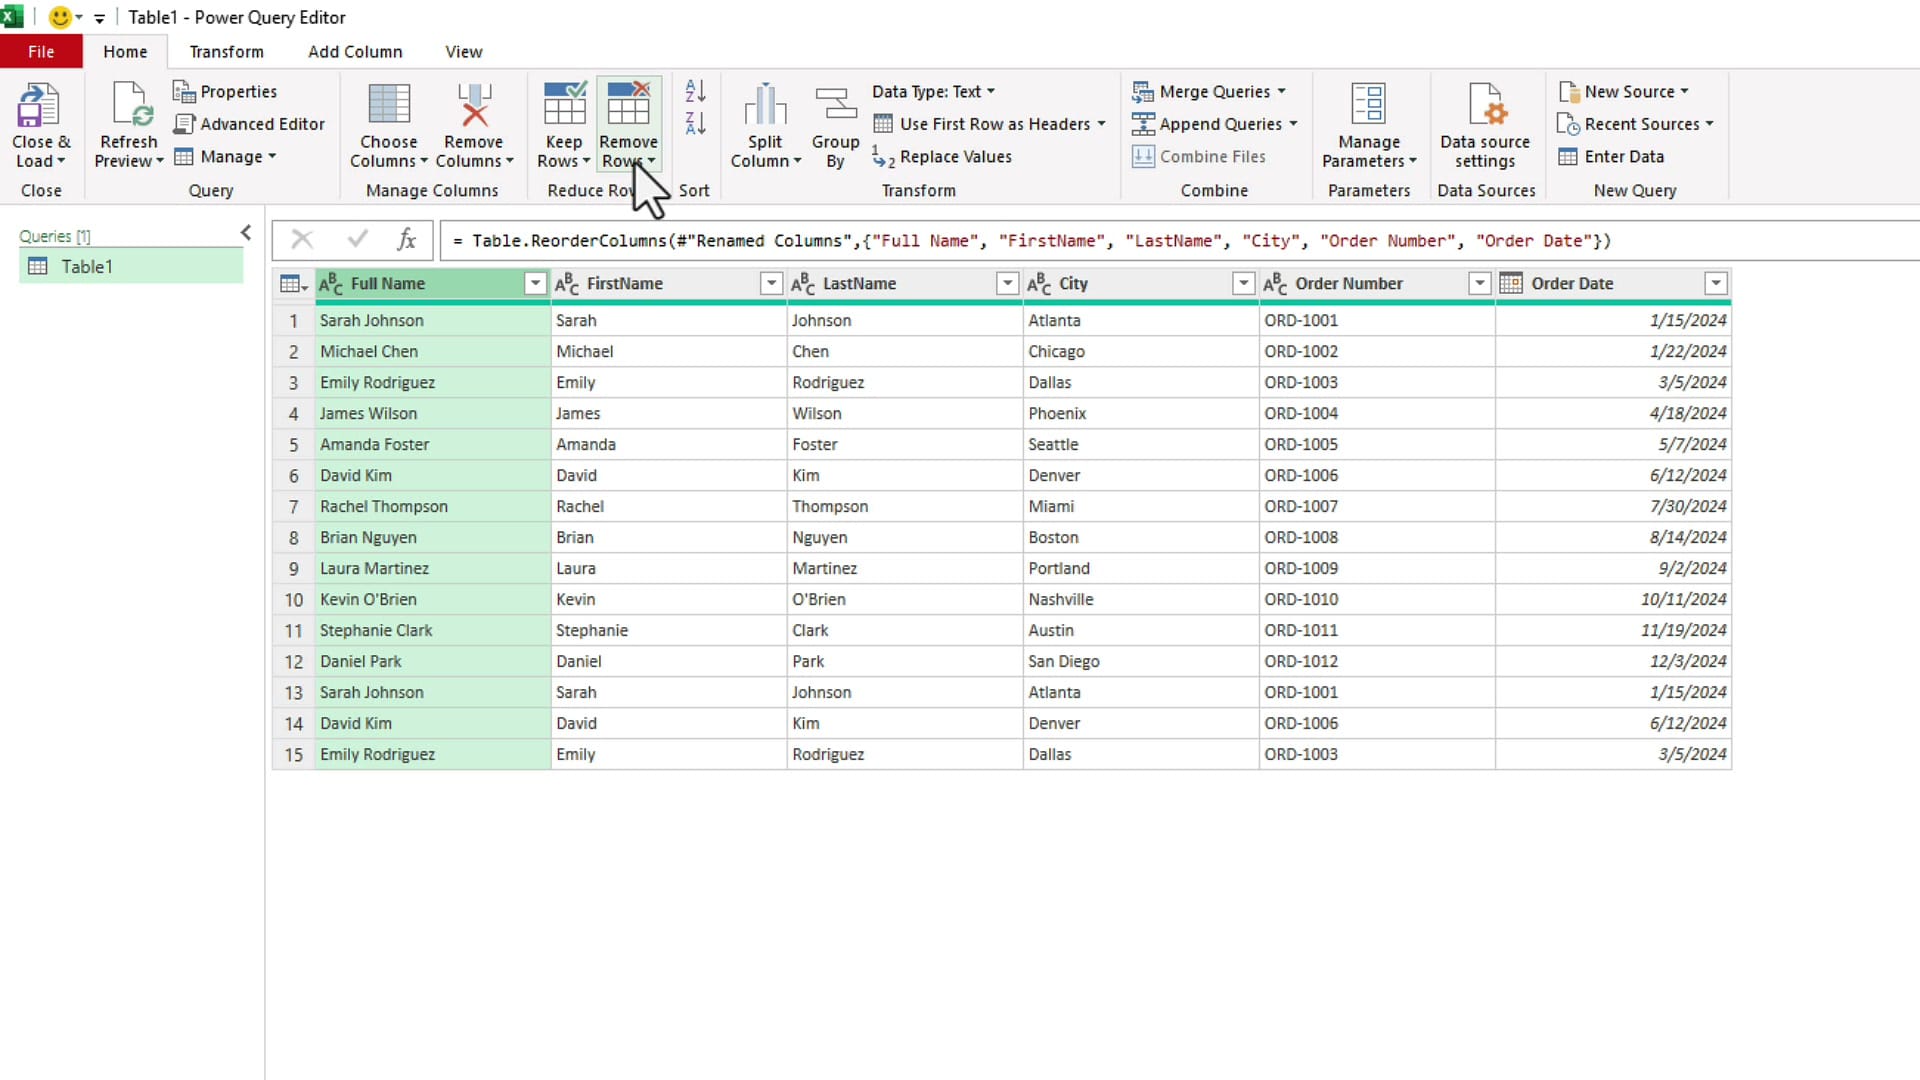
Trim the text — and watch the dates fix themselves
Right-click the Full Name column and choose Transform > Trim. Over on the right, the Applied Steps panel keeps a running list of everything you do. Notice there's already a Changed Type step that Power Query added automatically — it converted the order dates to proper dates without you asking. That single automatic step replaces the entire DATEVALUE exercise from the manual method.
One quick tip in the editor: regular Undo doesn't work the way you'd expect. To back out a step, click the X next to it in Applied Steps.
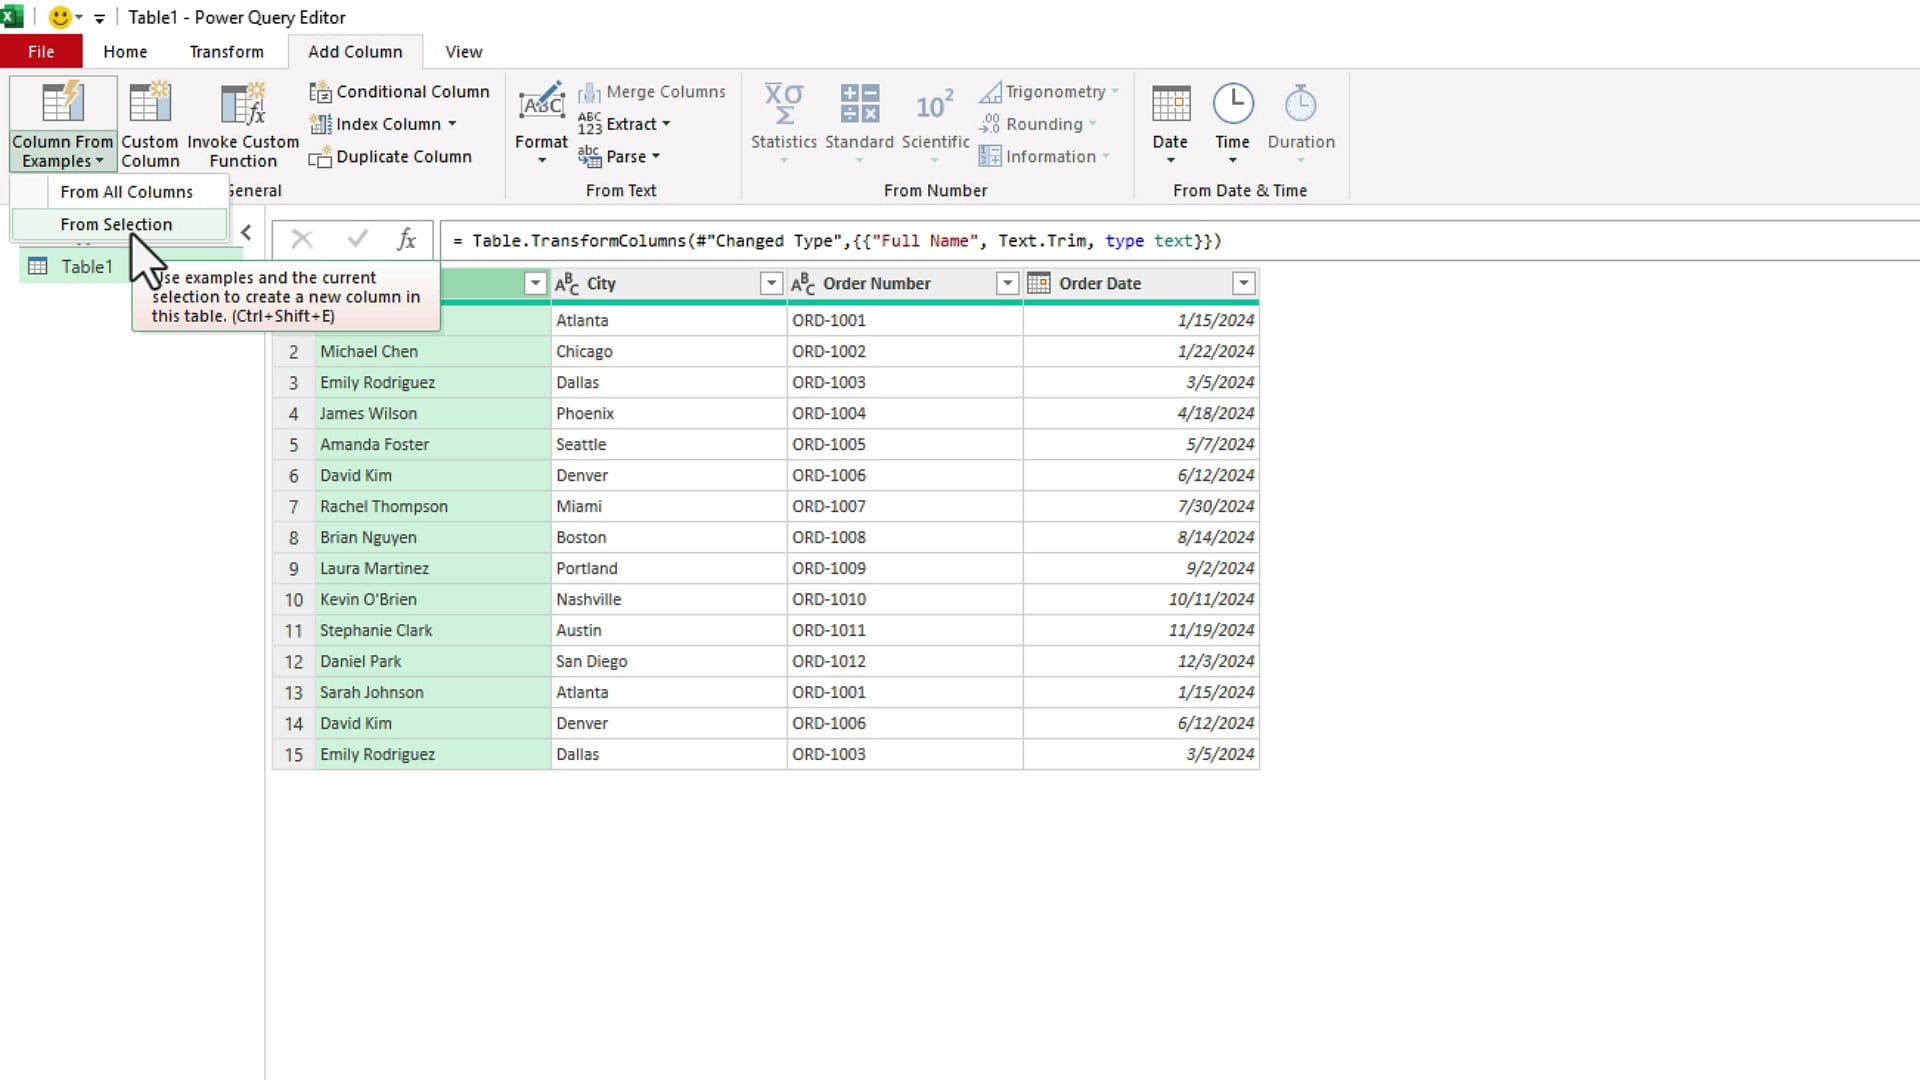
Split the names with Columns From Example
Select the Full Name column, go to the Add Column tab, and click Column From Examples > From Selection. Type a first name exactly as it should appear — for example, Sarah — and press Enter. Power Query recognizes the pattern and builds the whole column. That's why it's called Column From Examples. Do it again for the last name, then rename the columns.
Remove duplicates
In Power Query, Remove Duplicates lives on the Home tab under Remove Rows > Remove Duplicates. Click it and the duplicate rows drop out — the row count goes from 15 down to 12. For a deeper dive, see removing duplicates using Power Query.
Close & Load
When all your steps are in place, go to the Home tab and click Close & Load. Power Query drops the cleaned data onto a new worksheet as a table.
The payoff: refresh instead of redo
Here's why Power Query is worth the setup. Go back to the original data and add new records — I'll add my own name with the same trailing-space and full-name problems. Then right-click the loaded table and choose Refresh.
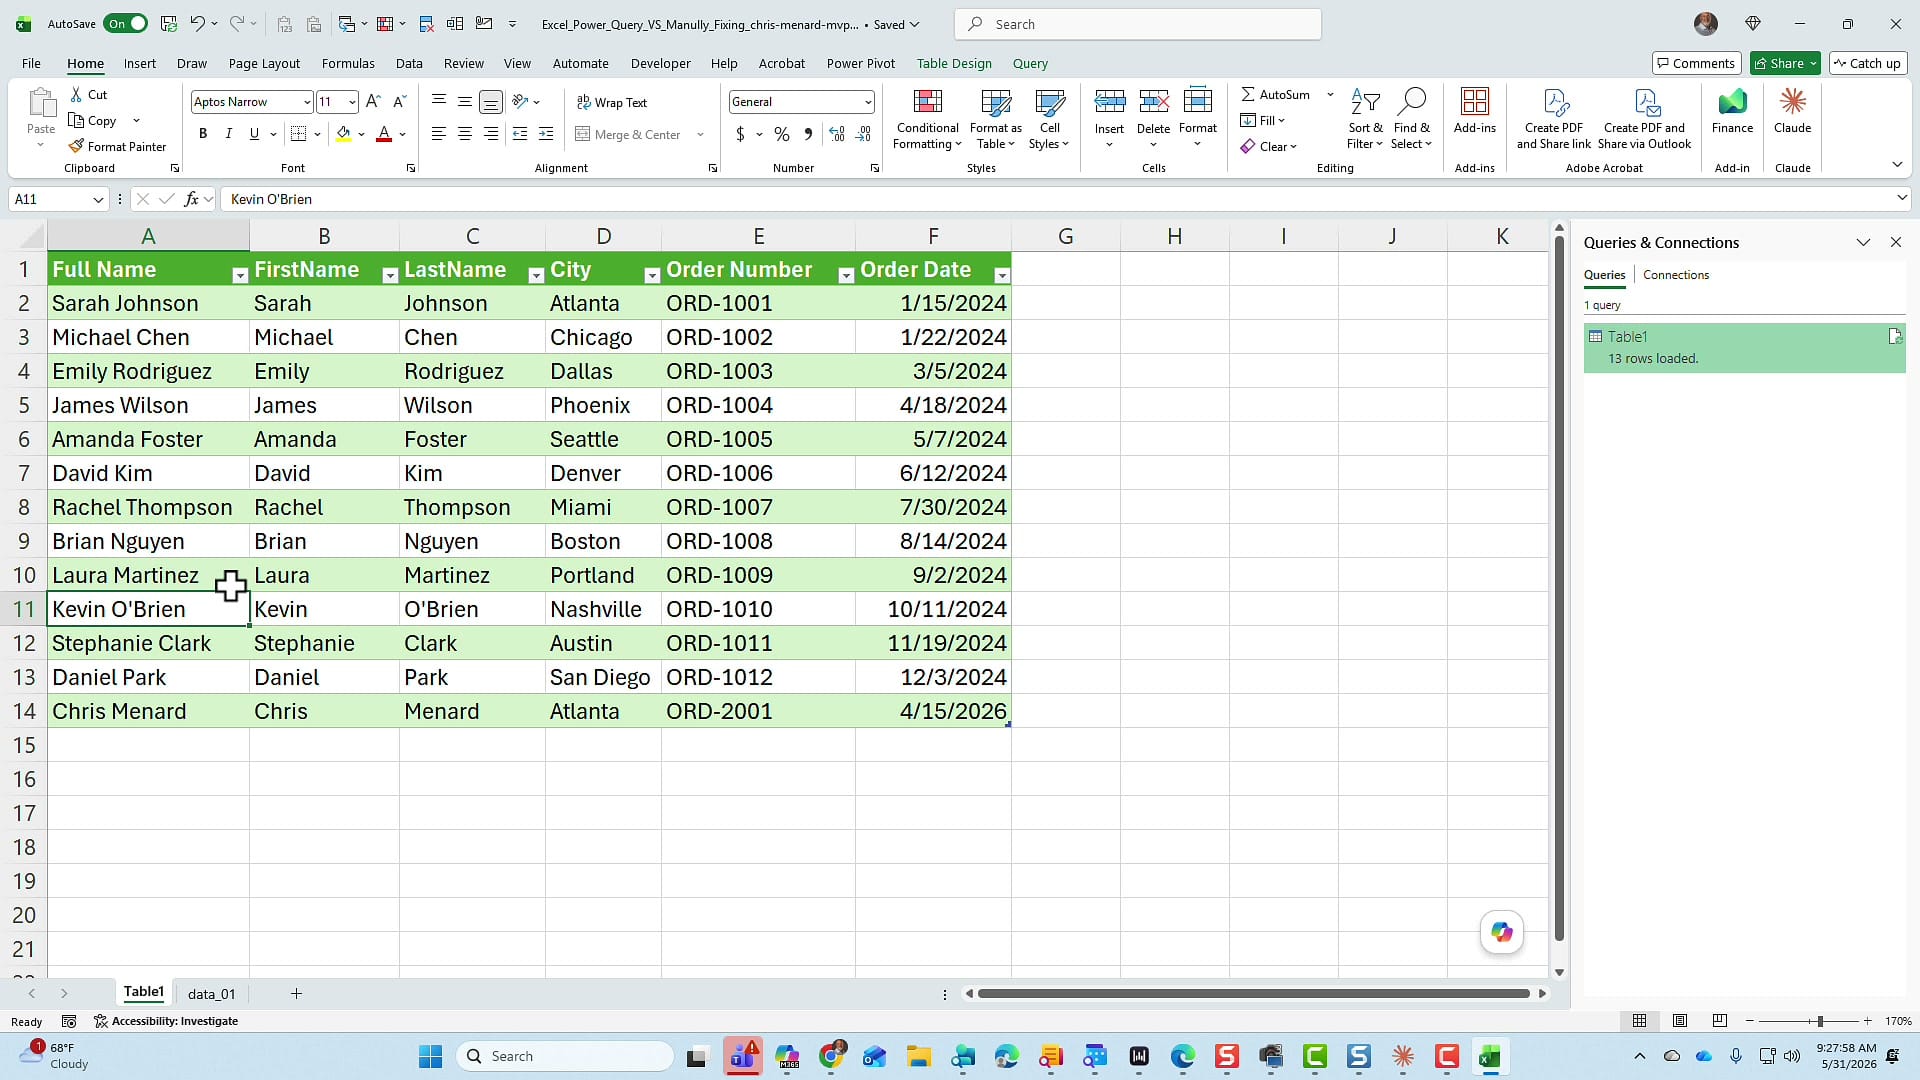
Everything happens in the background. The spaces are trimmed, the name is split into first and last, the date is formatted, and any new duplicates are removed — all from one click. I tested the duplicate removal too: I pasted three more rows with spacing issues, refreshed, and the count stayed correct at 14 records. With the manual method, every one of those fixes would have been a do-over.
So which should you use?
Here's my honest take. If I get an Excel file that I need to clean one time and I'll probably never be asked to do it again, I'll just fix it manually — though, to be fair, Power Query was actually about as fast here.
But the moment that data becomes recurring — something you get daily, weekly, or monthly — Power Query wins easily. You just paste in the new data (or repoint the query) and refresh. It saves you a ton of time, and it protects you from the worst-case scenario: forgetting a cleanup step and then sharing that data in an executive summary.
Related guides