Word: Insert Electronic Signature multiple ways including AutoCorrect


Need to add your electronic signature to a Word document? It is effortless to do. In this video, I'll show three ways to add your electronic signature to a Word Doc, how to correctly resize your signature, and wrap the text shows it shows correctly in the document. I'll also use AutoCorrect in Word to type a few letters, and my signature appears. This is a very cool tip!

YouTube Video
Word: Insert Electronic Signature multiple ways including AutoCorrect
Steps to insert a signature using AutoCorrect Options
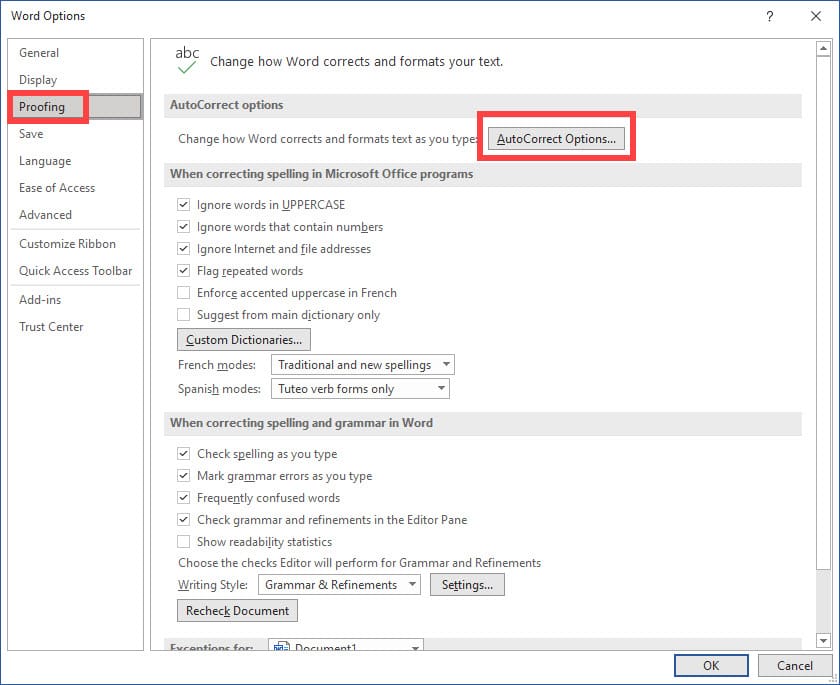
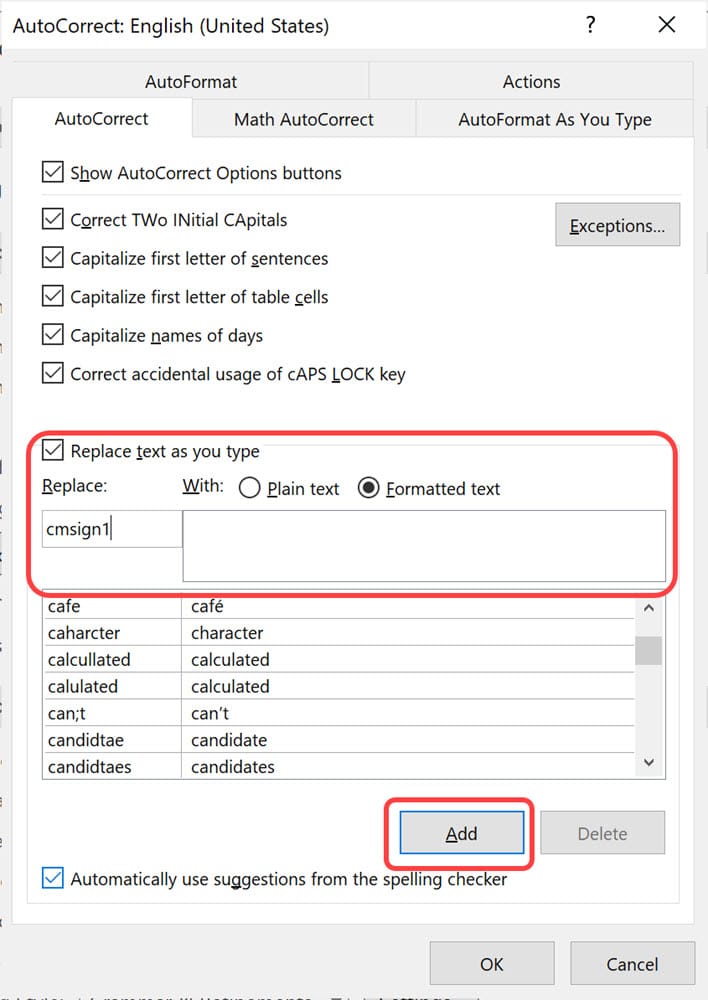
01. Insert the signature into Word. 02. Ensure the signature is selected and formatted the way you want using resizing and wrapping if needed 03. Click **File** then **Options**. 04. Click **Proofing** on the left 05. Click **AutoCorrect Options..** 06. In the **Replace** box, type in a name for your signature. I use lowercase when I do this. In my example, I typed in cmsign1. 07. In the **With** box, select **Formatted Text.** 08. **Click Add** 09. Click **OK** 10. Click **OK**
Now when you type in your replace phrase, that you set up in step 6, and press the spacebar, your signature should appear.
Replace and With Formatted Tex box
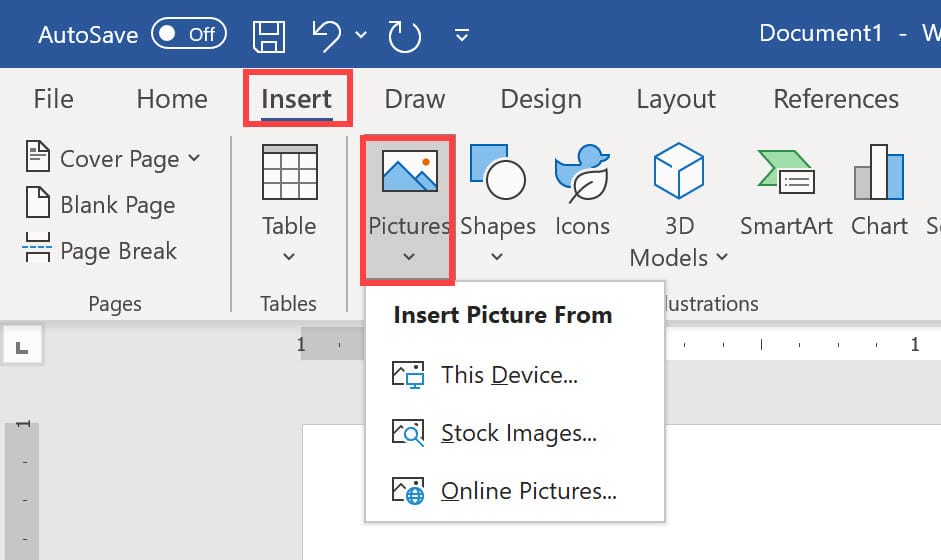
Steps to Insert Pictures in Word
1. Click the **Insert** Tab 2. Select **Pictures**, click **This Device**. You can also use Stock Images and Online Pictures, but it will most likely be This Device for signatures. 3. Resize and change the wrapping if needed.