MS Forms - 3 new features: Format surveys, send to specific users, and receipt

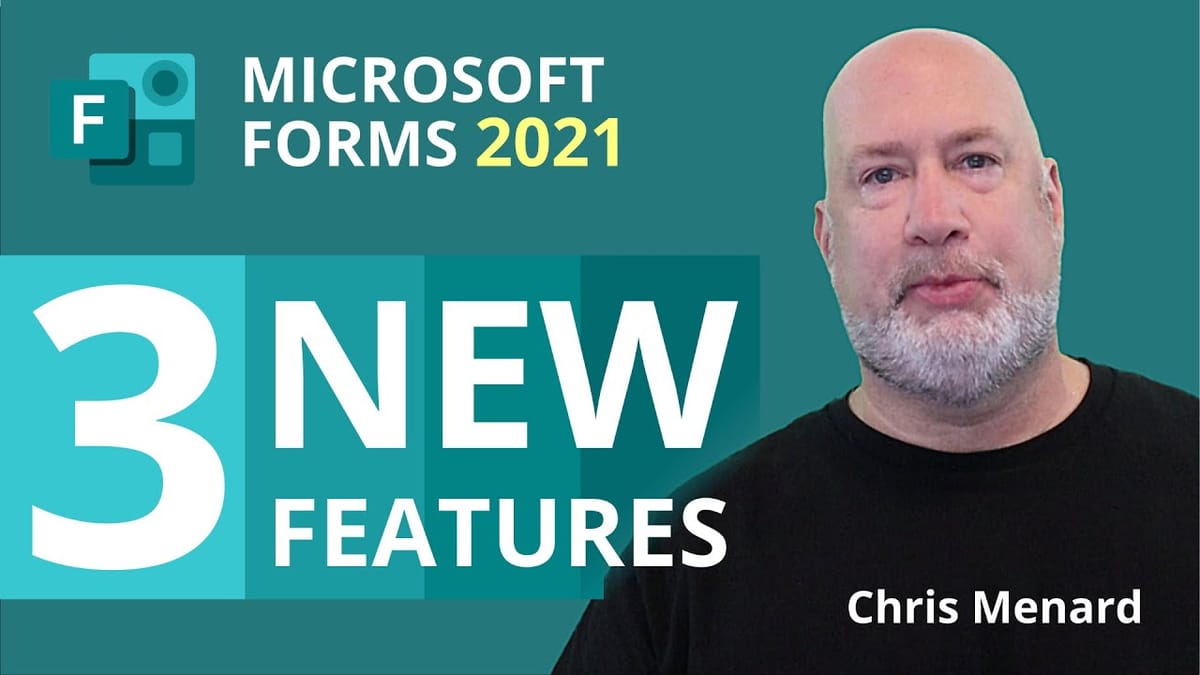
Microsoft Forms has three new features that were recently rolled out. I'll cover all three in under three minutes. You can now format your surveys or quizzes using bold, italics, or underline. You can also send a survey out to specific users or groups in your organization, and you can have users get a receipt of their responses.

Format text in Microsoft Forms
How do I format text in MS Forms?
In Microsoft Forms, you can bold, italicize, or underline words.
1. In Microsoft Forms, open the form or quiz you want to edit. 2. Highlight a word or words in your title or questions, and then choose **bold, italics, or underline** from the floating toolbar.
You can also use keyboard shortcuts
- CTRL/Cmd+B for bold - CTRL/Cmd+I for italics - CTRL/Cmd+U for underline
**Upload files in MS Forms article**
- [**Upload Files in Microsoft Forms - New Feature!**](https://chrismenardtraining.com/post/file-upload-microsoft-forms) Microsoft Forms allows you to create a survey with multiple question types. One of the NEW question types is the "File upload". So users can now upload files in a survey! This is an awesome feature. The files are stored in a SharePoint folder and automatically marked with the person's name that uploaded the files. You can specify the number of files someone can upload and the maximum file size.
Youtube Video
MS Forms - 3 new features: Format surveys, send to specific users, and receipt
How do I share Forms surveys with specific users and groups?
To enable this feature on the desktop, click **Share** then select the **Specific people in my organization can respond** option from the drop-down menu. The new experience is available for mobile users, too. Type in the user's name or group.

Share Forms - Specific people in my organization can respond
How do I allow users to get a receipt of their responses?
1. In the form for which you want to turn on this option, click **More form settings** button then click Settings. 2. In under Response receipts, check to **Allow receipt of responses after submission**.
Get a receipt of your response
After submitting responses, respondents will see a link to print or download a PDF of their responses, which includes a thank you message and a list of their responses.
**Note**: Email confirmation receipt is only available when your respondents belong to your organization and you've checked Record Name in More form settings - Settings - Only people in my organization can respond.

Allow receipt of responses after submission