New Excel Functions: IMPORTTEXT & IMPORTCSV Explained!


If you've wrestled with CSV files that open in Excel but look wrong, or spent time in Power Query to coax dates and columns into place, there's good news. Excel now includes two new functions that let you pull file data directly into a worksheet with a formula: IMPORTCSV and IMPORTTEXT. I walk through what each does, when to use them, and practical tips so you can stop fighting imports and start working with clean data faster.
YouTube Video - IMPORTCSV & IMPORTTEXT Functions
🔎 What these functions do and why they matter
Both functions read external files and return the contents as a dynamic array inside Excel. That means you can reference raw CSV or text files by path and have Excel populate rows and columns for you automatically. The two functions overlap, but they have different strengths:
- IMPORTCSV is a quick, focused function for comma separated value files. It requires just the file path and handles common CSV formatting automatically.
- IMPORTTEXT is more flexible. It supports custom delimiters and additional options, so it can handle CSV-like text files that use semicolons, pipes, or tabs as separators.
🛠️ How to import a CSV with IMPORTCSV
I usually start with IMPORTCSV because it is simple and fast. The only required argument is the file path. Here’s the basic workflow:
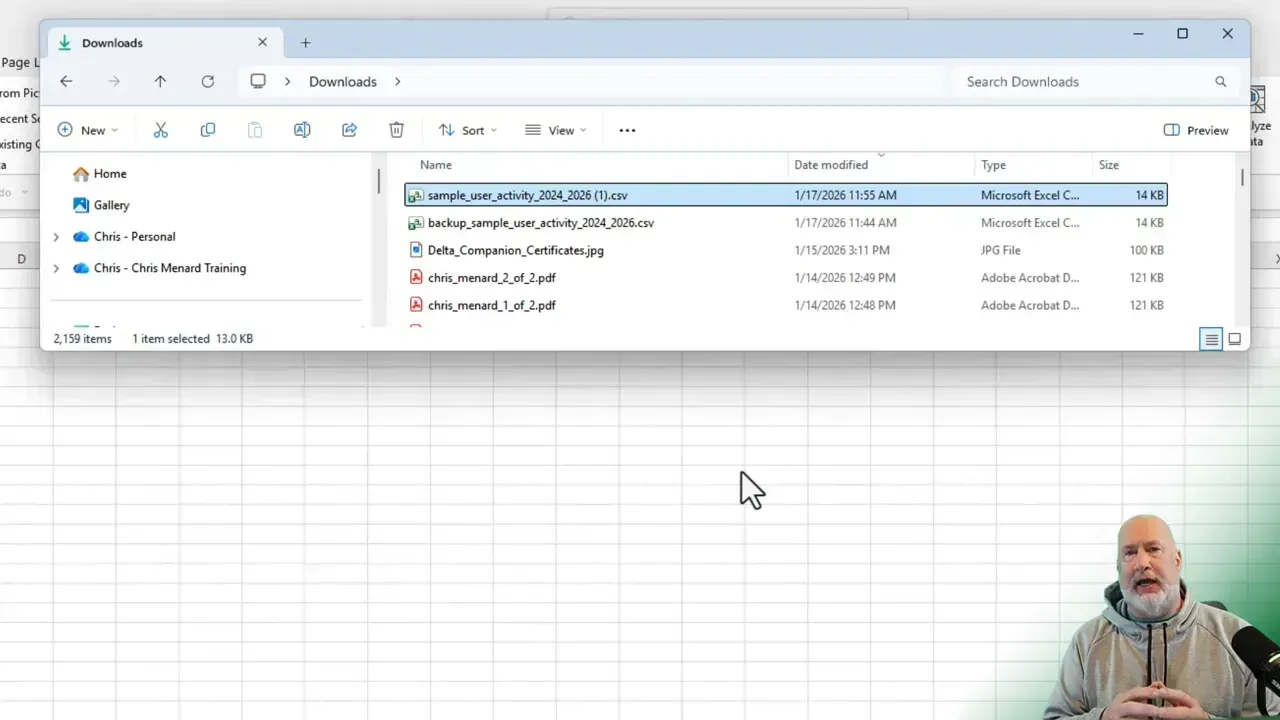
- Locate the CSV file in File Explorer.
- Right-click the file and select Copy as path. See the image above.
- In Excel, go to a blank cell and start a formula with an equals sign, then type
=IMPORTCSV - Paste the path into the parentheses. Excel will automatically add quotation marks.
- Select Paste without active content
- Press Enter, and the data will populate as a dynamic array.
=IMPORTCSV("C:\Users\You\Downloads\example.csv")IMPORTCSV supports three optional arguments: skip rows, take rows, and locale. You rarely need these for a standard CSV, but they can be helpful when you want to ignore header lines or limit the number of rows imported.
In my tests, IMPORTCSV handled files that previously required Power Query cleanup. Dates and fields came through correctly, and when I pressed Control+Down to check the range, the expected number of rows appeared. If you frequently open plain CSV exports from different systems, try IMPORTCSV first — it may save a lot of time.
📄 When to use IMPORTTEXT instead
Use IMPORTTEXT when your file is a text file that uses a nonstandard delimiter, or when you need more control over how the file is parsed. IMPORTTEXT asks for the file path and the delimiter, then exposes additional steps to fine-tune the import.
=IMPORTTEXT("C:\Users\You\Downloads\example.txt", ",")Key points about IMPORTTEXT:
- Delimiter support — specify comma, semicolon, pipe, tab, or any single character separator.
- Extra parsing options — after the main arguments, you may specify additional steps to skip rows or set locale behavior.
- Better for messy exports — if your file contains inconsistent quoting or unusual separators, IMPORTTEXT gives you tools to handle it without Power Query.
In practice, I typically try IMPORTCSV first. If it fails to parse correctly or if the delimiter isn’t a comma, I switch to IMPORTTEXT and provide the correct delimiter. IMPORTTEXT also helps when files are generated by systems that use regional formatting differences, since you can control locale-related parsing.
Related Articles on Power Query


✅ Quick troubleshooting tips
- Wrong dates or mixed data types: Try IMPORTTEXT with an explicit locale if your system uses dd/mm/yyyy vs mm/dd/yyyy formats.
- Blank rows or stray text: Use the optional skip rows and take rows arguments to ignore header metadata or limit import length.
- Path errors: Make sure the path is quoted and accessible. Network drives and permission settings can block imports.
- Performance: Importing large files into dynamic arrays can be heavy. If you only need a subset of rows, use the take rows argument or import into Power Query for more selective queries.
📌 Best practices
- Prefer IMPORTCSV for standard comma-separated files. It is quick and usually does the job without fuss.
- Switch to IMPORTTEXT when your file uses a different delimiter or when IMPORTCSV misparses dates or columns.
- Use skip and take rows to avoid importing unnecessary header metadata or log lines.
- Keep a central folder for exports you repeatedly import. That makes paths predictable and reduces errors.
🔁 Using these functions with automation
Because both functions return dynamic arrays, you can build formulas and analysis sheets on top of the imported range. Combine them with FILTER, SORT, UNIQUE, or LET to create powerful, formula-driven pipelines that update automatically when the underlying file changes.
❓ Frequently asked questions
How do I get the file path for IMPORTCSV or IMPORTTEXT?
Right-click the file in File Explorer and choose Copy as path. Paste the path into the formula; Excel will wrap it in quotes for you.
What if IMPORTCSV doesn't parse dates correctly?
Try IMPORTTEXT and supply the correct locale argument to match the date format used in the file. You can also use skip rows to avoid lines that confuse parsing.
Can these functions replace Power Query?
They can replace Power Query for straightforward imports and many messy exports. For complex transforms, joins, or heavy data cleansing, Power Query still provides greater control and performance.
📚 Final thoughts
IMPORTCSV and IMPORTTEXT are small additions that can make a big difference. They cut down on repetitive Power Query steps for many common exports and give you a formula-first workflow for bringing external data into Excel. Start by testing IMPORTCSV on a few of your typical exports. If you hit parsing issues, switch to IMPORTTEXT and experiment with delimiters and locale.
If you want step-by-step screenshots and additional notes, I include detailed examples and a link to Microsoft's documentation in the accompanying resources. These functions are worth adding to your toolbox — they speed up imports and help keep your workbooks cleaner and more dynamic.
📘 Additional resources
- IMPORTCSV and IMPORTTEXT documentation on Microsoft's site (search for function names in Office help).
- Practice by creating sample CSV files with different delimiters and date formats to see how each function behaves.
- Consider taking an Excel import class or short training to learn when to use formulas vs Power Query.
- IMPORTTEXT support page by Microsoft
- M365 Insider blog post